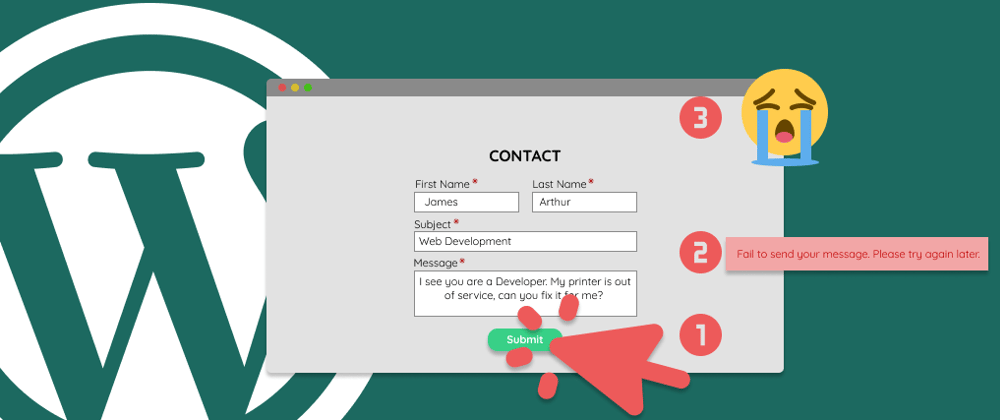
Nothing is more annoying than submitting a contact form on a website and you see the message “Failed to send your message”, right? So let’s fix your contact form once and for all! 🏌🏻
Few advantages of a contact form:
The UX of your website will increase a lot. Just imagine the heavy lifting a customer of your website must do, if he has to copy-paste the email address and open the mail app and send the email, instead of just writing his name, email, the message and clicking on the “Submit” button.
Well organized information, when emailing, most of the people will send you the needed information in their unique style. This is a time-waster because you have to process the information yourself. However, using a contact form with well-defined labels, the information will be way much easier to find. A basic contact form must have the following label: Name, Email, Message.
Anti-Spam, by displaying your email address on your website, there is a high probability that spambots will use that email address to send you spam messages. Using a contact form you will significantly reduce the spam with the implementation of a captcha.
Enough talk, let’s fix that Contact Form!
After you have your WordPress up and running, first you must install the first most important plugin for mailing. WP Mail SMTP allows you to send emails via WordPress, using an SMTP server.
You need this plugin because most of the hosting providers disabled the WordPress PHP mail() function. Usually, they are doing this to prevent spam.
Configuration of WP Mail SMTP
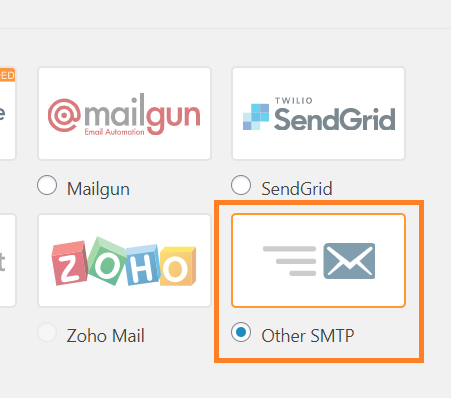
Make sure you’ve installed the plugin. After go to the settings and choose “Other SMTP” as your Mailer.
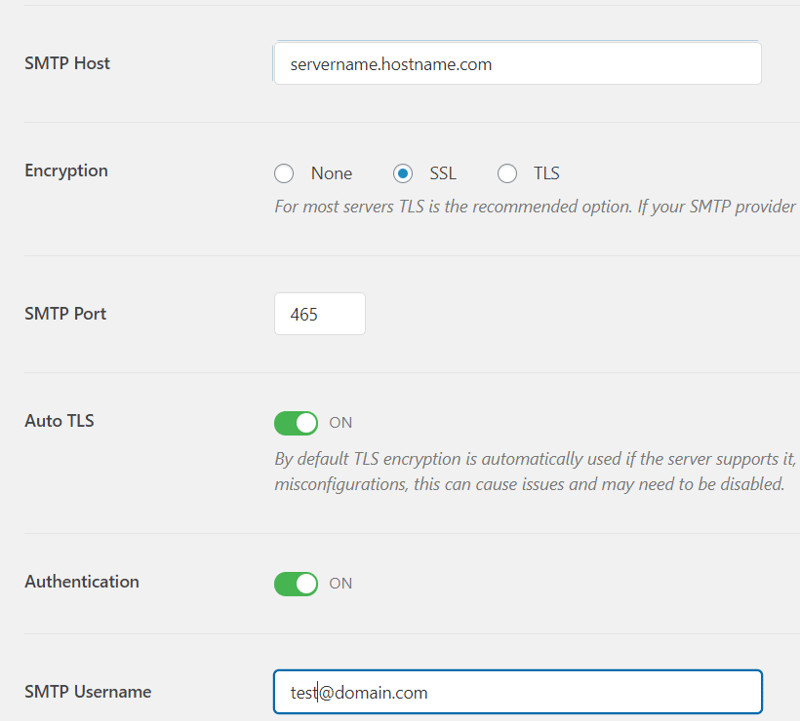
Almost there! You have to fill now the SMTP settings.
SMTP Host: server01.servername.com (ask your hosting for this info)
Encryption: SSL or TLS (I personal recommend SSL)
SMTP Port: 25 (no encryption) / 465 (SSL encryption) / 587 (TLS)
Auto TLS: On
Authentication: On
SMTP Username: form@example.com ( form’s mailbox)
SMTP Password: mailbox password
To make sure the SMTP configuration works, you can use the “Email Test” option. If you receive the Test Email, the configuration works.
Half way there!
Let’s install the plugin that lets you create the contact form. We have the choice between WPForms and Everest Forms, have no fear I will go through both of them!
WPForms – is for sure more popular than Everest Forms and it’s maintained by the creators of WP Mail SMTP. WPForms is a very beginner-friendly contact form plugin, everything can be set up in just a few clicks.
💡 If you want to have a better grasp about these two plugins, I’ve linked two short videos about WPForms and Everest Forms.
First Step: Install WPForms (Plugins -> Add New)
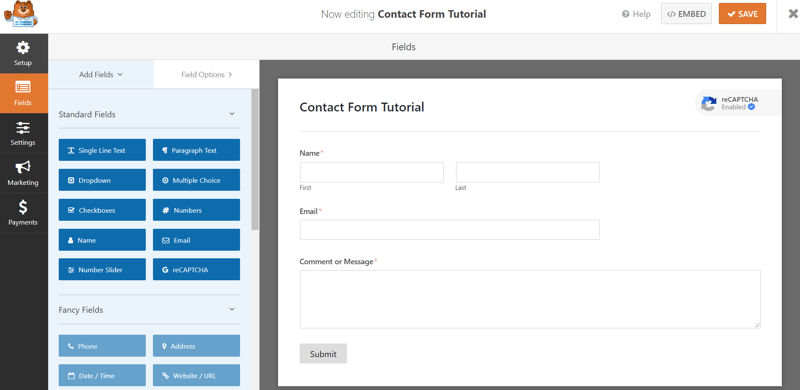
Second Step: Design your Contact Form – Here you can click on “Add New” and start creating your contact form. You start from scratch or you can get started with the Simple Contact Form template. You also can customize your contact form, the way you wish by dragging an element from the list and dropping it on the contact form.
Third Step: Configure your Contact Form – the free subscription allows you to configure the “Notification” and “Confirmation” tabs only. Notification tab permits you to set the settings for the e-mail address where you would like to receive the contact form submitted by the visitor and few other settings. The confirmation tab allows you to personalize the message which is displayed to the visitor once the form is submitted.
It is important to know that by default, the emails are sent to the email address that you used to create your WordPress account.
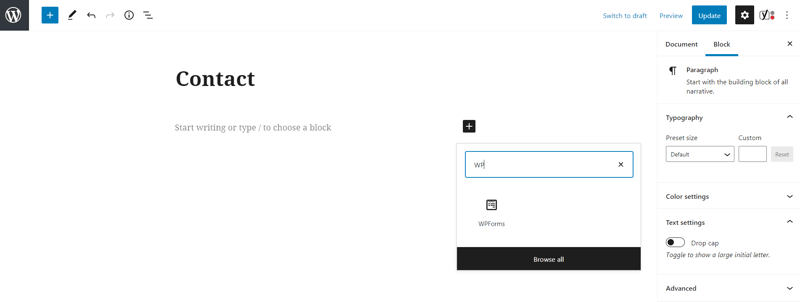
Fourth Step: Embed the Contact Form into a page. Now that’s easy, create the page via WordPress panel and click on the “+” and search WPForms and select the contact form that you want to use. Click the “Update” button now. That’s it!
Everest Forms – It’s similar to WPForms, so I won’t explain it again, please read above.
Add Google reCAPTCHA to your Contact Form
You must have a Google Account first, after access this link ➡️ get your reCAPTCHA here. You can choose what reCAPTCHA type you would like to use V2 or V3. To understand the differences between these two, click here.
Comparison between WPForms and Everest Forms
Now that we have both plugins installed, which one to keep? I like more WPForms. It has all the “must-have” things that you need, to have a functional contact form.
However, Everest Forms is a good quality contact form plugin as well and I will explain why.
A feature that I really like and is available within the unpaid version of Everest Forms, is the “Entries”. This can be really useful when you try to keep a track of the customers who submitted the Contact Form.
A very important feature that Everest Forms doesn’t have for example, within the free subscription, is the Google reCAPTCHA. Nowadays, it is really important to have a reCAPTCHA implemented to your Contact Form, to avoid all the spam. Therefore this is a BIG minus on the side of Everest Forms.
You can import already built Contact Forms using both plugins.
However, WPForms gives you the opportunity to Export in PHP format already built contact forms.
A very handy feature that WPForms has, is “System Info”, here you can find out the Web Server Configuration, PHP Configuration, your WordPress’s Configuration, etc. This can be really handy in some circumstances. This feature can be found following this path “Tools” > “System Info”.
Another feature that both plugins offer within the free subscription is, “Logs”. It can be found following this path “Tools” > “Logs”.
This can be useful in the debugging phase, in case you are not sure that your contact form works.
The point of this tutorial is to have the following message when someone submits the Contact Form.
Congrats! Hopefully your Contact Form is now functional! fingers crossed
Come and say Hi! 👋🏻
My Twitter
My Dribbble



Top comments (0)