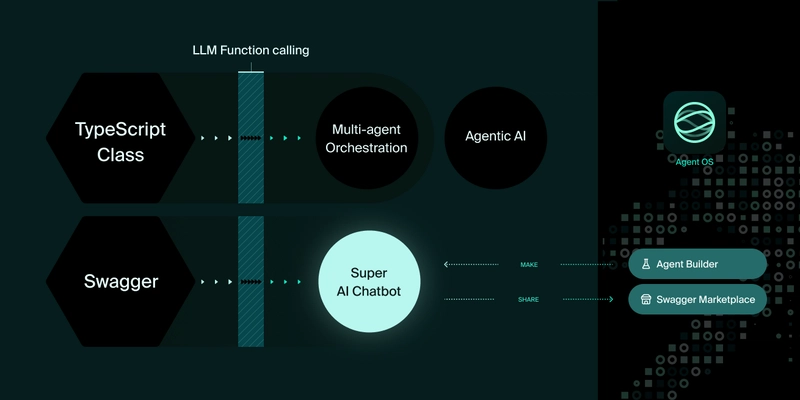
Quickly Build a Gmail Agent with Agentica CLI
https://github.com/wrtnlabs/agentica
This tutorial shows you how to effortlessly set up a Gmail Agent powered by OpenAI's GPT model using the Agentica CLI. In just a few minutes, you can automate your email tasks and focus on what truly matters.
Easy CLI Setup
With Agentica’s latest CLI wizard, you can start your project without any hassle. Open your terminal and run:
npx agentica start gmail-agent
This command launches the Agentica Setup Wizard, which will guide you through:
- Installing the required packages
- Choosing your package manager and project type
- Selecting the GMAIL controller
- Entering your
OPENAI_API_KEY
After you complete the wizard, Agentica automatically generates your code, creates a .env file, and installs all dependencies.
Overview of the Generated Code
Once setup is complete, you’ll get a code template like the one below:
import { Agentica } from "@agentica/core";
import typia from "typia";
import dotenv from "dotenv";
import { OpenAI } from "openai";

import { GmailService } from "@wrtnlabs/connector-gmail";

dotenv.config();

export const agent = new Agentica({
  model: "chatgpt",
  vendor: {
    api: new OpenAI({
      apiKey: process.env.OPENAI_API_KEY!,
    }),
    model: "gpt-4o-mini",
  },
  controllers: [
    {
      name: "Gmail Connector",
      protocol: "class",
      application: typia.llm.application<GmailService, "chatgpt">(),
      execute: new GmailService(),
    },
  ],
});

const main = async () => {
  console.log(await agent.conversate("What can you do?"));
};

main();
This template sets up your Gmail Agent to interact with Gmail using OpenAI’s GPT model.
Setting Up Google API Credentials
Before running your agent, add your Google API credentials to the .env file in your project root:
OPENAI_API_KEY=your-openai-api-key
GMAIL_CLIENT_ID=your-gmail-client-id
GMAIL_CLIENT_SECRET=your-gmail-client-secret
GMAIL_REFRESH_TOKEN=your-gmail-refresh-token
To get these credentials:
- Create a project in the Google Cloud Console and enable the Gmail API.
- Generate OAuth 2.0 credentials to obtain your Client ID, Client Secret, and Refresh Token.
What Your Agent Can Do
Your Gmail Agent will:
-
Process Gmail Data: Use the
GmailServiceconnector to read, search, and manage emails. - Handle Natural Language Commands: Leverage OpenAI's GPT model to understand and process your requests.
-
Ensure Type Safety: Utilize
typiato maintain robust type safety. -
Manage Credentials Securely: Use
dotenvfor safe and easy environment variable management.
Selective Function Exposure
For enhanced security and easier maintenance, you can choose to expose only specific functions using TypeScript’s Pick utility. For example, to include only functions for creating drafts, finding emails, sending emails, deleting email lists, and hard deleting, you can configure your agent as follows:
export const GmailAgent = new Agentica({
  model: "chatgpt",
  vendor: {
    api: openai,
    model: "gpt-4o-mini",
  },
  controllers: [
    {
      name: "Gmail Connector",
      protocol: "class",
      application: typia.llm.application<
        Pick<
          GmailService,
          | "createDraft"
          | "findEmails"
          | "deleteMailList"
          | "sendEmail"
          | "hardDelete"
        >,
        "chatgpt"
      >(),
      execute: new GmailService({
        clientId: process.env.GMAIL_CLIENT_ID!,
        clientSecret: process.env.GMAIL_CLIENT_SECRET!,
        secret: process.env.GMAIL_REFRESH_TOKEN!,
      }),
    },
  ],
});
This selective exposure makes your integration more secure and easier to maintain.
Conclusion
By using the Agentica CLI, you can build an AI-powered Gmail Agent in just a few minutes—without the hassle of manual setup. Say goodbye to repetitive email tasks and free up your time for more important work.
Start building your Gmail Agent today and experience the benefits of smart email automation! 🚀


Top comments (0)