In this blog we are going to see how connect GCP VMs with VS Code on Windows 10 machine.
Please refer the below step by step for your reference.
Step 1: Install google cloud cli on your local machine
Install cloud SDLK using the https://cloud.google.com/sdk/docs/install. I’ve installed via PowerShell command on my local windows machine, you can choose installation method based on your OS.

Step 2: Open Cloud SDK and login using below command
gcloud init
And login with your GCP’s account


Step 3: Open PowerShell and execute below command to create SSH key
ssh-keygen -t rsa -f [KEY_FILENAME] -C [USERNAME]
- [KEY_FILENAME] is the name of SSH key file that will be created
- [USERNAME] is the username that will use to log in that VM
ssh-keygen -t rsa -f keyfile -C mytest@gmail.com
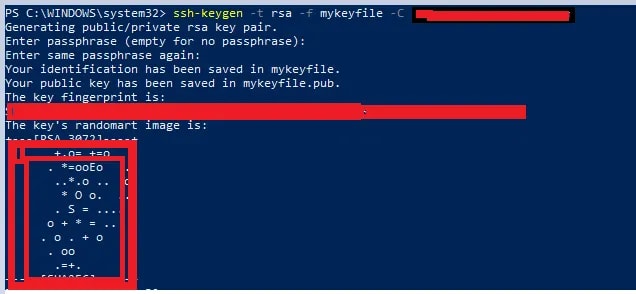
This command will create private and public key.
Step 4: Login GCP console and navigate VM which is created already
Go to Compute Engine-> Click VM instances tab-> Click VM name

Click Edit and find SSH Key option save your public key which is created earlier.
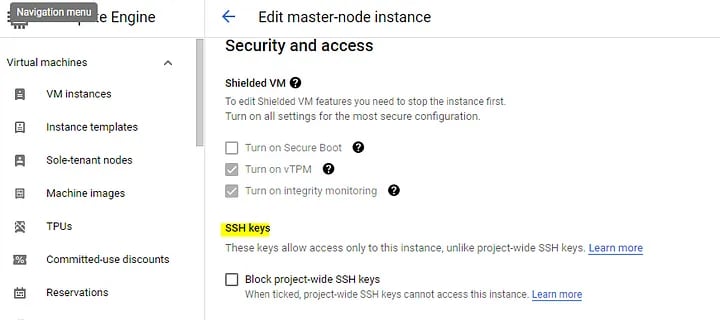
Click + ADD ITEM and save your public key

Save and now ready to connect using VS code.
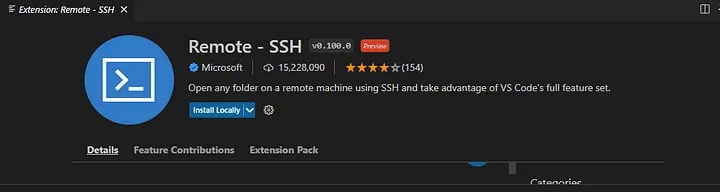
Step 5: Connect with VS code
Install Remote - SSH extension
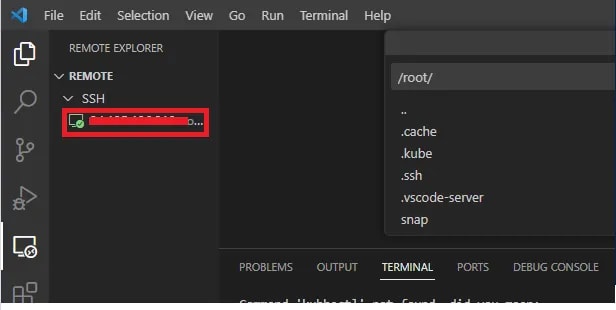
Now click Remote— SSH and Press “+”

Enter the below command to create connection
ssh -i C:\\Users\\[YourUser]\\[KEY_FILENAME] [USERNAME]@[VM's IP]
[VM’s IP]- Use external IP of your VM
Now click the IP address to establish connection.
Conclusion:
Now successfully connected GCP VM’s with VS code on windows 10 machine. Hope this helps !
Happy learning !

Top comments (0)