If you are a Power User or an Advanced User of Power BI, you may have your own secret M recipes to connect to your own data sources and do complex data transformations.
And you are getting bored coping and pasting the recipes every time you or your colleagues need them.
Then, why don't you package them and distribute by developing Power BI Custom Connector? There are some advantages to do it.
- You can hide all the detail of M code and just expose the most important functions so that everyone can easily use it.
- Users (including you) can add another operation on top of your M code easily and they don't have to touch your code.
- You can delegate authentication to connector.
The great news is that you don't need any developer knowledge to build custom connector, as you only use M language to write it. All you need, in addition to what you have know, is Visual Studio :)
Prerequisites
- Windows 10
- Power BI Desktop
- Visual Studio 2019
- Power Query SDK
Simply install them one by one by following wizards.
Start from Power BI desktop
Let's step back and start from Power BI desktop. I don't know what kind of data source nor M recipe you have, so I use TripPin Service as starting point.
Create M code to read data
1. Open Power BI Desktop and connect to Blank Query.
2. Open "Advanced Editor" and paste following code. It contains a function and some transformations.
let
    GetAirports = () as table =>
        let
            DefaultRequestHeaders = [
                #"Accept" = "application/json;odata.metadata=minimal",
                #"OData-MaxVersion" = "4.0"
            ],
            source = Web.Contents("https://services.odata.org/v4/TripPinService/Airports", [ Headers=DefaultRequestHeaders ]),
            json = Json.Document(source),
            value = json[value],
            toTable = Table.FromList(value, Splitter.SplitByNothing(), null, null, ExtraValues.Error)
        in
            toTable,
    airports = GetAirports(),
    #"Expanded Airport" = Table.ExpandRecordColumn(airports, "Column1", {"IcaoCode", "Name", "IataCode", "Location"}, {"IcaoCode", "Name", "IataCode", "Location"}),
    #"Expanded Location" = Table.ExpandRecordColumn(#"Expanded Airport", "Location", {"Address", "City", "Loc"}, {"Address", "City", "Loc"}),
    #"Expanded City" = Table.ExpandRecordColumn(#"Expanded Location", "City", {"CountryRegion", "Name", "Region"}, {"CountryRegion", "Name.1", "Region"}),
    #"Expanded Loc" = Table.ExpandRecordColumn(#"Expanded City", "Loc", {"type", "coordinates", "crs"}, {"type", "coordinates", "crs"}),
    #"Extracted Values" = Table.TransformColumns(#"Expanded Loc", {"coordinates", each Text.Combine(List.Transform(_, Text.From), ","), type text}),
    #"Expanded crs" = Table.ExpandRecordColumn(#"Extracted Values", "crs", {"properties"}, {"properties"}),
    airportsDetail = Table.ExpandRecordColumn(#"Expanded crs", "properties", {"name"}, {"crs"})
in
    airportsDetail
3. Make sure you get records as expected. You can use anonymous authentication.

4. While you open Power BI Desktop, make sure you change Data Extension policy in security settings like below.

Develop Custom Connector
Now I convert (develop) above M code into custom connector.
Create project
1. Open Visual Studio 2019 and click "Create New Project".
2. Select Data Connector Project. If you don't see this, make sure to install Power Query SDK and restart Visual Studio.
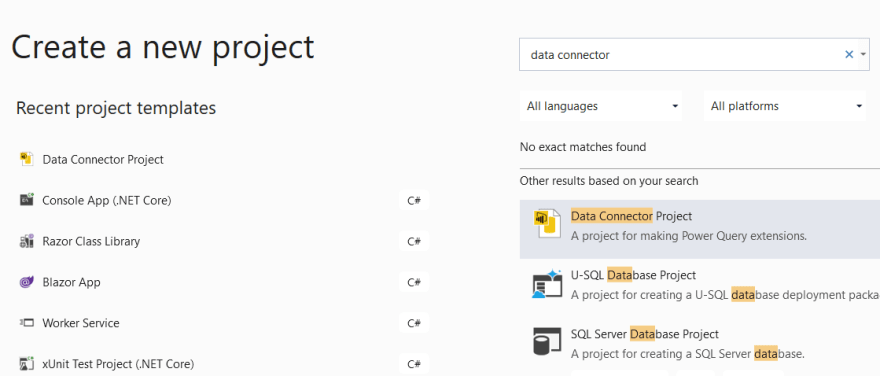
3. Name the project and create. I named it as TripPinConnector. Visual Studio generates many files but you just need to pay attention to two files.
- *.pq file: This is where I write code.
- *.query.pg file: This is where I test the code.
4. Open pq file. The syntax should be familiar as it's M language!
Migrate M code into pq file
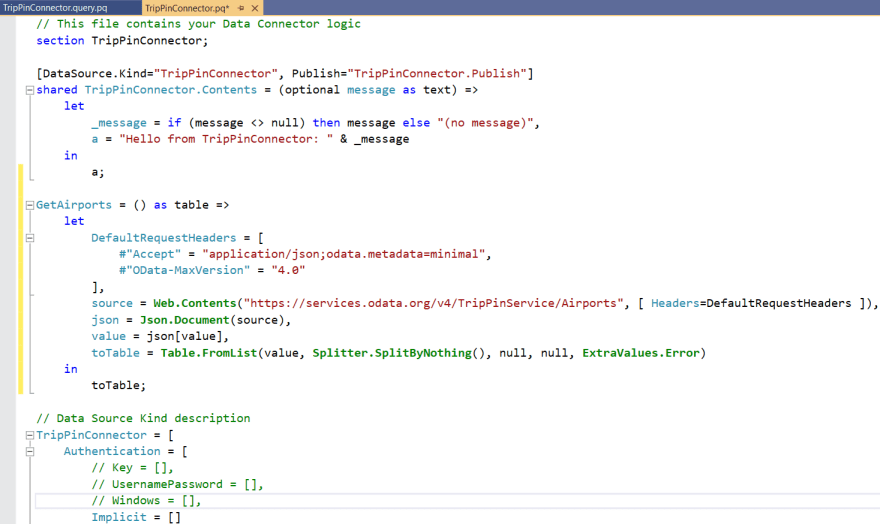
1. First of all, copy and paste the GetAirports function. I place it below shared section. One difference is I use ; at the end of function. As I already show the code above, I put picture below to clarify where I put my code.
2. Next, migrate the rest of the code by replaces existing code under shared keyword. Again, I place picture below.
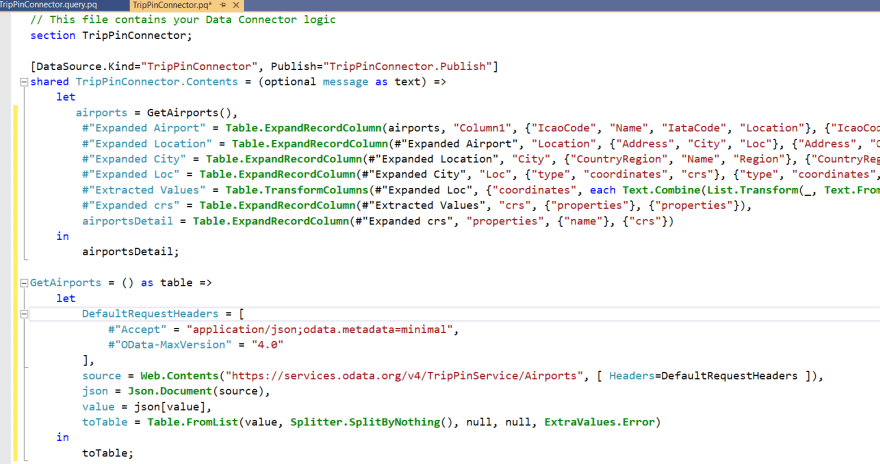
That's it!
Test the code
1. Open *.query.pq file and confirm it calls the shared function.

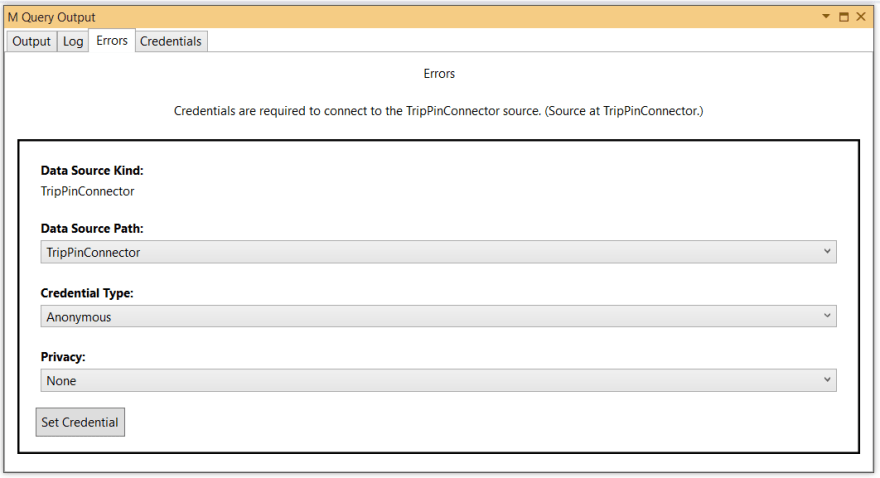
2. Press F5 key to start test. The M Query Output window opens and asks credential first. Set Anonymous to credential type and click [Set Credential].
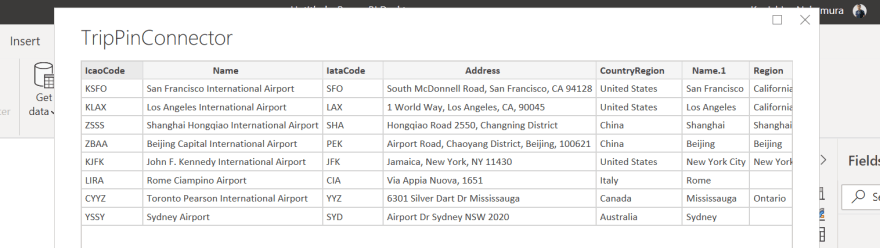
3. Press F5 again and you see the data comes back.
Now you build your first connector.
Deploy
Last step is to deploy the connector.
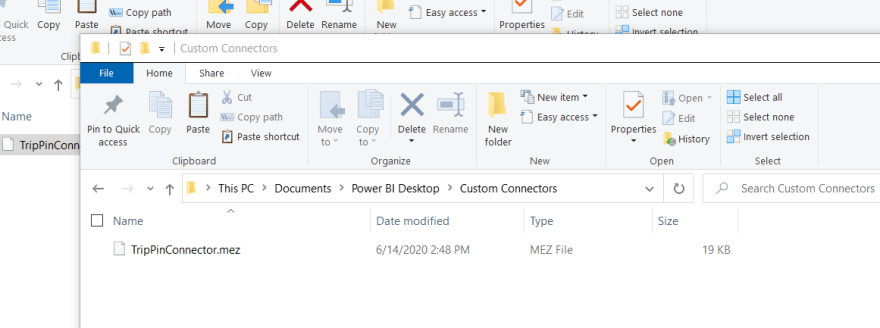
1. Navigate to the project folder | bin | Debug. You can find *.mez file. There is a plan to change file extension so it could be different in the future.

2. Copy the file into C:\users<user>\Documents\Power BI Desktop\Custom Connectors folder. Create the folder if not exists.
That's it!
User in Power BI Desktop
1. Restart Power BI Desktop and start from Get Data.
2. Search for "TripPin" and you should find your connector.

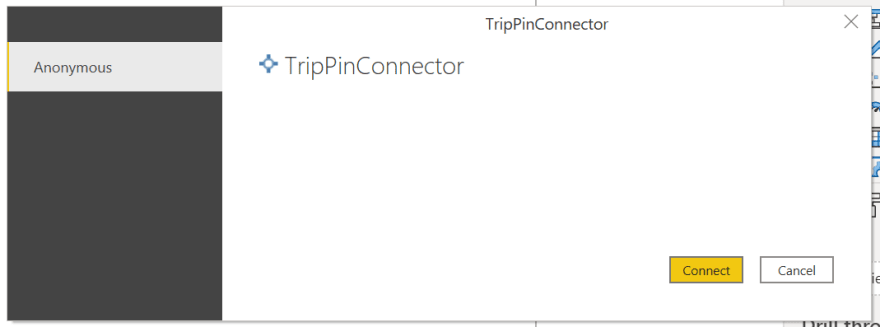
3. You will see warning when connecting but just continue.
4. Only anonymous authentication is available. Click Connect.
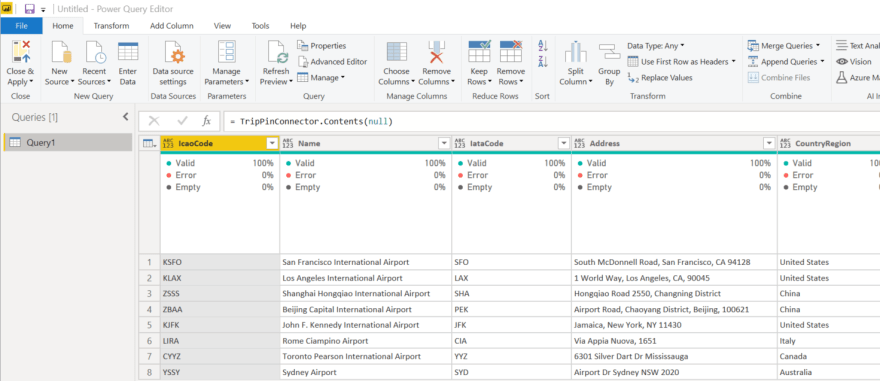
5. Load the data or continue to transform if you want.
From here, you have same experience as other connector. If I see the advanced editor at this point, I only see below.
Summary
In this article, I explain how simple it is to migrate from your own M snippet into custom connector. I know you have tons of questions such as:
- How to change function name?
- How to add more capabilities?
- How to branding?
- Is "Debug" build okay?
- How to enable authentication for Organization, OAuth, etc?
If you have these questions, please read my next article where I explain how to create Microsoft Graph Connector. If you cannot wait or just want to see the code, go to My Graph sample.

Latest comments (3)
Hi, awesome article. Just wondering how it will work if the datasource is coming from an API with an oauth2 authentication? Much appreciated.
Sorry to get back to you late. Does this help? dev.to/kenakamu/develop-power-bi-c...
Thanks and really appreciated! :)