
Earlier this year I wrote a short article about creating NSWindow without Storyboard with code only. While collecting information, I read several opinions why it was a tedious job, and it could be done better...
Maybe the easiest way to mix Storyboard and coding approach. As I pointed out, recreation of NSMenu is a real pain/mess. So, what about keeping Main.storyboard for NSMenu only and code the rest of the components?
Step 1.
Create a new macOS app.

Step 2.
Delete:
- Window Controller Scene
- View Controller Scene

This way we can keep NSMenu and need to recreate NSWindow and NSView with their Controllers.
Step 3.
Add a new Cocoa (NSWindow) class with the following code:
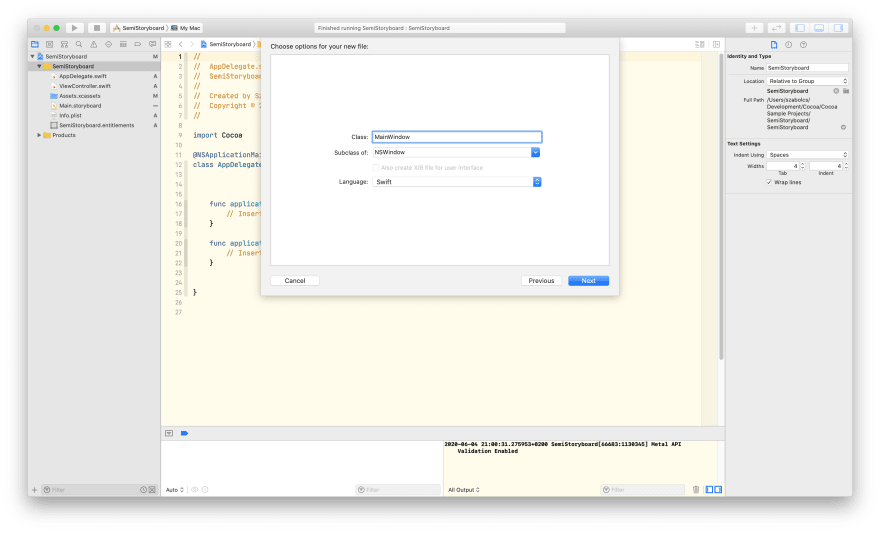
Probably, the most important part of NSWindow init method is the StyleMask.
I added these four constants:
- titled: The window displays a title bar
- closable: The window displays a close button
- miniaturizable: The window displays a minimize button
- resizable: The window can be resized by the user
It's worth checking the documentation to find out more about NSWindow StyleMask.
Step 4.
Add a new Cocoa class, an NSWindowController.

In the Controller file we need to define the size and position of our new window. Beside these we need to prepare the window to hold a view too as content.
Note: the convinience init method is required as NSWindowController cannot load the relevant xib file, unless NSViewController. Since we don't want to use any xib files, so we set empty string there.
Step 5.
Add a new Cocoa class, an NSViewController.

As I mentioned above, NSViewController will try to use xib file with the same name, we override this to set it to nil.
It's important not to forget that NSViewController is not enough alone. We need an NSView to show the content, which size is the same as defined for NSWindow.
Run the application. Everything seems to be fine but... we have no error and no window. Why? We have never told our application that it has an NSWindow.
Step 6.
Go to AppDelegate.swift and define our newly created NSWindow. Once we have it as variable, we need to show in applicationDidFinishLaunching method.
Run the application now, and you'll see the window.

Step 7.
Add 'Hello, World' label as NSTextField to the View using Constraints.
Note: We'll align the label to the center of the View, not important to give other x and y coordinates than 0. You use sizeToFit() method, so width and height of the NSTextfield are irrelevant as well.
Your final app:

Source code: Github
You can find more macOS programming tutorial on my blog.

Top comments (0)