
The following is a tutorial from the Platform9 technical team.
Platform9 Managed Kubernetes (PMK) is a Kubernetes offering with several distinct advantages, including its ability to spin up a Kubernetes cluster with physical or virtual machines (VM) in a short period of time. This is done with relative ease using what Platform9 calls BareOS clusters. These are the clusters that are formulated via the process of preparing on-premises or public cloud VMs as nodes that can then be used to create clusters via the PMK UI.
This tutorial, created by the Platform9 technical team, demonstrates this process by creating a single-node Kubernetes cluster using a VM. But the real lessons will be those gleaned from the set-up of your Windows host machine to support this process. The goal of this tutorial is to show you how to create a VM that runs Ubuntu 16.04 (which is supported by PMK), and then show you how to use that VM to create a Kubernetes cluster via the PMK UI.
To complete this tutorial, you will need the following:
- A computer running a recent version of the Windows operating system (a machine running Windows 10 is used for this tutorial), Oracle VM VirtualBox for spinning up your virtual machine,
- A download of the Linux ISO for Ubuntu 16.04, and
- A free-forever account with Platform9 Managed Kubernetes.
So, now that you know what you’re dealing with, let’s get started!
Installing Oracle VirtualBox on Windows
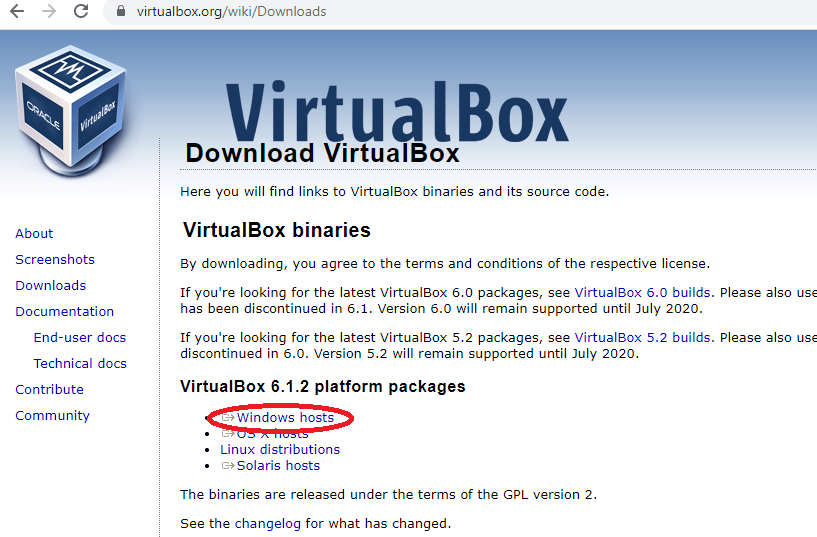
The first step in creating your virtual machine is to set up the software that will create and manage it. We’re using Oracle VM VirtualBox, which is very intuitive and, best of all, available as open source. To download the most recent version (6.1.2) for Windows, simply visit the downloads page and click on “Windows hosts” below “VirtualBox 6.1.2 Platform Packages.”
Once the download has finished, you can begin installing and configuring the software. When you open the executable to begin installing Oracle VM VirtualBox, you will be met with a Setup Wizard:
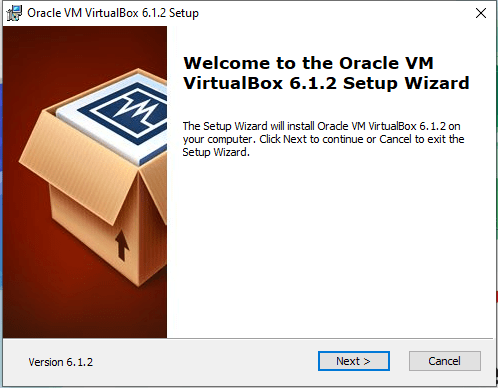
Click Next on the initial page to progress to the setup portion of the installation. This step will allow you to change the way features are installed and choose the location. For our purposes, the default options will suffice.
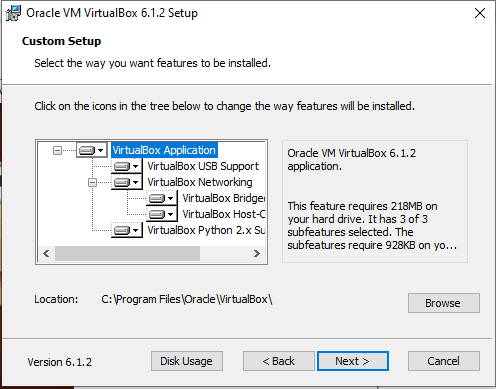
Click Next > to continue. For this tutorial, we will allow the features to be installed in the default manner and at the default location (C:\Program Files\Oracle\VirutalBox).
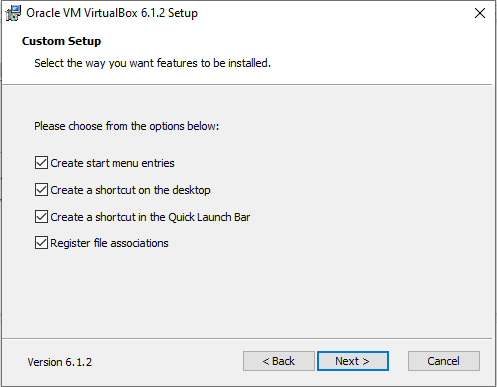
The Setup Wizard will give you the option to create shortcuts, start menu entries, etc. Again, we will leave the configuration as it is and click Next to progress.
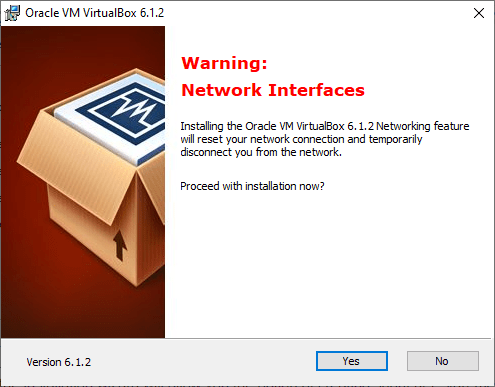
On the next screen, click Yes > to proceed with the installation. After this, you will be met with one more screen, and you simply click Install. Within minutes, Oracle VM VirtualBox will be completely installed on your machine. Then, you can proceed to the next step - setting up your virtual machine.
Setting Up Your Virtual Machine
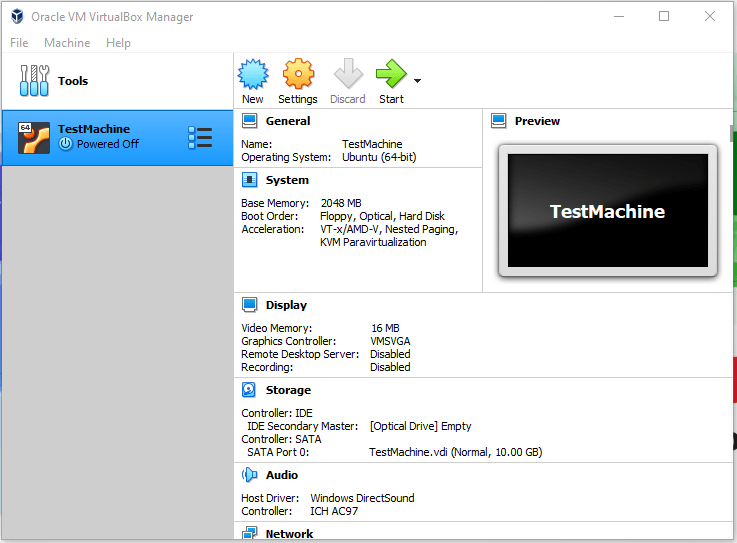
To begin setting up your Ubuntu instance, you first need to open VirtualBox. When you do, you will be met with the following window:
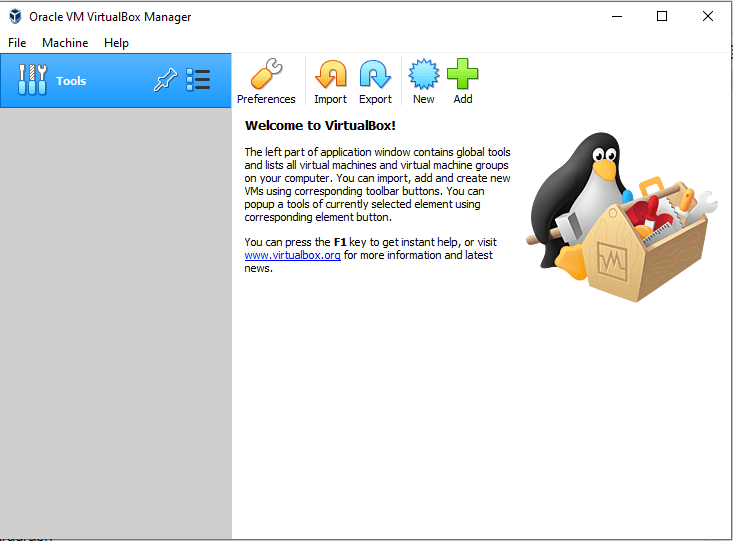
On the main toolbar running across the top of the Oracle VM VirtualBox Manager window, select Machine > and New. This will open a new window where you can begin defining the specifications for your VM.
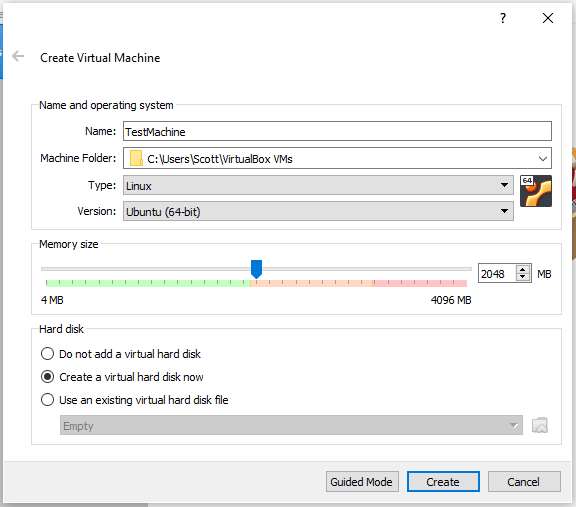
You can simply choose the name TestMachine and follow along with the same setup as dictated by the image above. I allocated 2 GB of RAM for the VM and chose the option to Create a virtual hard disk now. After clicking Create > a virtual hard disk now, be sure to select the hard disk file type, VDI (VirtualBox Disk Image):
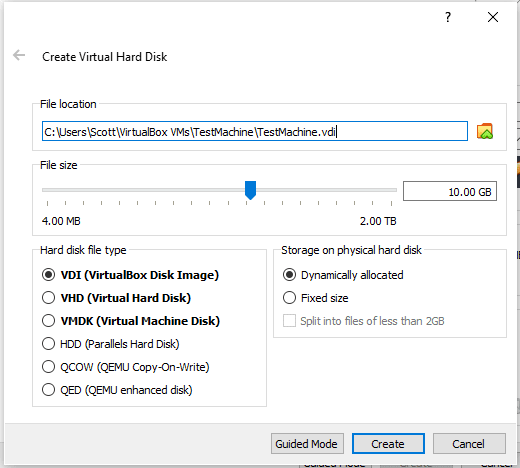
Clicking Create will complete the initial setup of your virtual machine.
Downloading the Ubuntu 16.04 ISO
You won’t get very far without downloading the Ubuntu 16.04 ISO. To do so, visit the Ubuntu 16.04 releases page and scroll down to find the correct image. For our purposes, let’s go with “ubuntu-16.04.6-desktop-amd64.iso.” Click on the image to begin downloading.
Installing Ubuntu 16.04 on Your VM
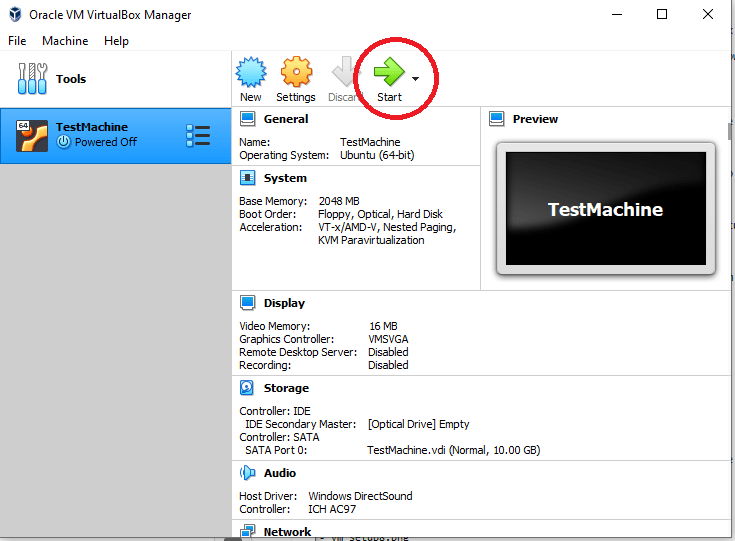
Now that you have your Ubuntu 16.04 image, let’s install the OS on your virtual machine. Go back to the Oracle VM VirtualBox Manager and select TestMachine in the left pane. Then click the button to “Start” your VM:
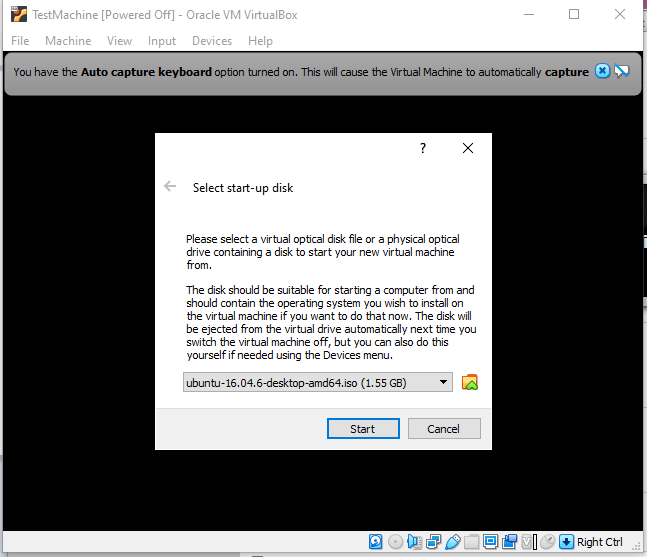
Next, the VM will start and you will be met with a prompt to request the start-up disk. Browse to the Ubuntu 16.04 ISO that you downloaded in the previous step and click Start.
Now let’s install Ubuntu 16.04 on your VM.
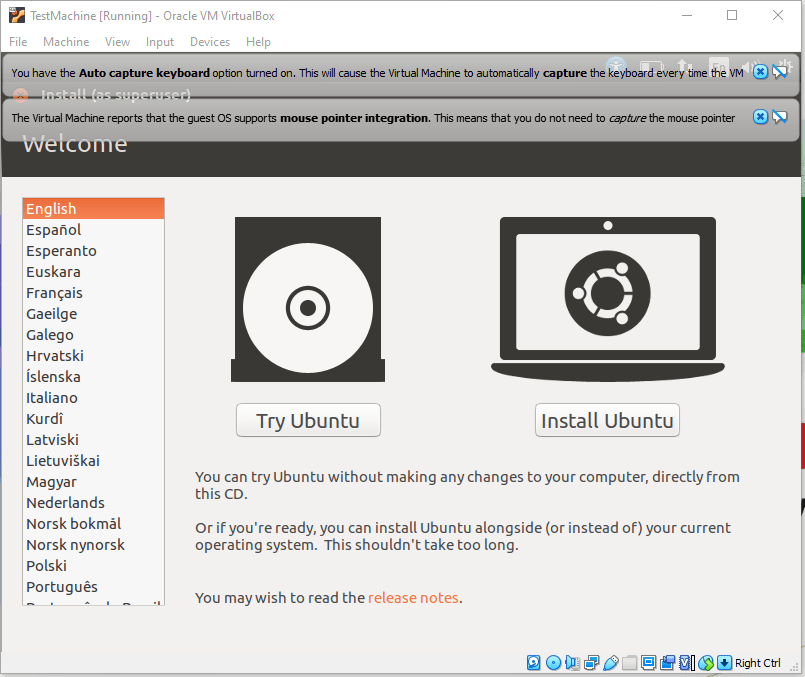
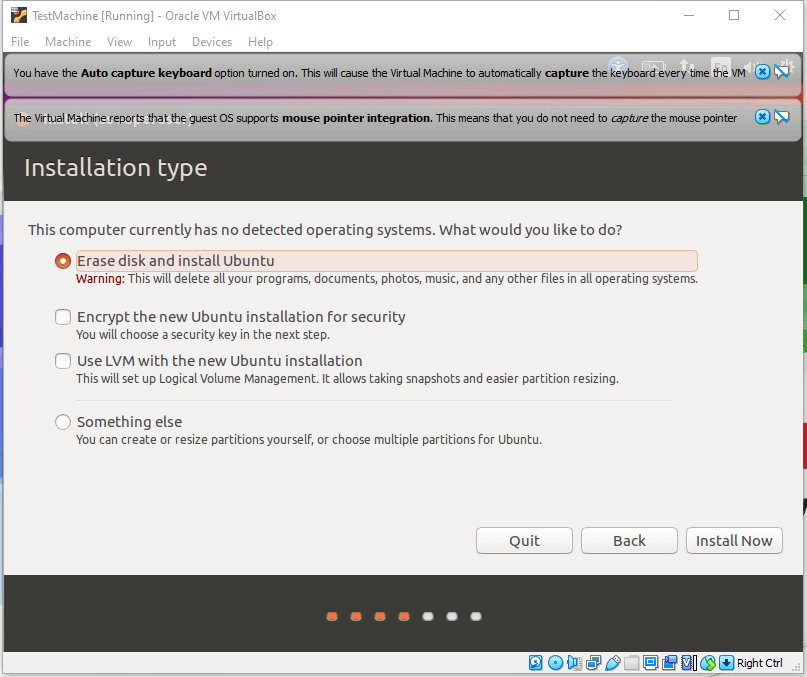
Select your preferred language and click Install Ubuntu. On the next screen, you will be asked if you would like to download updates or install third-party software during the installation. For the purposes of this tutorial, we will leave the boxes unchecked and click Continue. On the next screen, select the option to “Erase disk and install Ubuntu,” and then click Install.
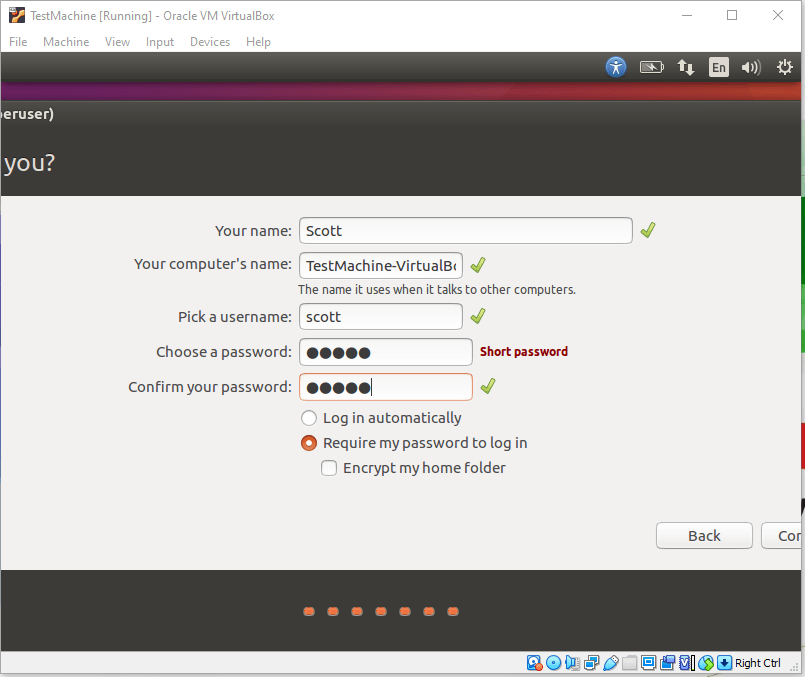
The next two steps simply verify your location and keyboard type. Complete these as appropriate and progress to the final step, where you will name the machine and set up your account credentials:
After this step, Ubuntu will complete the installation process, and you will have officially set up a virtual machine running Ubuntu 16.04 with VirtualBox.
Creating a Single-Node Kubernetes Cluster with PMK
The process for setting up a single-node Kubernetes cluster with your VM via PMK is fairly straightforward. But first, you will need to sign up for the PMK Free Tier. Next, you must configure your VM so that you can utilize it as a node within your BareOS cluster. You can do this by logging into your Ubuntu VM, opening a terminal, and executing the following commands:
- Command to download CLI installer:
curl -O https://raw.githubusercontent.com/platform9/express-cli/master/cli-setup.sh - Command to run the CLI installer:
bash ./cli-setup.sh - During the installation process, your Platform9 management URL and username will be requested. You must provide these to move forward.
- Finally, run the following command to prepare your node for use within your cluster:
pf9ctl cluster prep node
When this process completes successfully, you will receive output similar to the following:

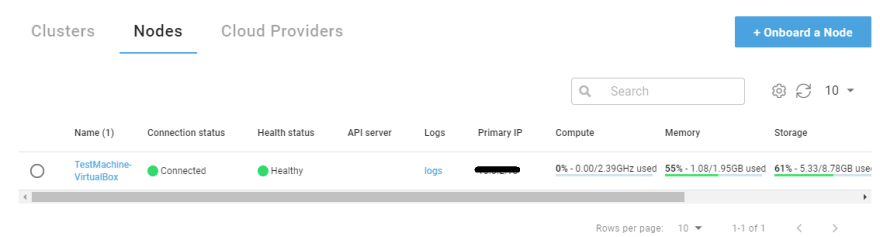
Now the node will be visible in your Platform9 management console, where it can be viewed by navigating to Infrastructure -> Nodes.
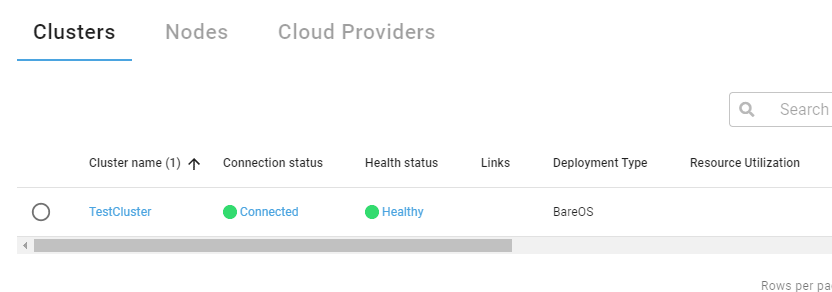
Finally, by navigating to Infrastructure -> Clusters, you can click Add Cluster and follow the directions there, as well as the Platform9 documentation to add a BareOS cluster, which will add your VM as a node to complete the deployment of your Kubernetes cluster.

Top comments (0)