
The following tutorial from the Platform9 technical team enables you to run a simple single node Kubernetes cluster on your Mac laptop or desktop using Platform9 Managed Kubernetes (PMK) - now free to anyone who wants to instantly deploy open-source Kubernetes on-premises, AWS, or Azure.
This type of setup is useful for:
- Developers wanting to test and validate changes locally,
- DevOps engineers who want a test PMK cluster to learn and experiment with Kubernetes and PMK.
Here is a summary of the steps involved:
- Install virtualbox on your Mac OS machine (laptop or desktop)
- Create a Ubuntu 16.04 VM in virtualbox
- Create a single node PMK cluster using this VM
Step 1: Install VirtualBox on Mac OS
Install VirtualBox on Mac OS (via Download)
On Mac OS there are two popular ways to install VirtualBox.
The first is to (download the latest edition of VirtualBox](https://www.virtualbox.org/wiki/Downloads) for your platform. At the time of this writing it is version 6.1.2 for Mac OS.

Once the file is downloaded, it will be in the ‘Downloads’ folder. Mount the dmg file by double-clicking on it, which will launch another window that has the actual installer. That installer is called VirtualBox.pkg.

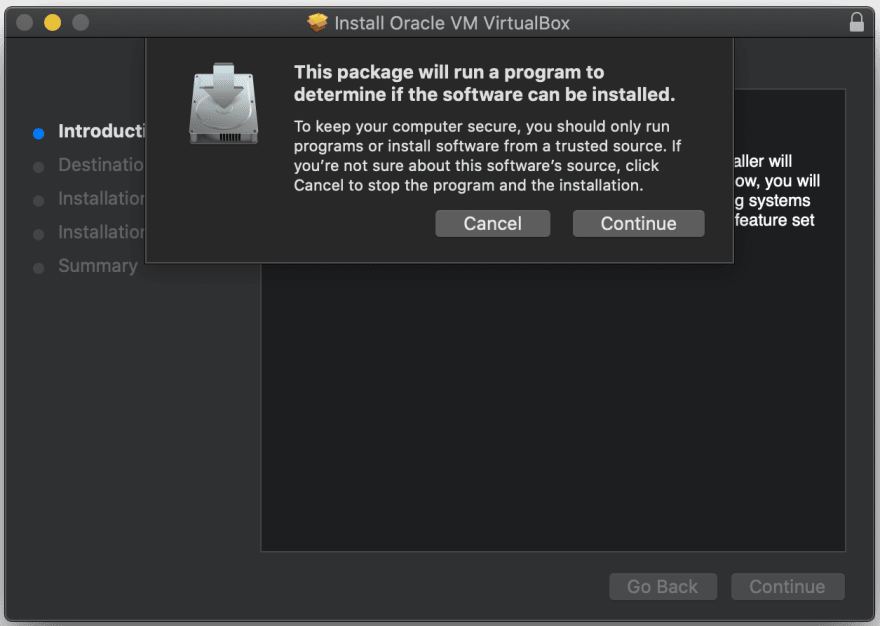
Launch VirtualBox.pkg and follow through the four steps in the installer.
1 - Click “continue” to let it check for prerequisites.
2 - Continue the install

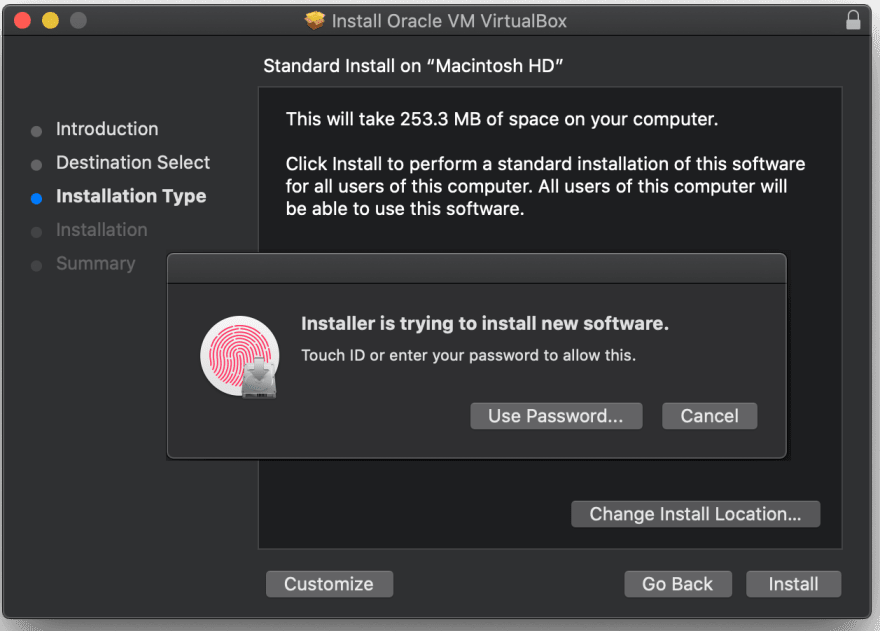
3 - Click “Install” on the bottom left; then, it will prompt for a password for admin access to update the network configuration.
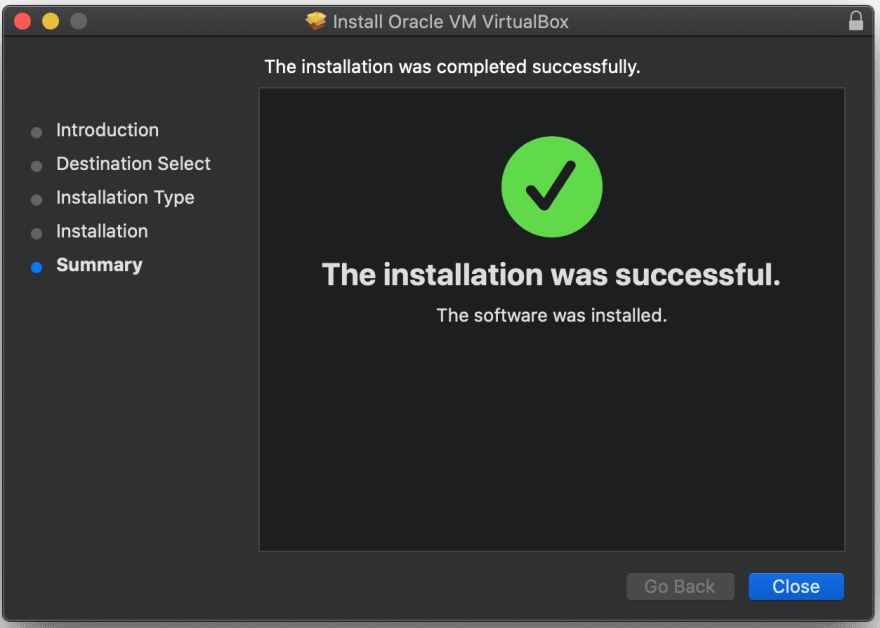
4 - Click “Close” and it is installed and ready to run.
Install VirtualBox on Mac OS (via Homebrew)
On Mac OS there is a developer focused community project called Homebrew (https://brew.sh/) that provides a locally-installed utility that can be used to install and update projects provided by the community.
VirtualBox is available via this method and can be installed with a single command line.
MacBook-Air
~ % brew cask install virtualbox
Updating Homebrew...
==> Auto-updated Homebrew!
Updated 1 tap (homebrew/cask).
No changes to formulae.

==> Caveats
To install and/or use virtualbox you may need to enable its kernel extension in:
  System Preferences → Security & Privacy → General
For more information refer to vendor documentation or this Apple Technical Note:
  https://developer.apple.com/library/content/technotes/tn2459/_index.html

==> Downloading https://download.virtualbox.org/virtualbox/6.1.2/VirtualBox-6.1.2-135662-OSX.dmg
######################################################################## 100.0%
==> Verifying SHA-256 checksum for Cask 'virtualbox'.
==> Installing Cask virtualbox
==> Running installer for virtualbox; your password may be necessary.
==> Package installers may write to any location; options such as --appdir are ignored.
Password:
installer: Package name is Oracle VM VirtualBox
installer: choices changes file '/var/folders/s2/yg_q89zd1xx14mq8fv1bshpc0000gn/T/choices20200123-15967-1nzasnl.xml' applied
installer: Upgrading at base path /
installer: The upgrade was successful.
==> Changing ownership of paths required by virtualbox; your password may be necessary
🍺  virtualbox was successfully installed!
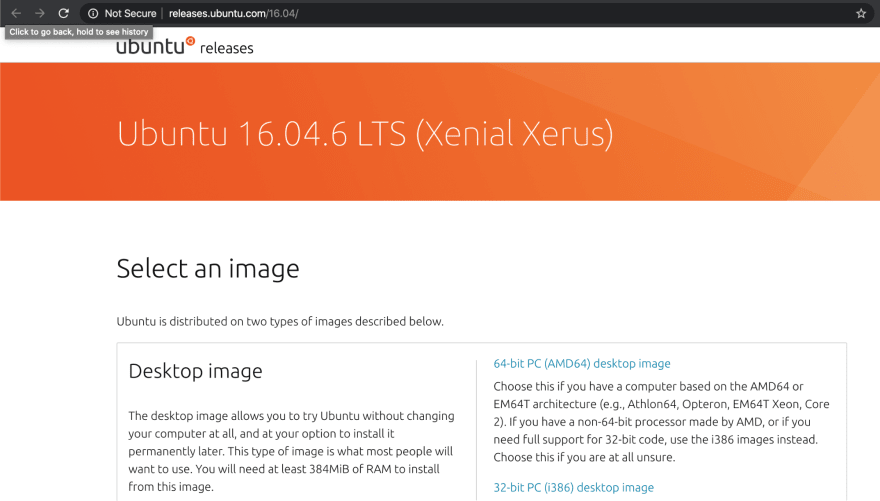
Step 2: Retrieve Ubuntu LTS
In a web browser, go to http://releases.ubuntu.com/16.04/ and scroll down to the “Server” download section to get the “64-bit PC (AMD64) server install image” image. This will take a few minutes, as it is 873Mb.
Step 3: Create VirtualBox Virtual Machine
In the Application folder you will find VirtualBox.

Launch VirtualBox. It will be a clean slate to start building your new virtual machine.

Next click the blue “New” button to create a new virtual machine. Select Linux and Ubuntu for the options, and choose a name that makes sense for you.
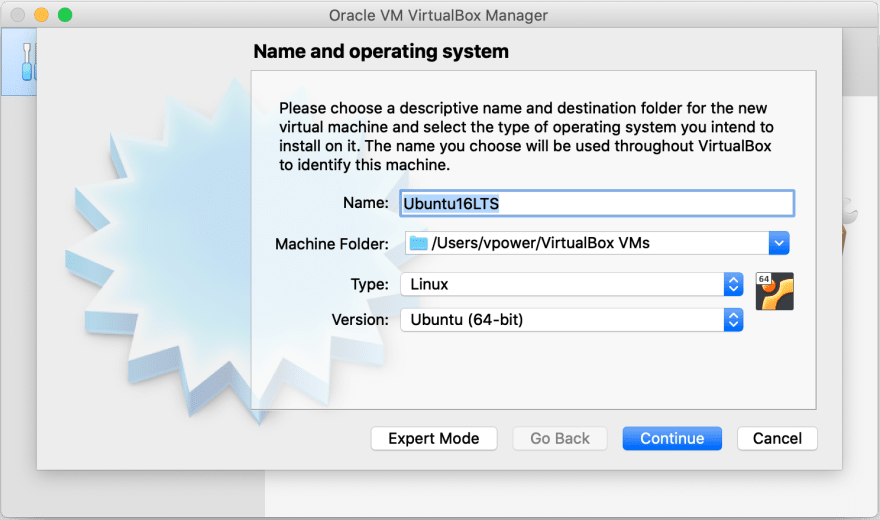
PMKFT recommends 16Gb of RAM and 4 cores per server node. Since this is a local test environment, not a full server, those are not strictly needed; but, the more memory you can allocate, the better the system will perform. Macbook Pro and iMacs routinely have 16GB of RAM, so allocating 8GB would be ideal for almost all test scenarios.

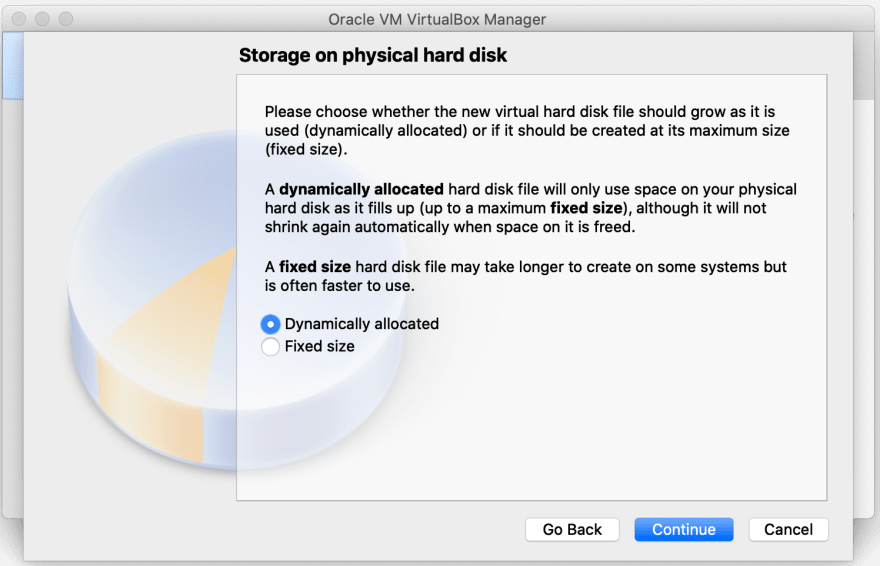
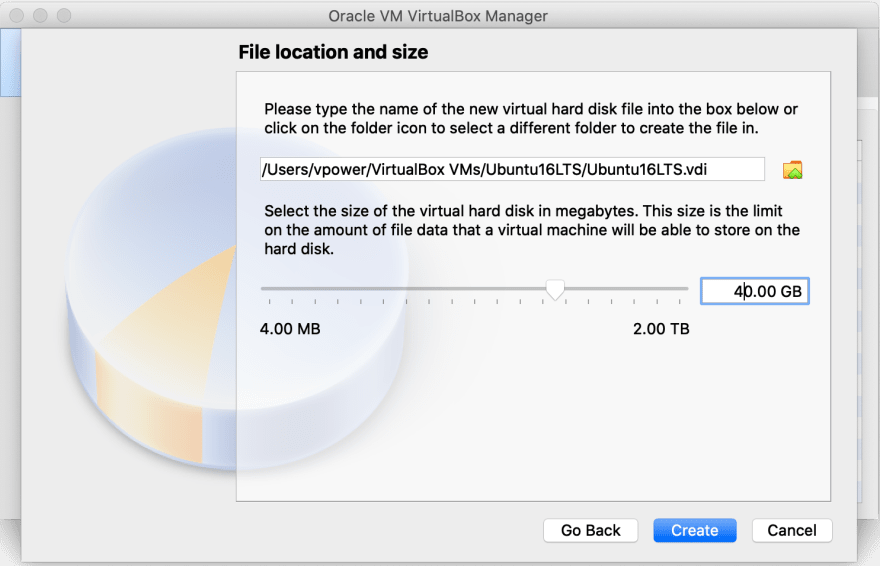
Next, let it create a virtual disk (it doesn’t matter which format) and dynamically allocate the space. The more disk space you can allocate the better – 20+GB fills up fast when you start to play with container images in Kubernetes. Click “Create” after going through these screens.

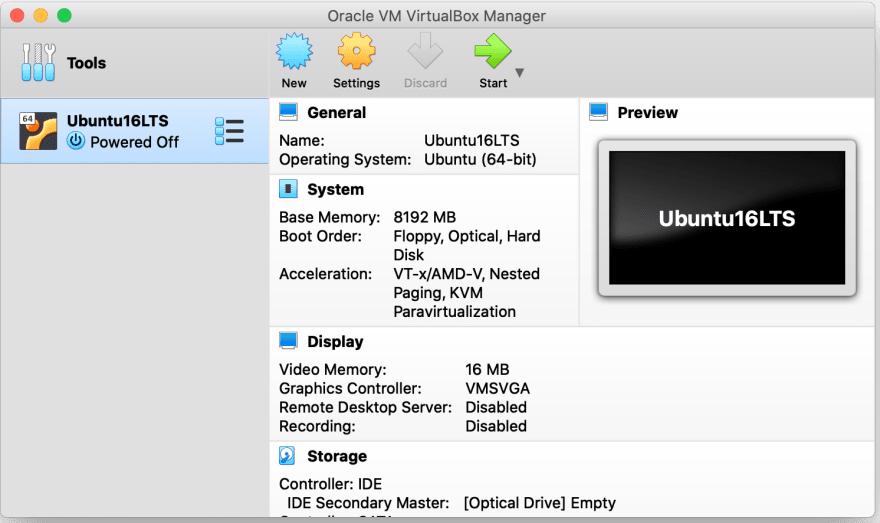
Now you have a completed image, ready to start.
Step 4: Install Ubuntu
The first time the new virtual machine starts up, it will want the location of the ISO file that it will install from.

Select your language and then choose to “Install Ubuntu Server”

Select your language again, followed by country; tell it to not detect the keyboard layout, and select the appropriate keyboard. If you don’t really care and have a standard US English setup, then press enter four times and it will start the install.

After the installation completes, it will want a hostname.

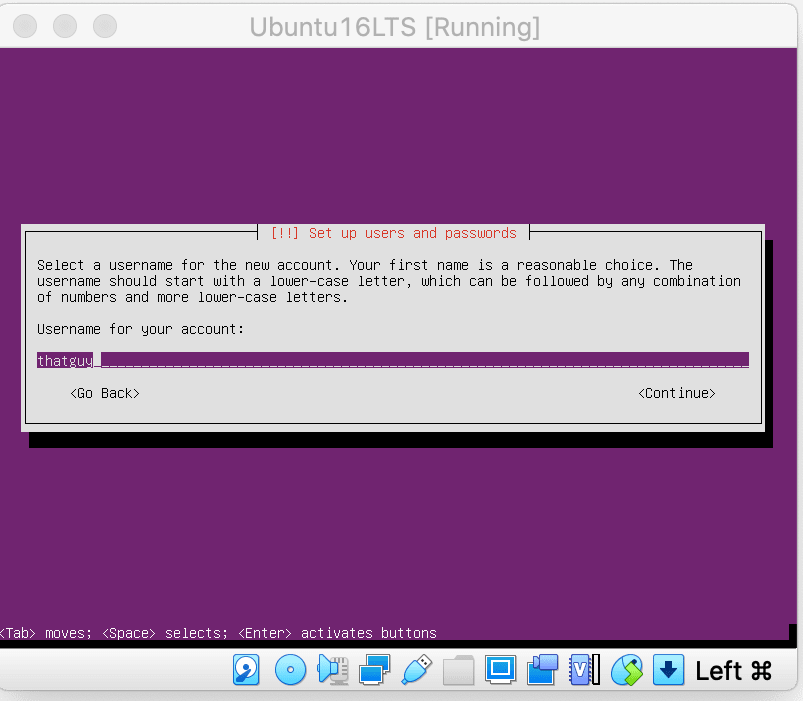
Next, it will want a username and password.
You can accept the defaults for the next few screens including ‘not to encyrpt the home directory,’ since it is a test box; and, ‘to use LVM for disks.’

The screen after it will require you to select “Yes” to write the changes to the disk. The default is “No,” so you can’t just blindly continue.

Same with the next sequence – you can accept the defaults until the screen where it wants you to confirm, “Yes” to continue.

The next screen that prompts for information asks for a proxy, which you can just leave empty to continue.

Select whether you want the instance to patch itself.

Select whether you want any packages. The default selection is an acceptable answer; no additional packages are required.

Allow it to install the GRUB bootloader.

And we have a fully-functional Ubuntu 16.04 LTS server that just needs to restart.
Now you can use this server to create a single node PMK cluster.
Step 5: Setup SSH access for your VM
By default, you will not be able to ssh into this VM even from the host. In order to enable ssh access, you need to install sshd in the VM and make changes to the VM’s networking configuration to allow ssh access from outside.
- Log into your Ubuntu server you just created on virtual box. Note: on first login you will be prompted to create a password.
- Install openssh-server to setup SSH access for your VM.
sudo apt-get update
sudo apt-get install openssh-server
Ssh is now configured on the VM, but the VM is still not accessible from outside. This is because the VM we just created is configured with NAT as the default networking option. In this configuration, we need to enable port forwarding for the VM and forward port 22 (the ssh port) to the host level, so that any ssh requests for the VM can be received at the host level and routed to the VM.
- Stop your VM
- In the VirtualBox UI, select the VM on the left hand panel, then click on ‘Settings’ -> ‘Network’
- You will see ‘Adapter1’ configured with ‘NAT’. Expand the ‘Advance’ menu then click ‘port forwarding’. Click + button on the right to create a new port forwarding rule for this VM.
- Specify the following parameters in the rule: Name: SSH Protocol: TCP Host IP: 127.0.0.1 Host Port: 2222 IP Guest: Empty Port Guest: 22
- Start your VM
- Now open a terminal window on your host machine and run the following command to ssh into the VM
ssh yourusername@127.0.0.1 -p 2222
Your ssh access is now configured!
Step 6: Create a Single Node Kubernetes Cluster using PMK CLI
- Log into your Ubuntu server you just created on virtual box.
- Download and install the PMK CLI by running the following command on your Ubuntu terminal.
bash <(curl -sL http://pf9.io/get_cli)
- The CLI installer will ask for your PMK credentials. Specify your PMK account url, your email address that you use to sign into PMK and your password. The account url will be in "
https://pmkft-<numeric value>.platform9.io" format. - Once the CLI install finishes, you can run the
pf9ctlCLI.pf9ctl cluster --help - The
cluster bootstrapcommand lets you easily create a single node cluster. Specify the name for your cluster, and the CLI will use reasonable defaults for all the other parameters to create the cluster for you.
pf9ctl cluster bootstrap MyTestCluster
Read more information about the Bootstrap command here
This will take ~5-10 minutes. Behind the scene, the CLI will create a Kubernetes cluster by making this node both the master and worker node for the cluster. It will install required Kubernetes packages and configure the cluster.
Thats it! Your single node PMK cluster is now ready. You can access the cluster via kubectl or use the PMK UI to access it and deploy workloads on it.

Top comments (0)