
Recognizing objects and patterns in images and video used to be a complicated task that was only available to Data Scientists and Software Engineers familiar with Machine Learning. The barrier to entry in this field has drastically reduced in the last few years due to advances in open source libraries and availability of vast amounts of data. IBM particularly has made it very simple to detect objects in images with their Watson Visual Recognition service as we will see in this post.
Here is quick video if you want to follow along instead of reading this blog.
They offer a couple of in-built models
General model — Default classification from thousands of classes
Face model — Facial analysis with age and gender
Explicit model — Whether an image is inappropriate for general use
Food model — Specifically for images of food items
Text model — Text extraction from natural scene images
Additionally, they offer a very intuitive interface to build and train custom models. You only need a few things to get started.
- IBM Cloud account to log into the Watson Dataplatform
- At least two categories for classification with at least 10 positive images for each category.
- It is advisable to have negative samples as well that do not belong to any of the other target categories.
Step by step instructions to train a custom model
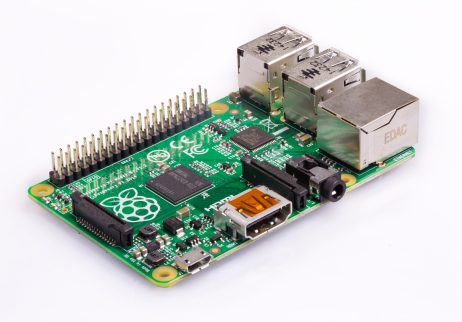
Watson Visual Recognition service has a [API Explorer site](https://watson-api-explorer.ng.bluemix.net/apis/visual-recognition-v3) that can be used to analyze images. I gave it a [raspberry pi image](https://www.raspberrypi.org/app/uploads/2017/05/Raspberry-Pi-Model-B-1-462x322.jpg) and it came back with the following keywords.

https://medium.com/media/79f1b680fc50e681fa073aff337a5db9/href
The results are not bad at all. The picture is identified as a electrical circuit with a high confidence.
electrical device — 0.905
computer circuit — 0.904
Those categories are correct in themselves, but we want to be able to differentiate between the different types of Raspberry Pi boards.
Step by step instructions on create a custom model that can differentiate between different Raspberry Pi boards.
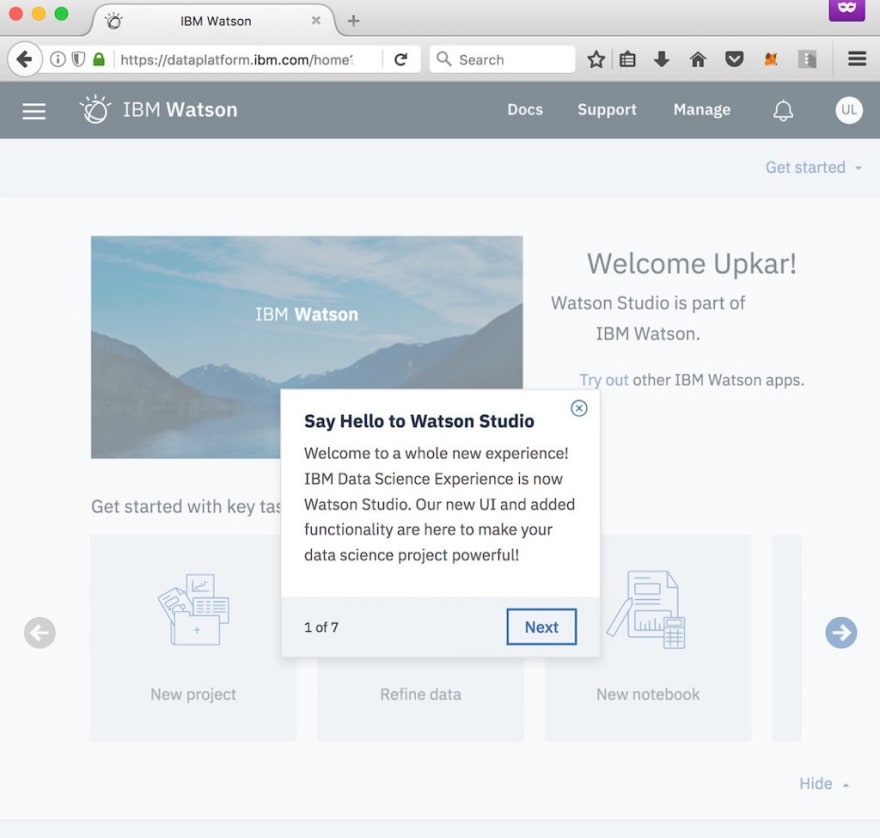
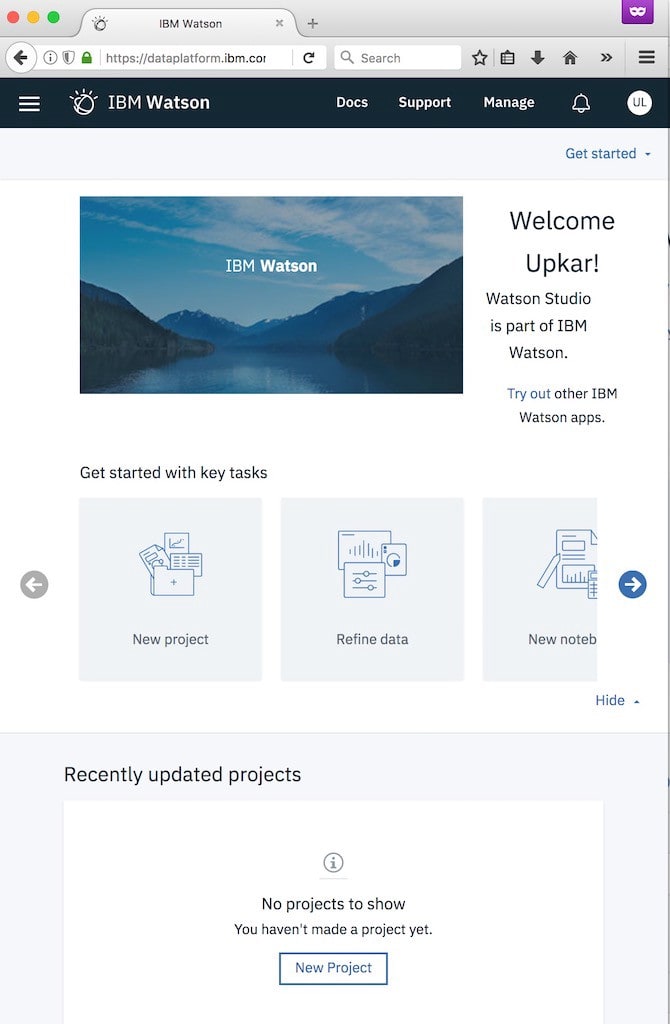
Step 1 — Log into Watson Data Platform

Once you log in, you will be greeted by the main dashboard with helpful hints.
Step 2 — Create a new Visual Recognition project

Step 3 — You are shown the custom model screen

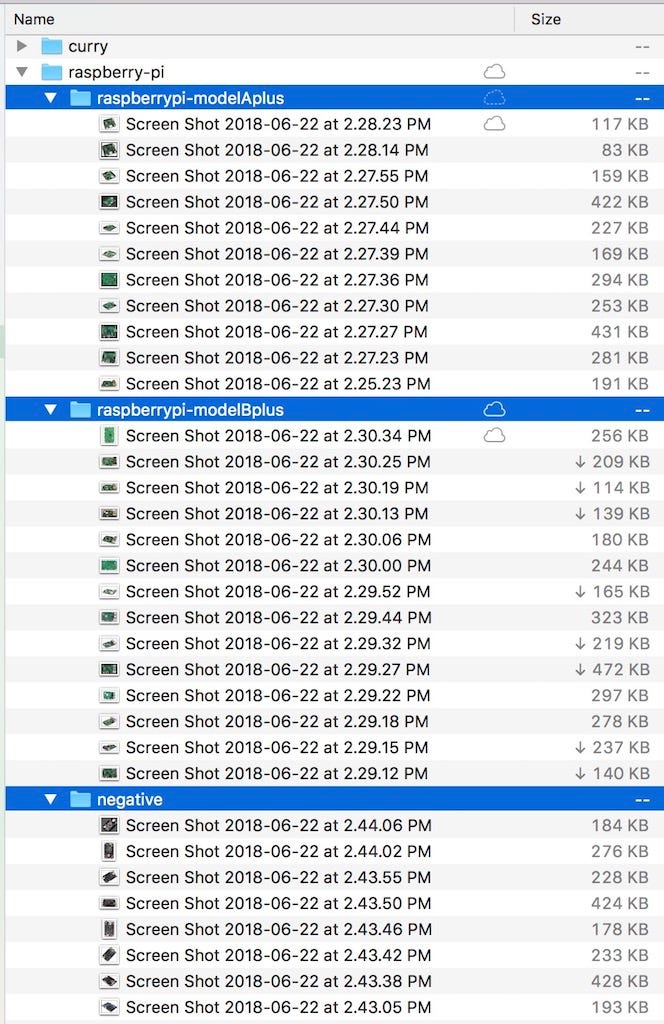
Step 4 — Organize training images into correct folders
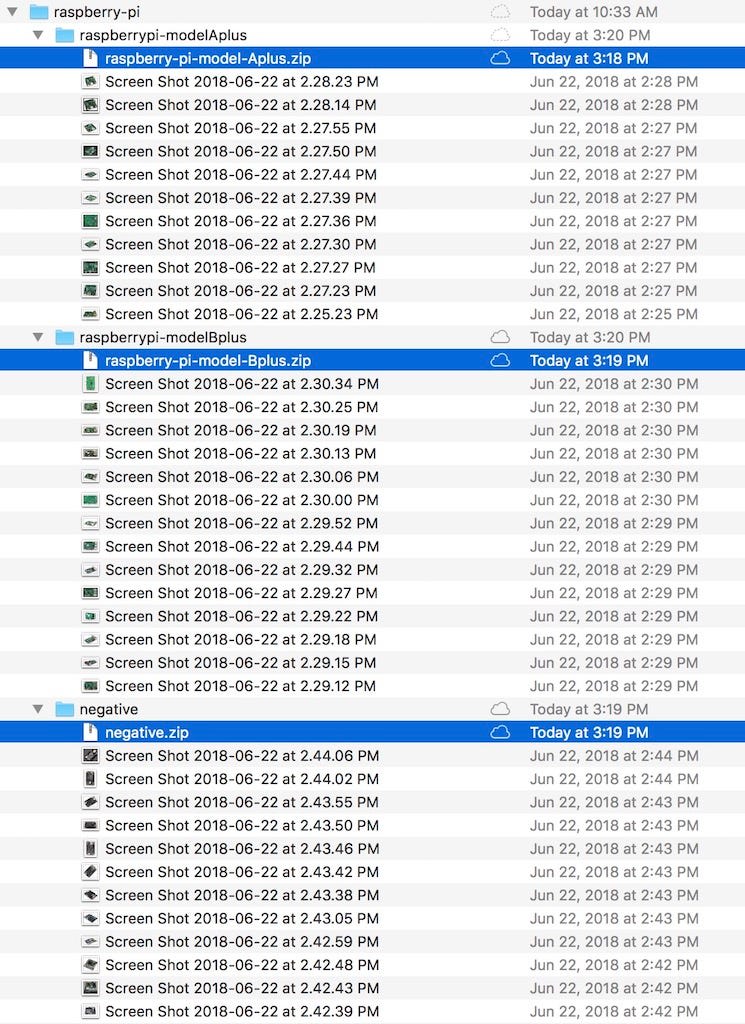
I download a dozen images of Raspberry Pi Model A Plus and Raspberry Pi Model B Plus board each. Additionally, I downloaded a few negative images (boards that are neither). The folder structure should look like:
Step 5 — Create zip files to upload
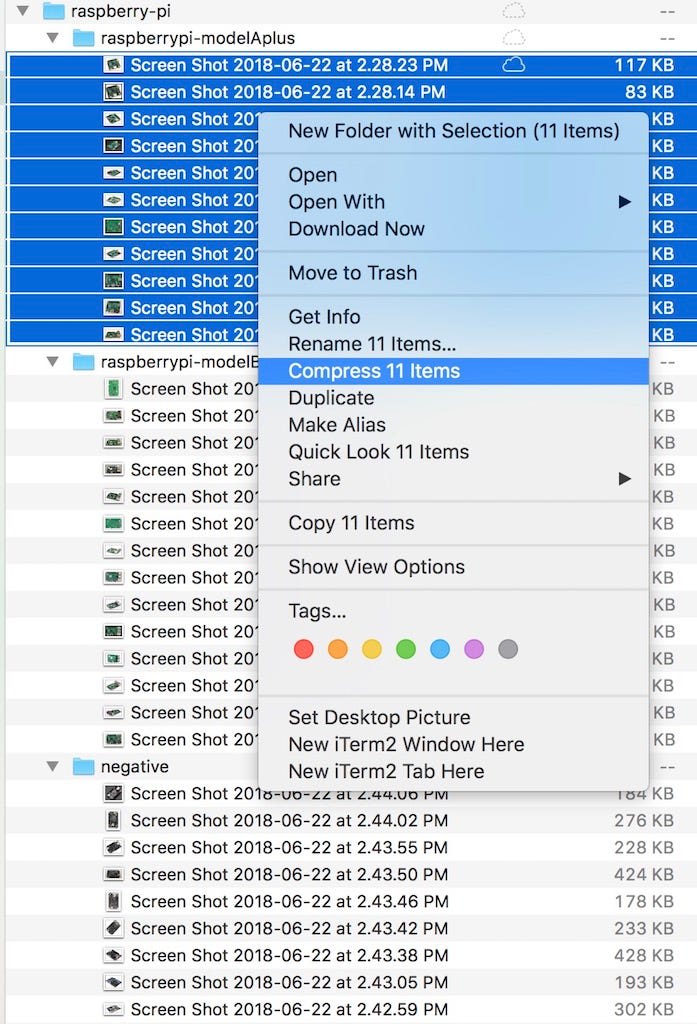
After you have done this for all folders, it should look like:
Step 6 — Drag and drop zip files into assets section
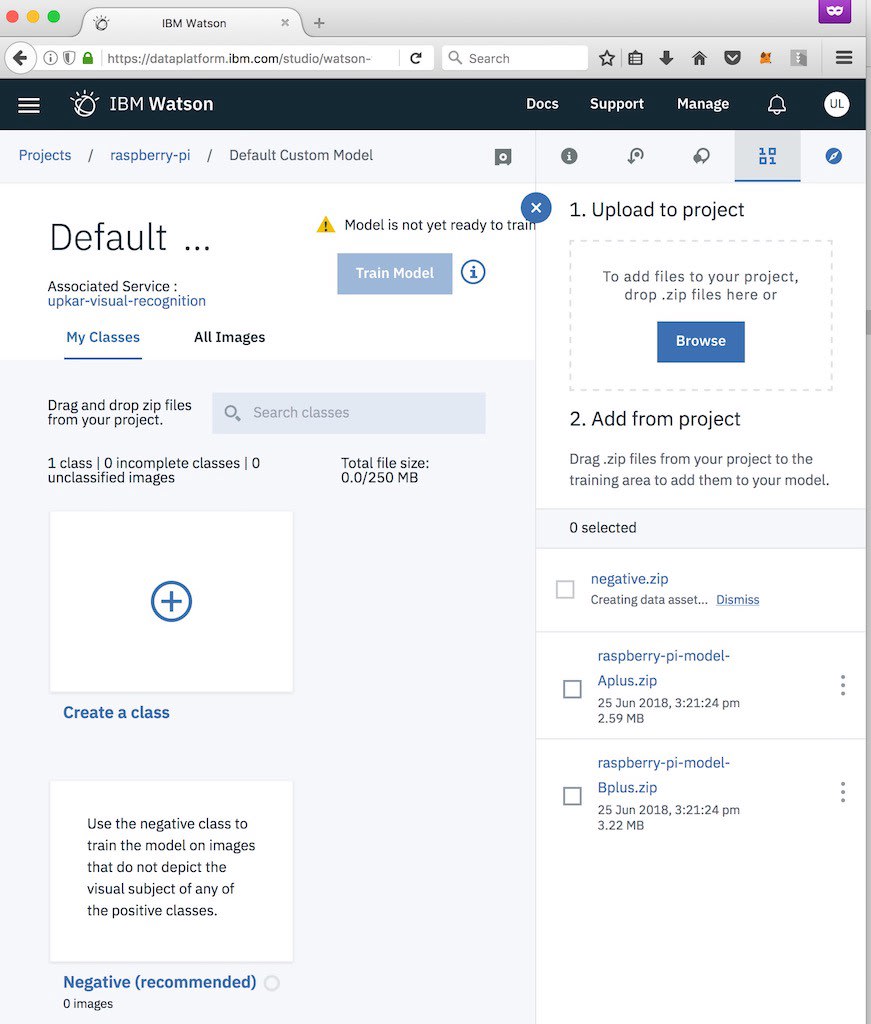
Step 7 — Create two classes
- RaspberryModelAPlus
- RaspberryModelBPlus
Step 8 — Drag and drop training files into respective folders
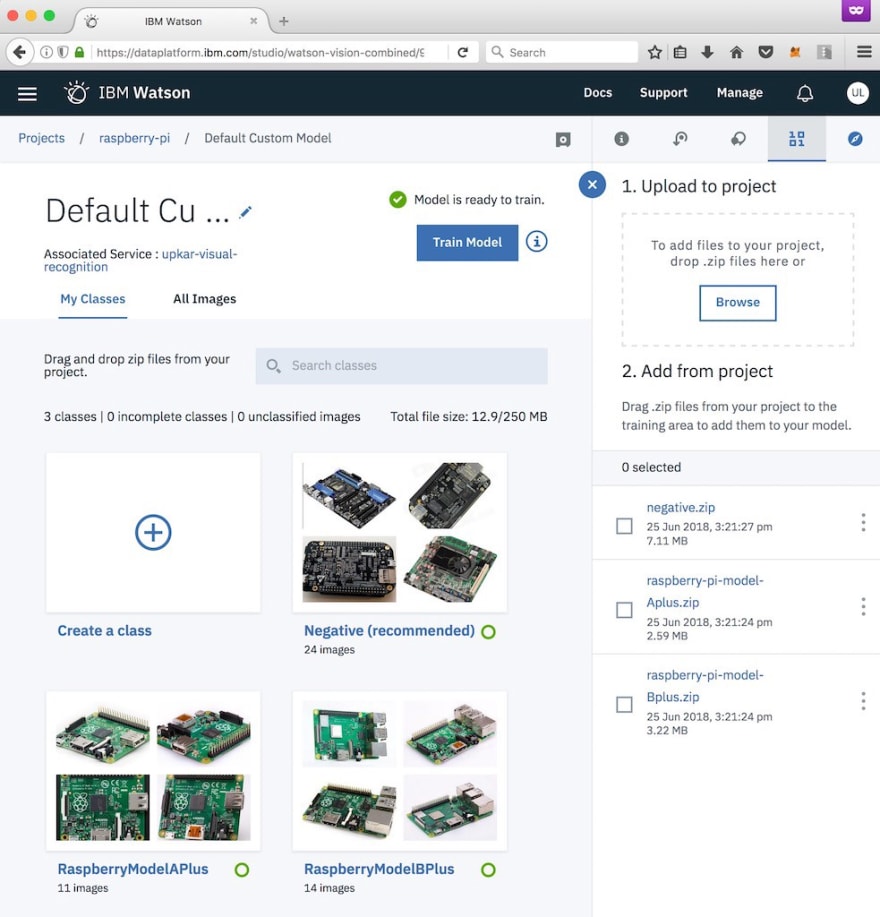
Step 9 — That’s all ! Now let’s train this custom model
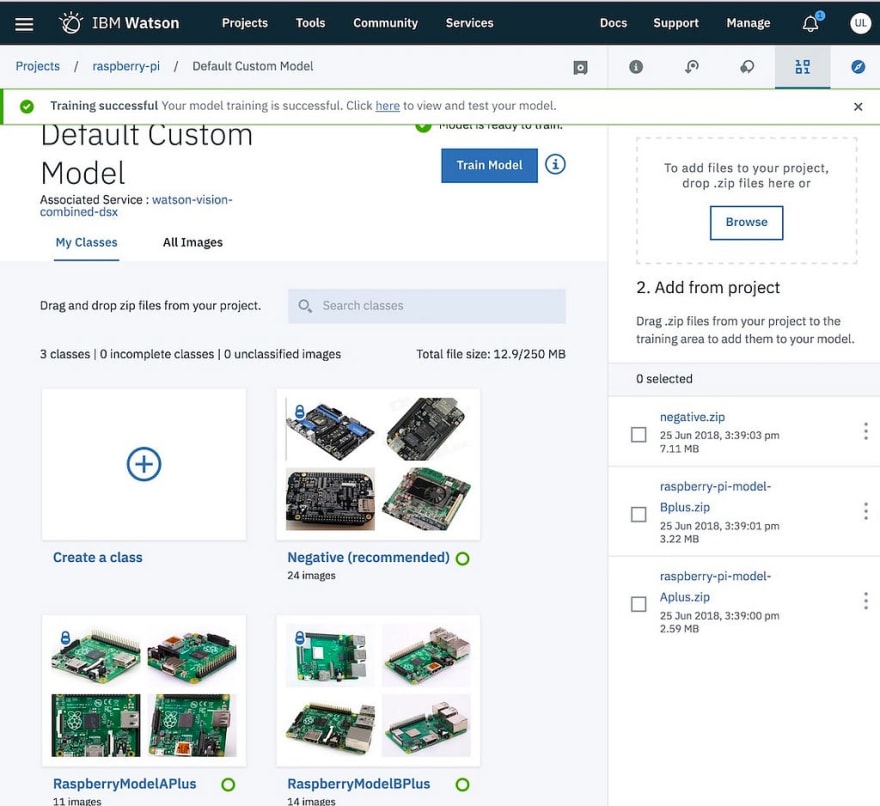
Step 10 — Time to test our model
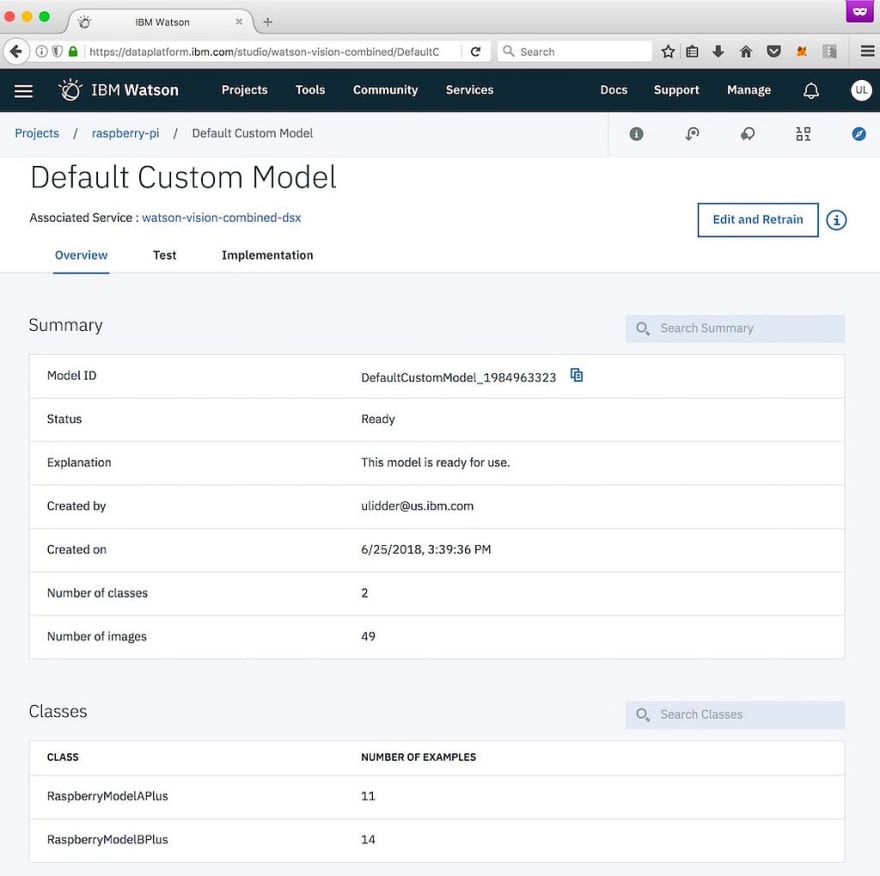
Once the model is trained, the page will give you a link to test the model. The first page on that link summarizes the model.
Click on the Test tab.
I downloaded some test images with different angles and backgrounds to see how the model performs.
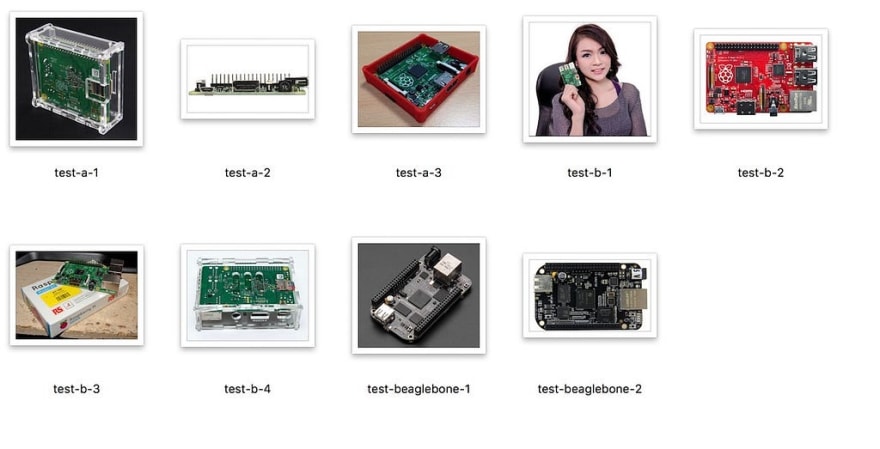
Drag and drop the images on the test page.
Test Results
1. Raspberry Pi Model A Plus in an open enclosure.
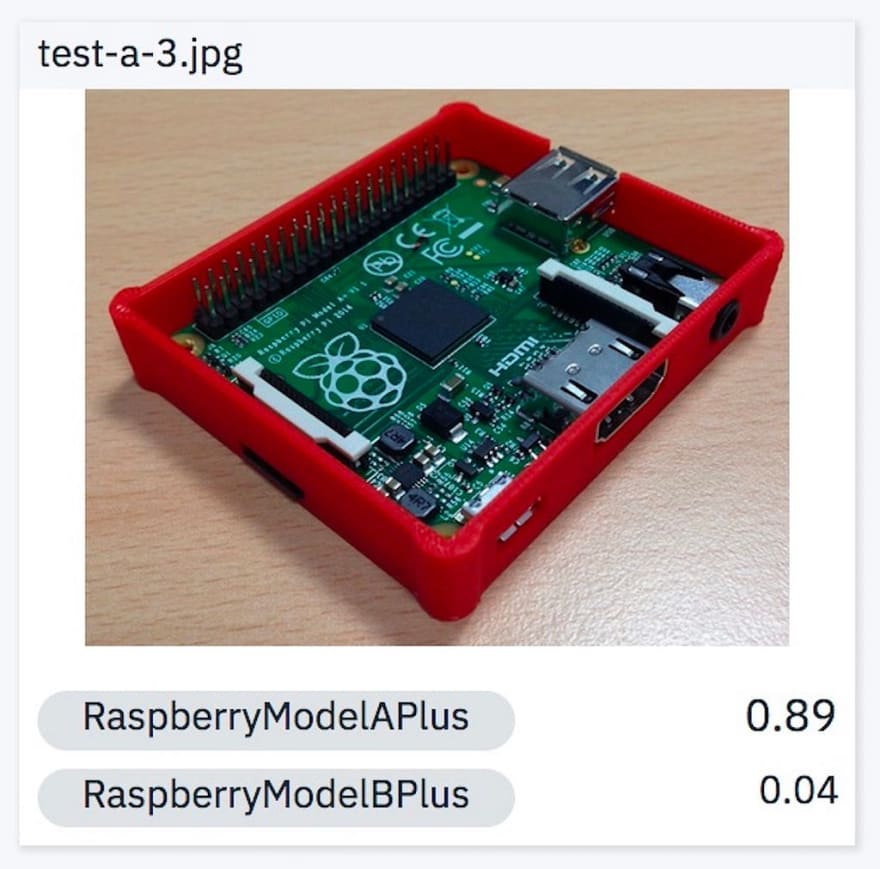
0.89 is not too shabby, given that we did not have any of the training pictures inside an open enclosure.
2. Raspberry Pi Model A Plus side angle.

We did not have any training pictures with this angle. That explains the low confidence interval.
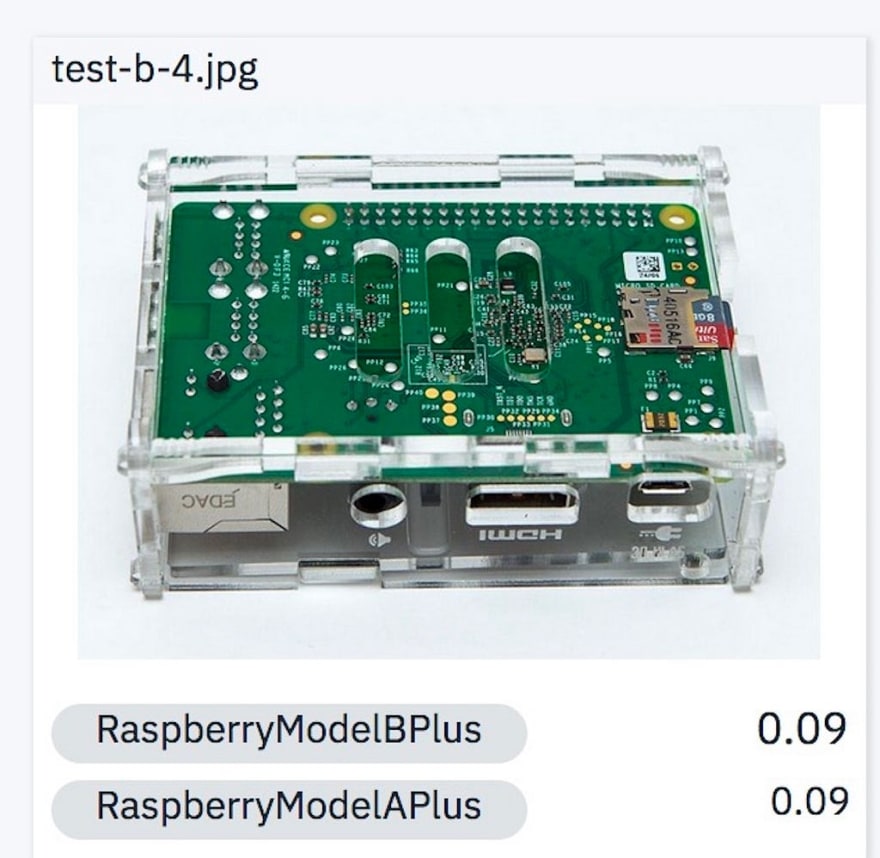
3. Raspberry Pi Model A Plus in a closed board with pins not visible.

This picture is very vague. I would argue that even humans would have a very low confidence. In this case, the model identifies this as the wrong board altogether.
4. Raspberry Pi Model B Plus in somebody’s hand.
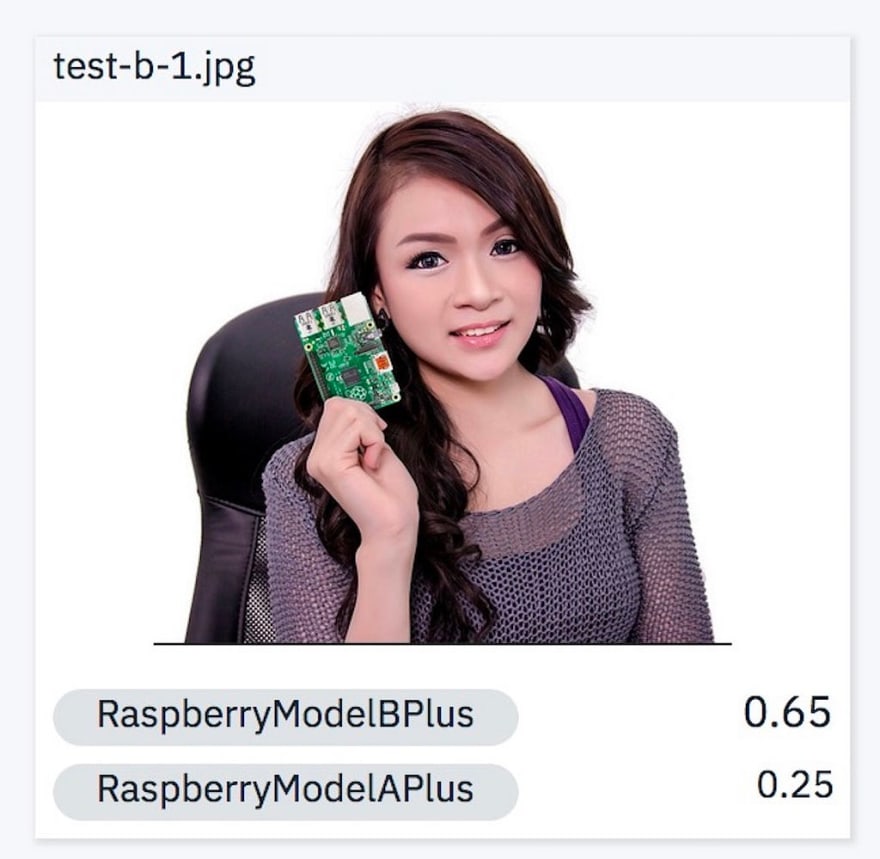
I was hoping to trick the model with this picture by introducing a person and also making the actual board smaller. But the model does relatively well here with a confidence score of 0.65. This can definitely be improved by training on pictures of people holding the pi in their hands.
5. Raspberry Pi Model B Plus in a color that was absent in the training images.
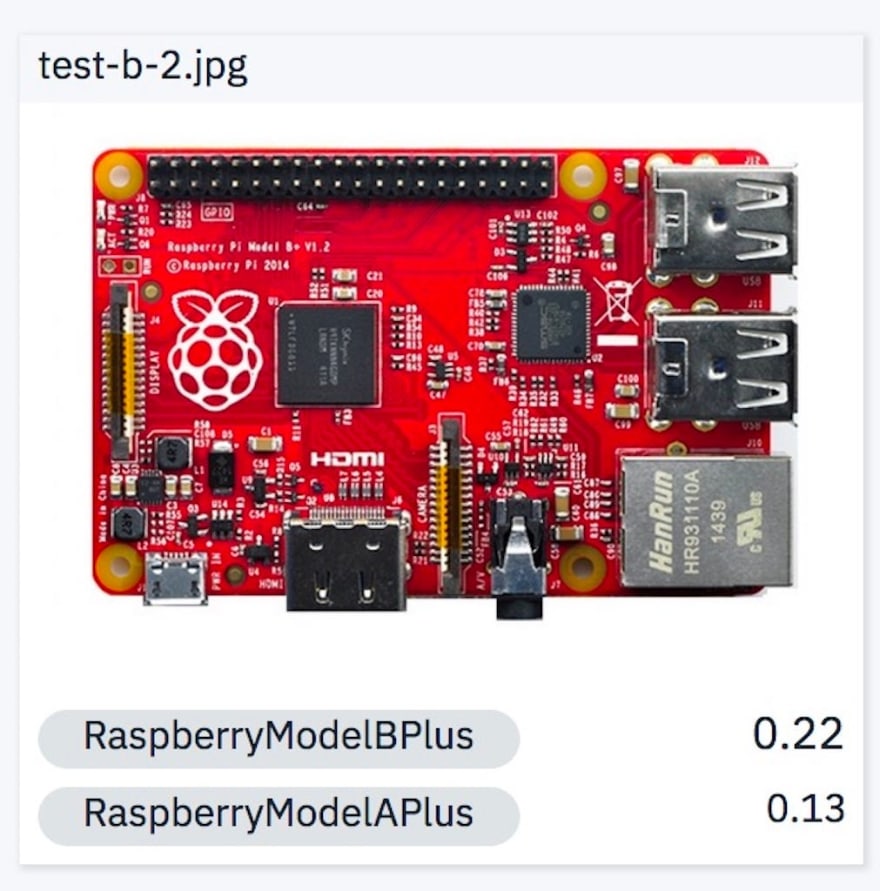
The confidence interval is low for both models. I imagine this is because all of our training images were green color. The model creates layers or information to teach itself and one of those crucial pieces of information is color. So even though the test image has the right structure, the model had never seen a red color pi before. This can again be rectified by including red color images in the training set.
6. Raspberry Pi Model B Plus on top of a box with a long range shot.

The training data has all closeups and this test image is a little far from the camera. The lesson here is that the training set needs to have as much variation as possible.
7. Raspberry Pi Model B Plus in an enclosure with no pins visible.
8. BeagleBoard

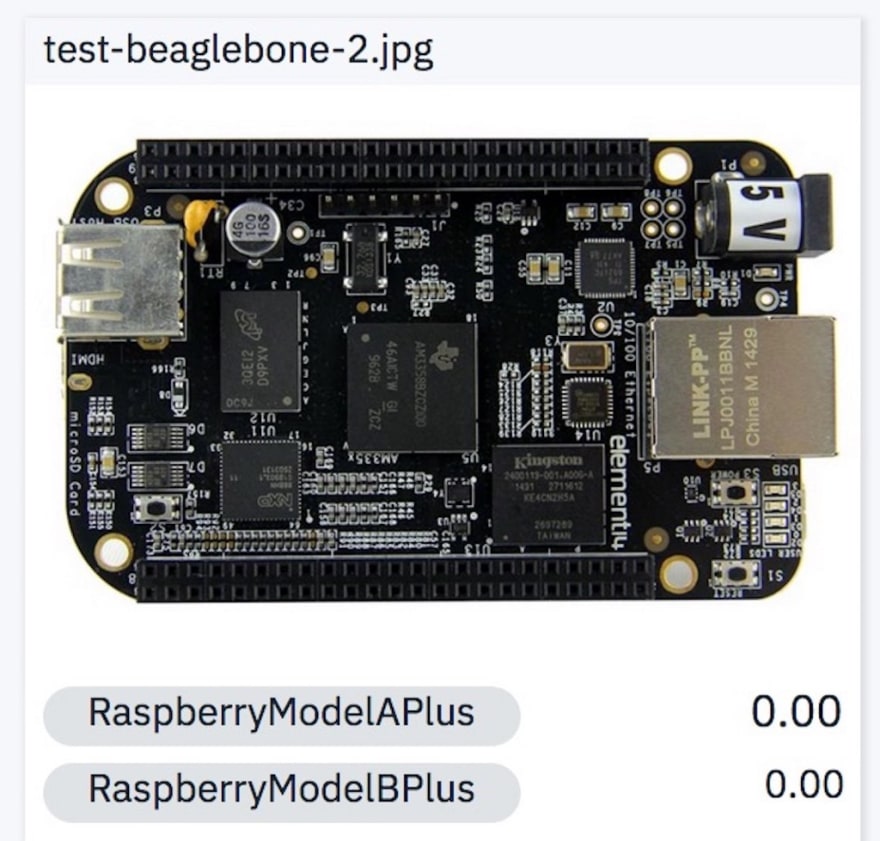
The last two images here are from a different board. That particular board (not these pictures themselves) was part of the negative set the model was trained on. Therefore, it correctly identifies this board as neither of the test classes.
Summary
So there you have it. We built a custom model on Watson Visual Recognizer and trained it to detect different versions of Raspberry Pi boards without writing any line of code or understanding the ins and outs of machine learning. Your model is as good as the images it has been trained on. If I were to take a photo with my iPhone and test against this model, I expect it to give me low confidence on both classes.
Next blog in this series will talk about the various APIs available by the cognitive service to programmatically classify images. We will build a simple application on Glitch, which happens to be my favorite online application ❤️

Nick Bourdakos has another wonderful article which extends into CoreML on Watson.

Top comments (0)