
Written by Nirmalya Ghosh✏️
In this tutorial, we’ll introduce Moon.js by understanding what it is and why it was created. We’ll then put that knowledge to use by building a blogging application, which will use the JSONPlaceholder API.
What is Moon.js, and what problems does it solve?
Moon.js is a tiny (2KB), functional, declarative, minimal, fast library for functional user interfaces. It is based on the idea that modern applications are complex and that they very likely require third-party libraries for any effects other than updating a view.
To address this, Moon is based on pure functions, which can take input from and return output to drivers. Drivers are responsible for views, state, HTTP requests, routing, etc.
Moon comes with a bunch of features out of the box:
- Time: The time driver provides the current time and allows us to schedule application functions to run after specific times
-
Storage: The storage driver provides access to
localStorageto persist data in the browser - HTTP: The HTTP driver allows sending and receiving HTTP requests and responses
- Route: The route driver provides access to the pathname of the route in a browser
In this tutorial, we’ll be working with the HTTP driver for fetching API using the JSONPlaceholder API.

Installing Moon.js in our application
We can install Moon using the CLI:
npm install -g moon-cli
The above command will install moon globally on our system. More information on installing the package globally can be found on the npm documentation.
Once the above step is complete, we can bootstrap a Moon project with the following command:
moon create introduction-to-moon.js

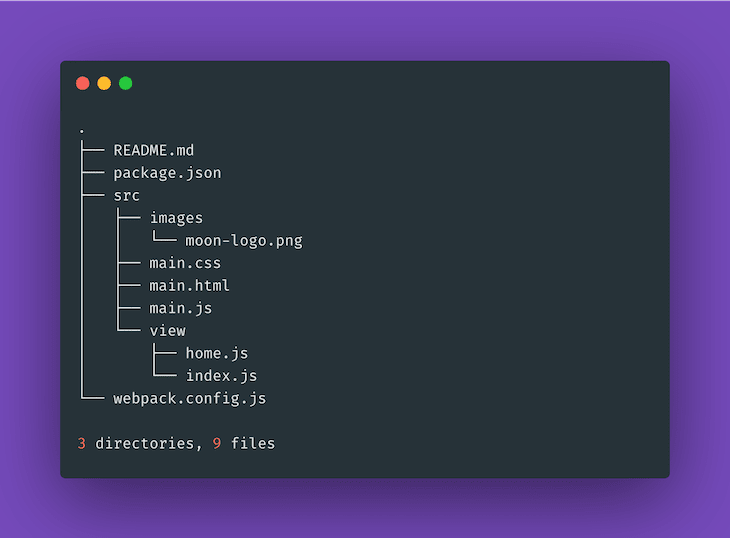
The above command will create the following directory structure:
Now, we can run the following command to install all the required dependencies and start the application:
cd introduction-to-moon.js && npm install && npm run dev
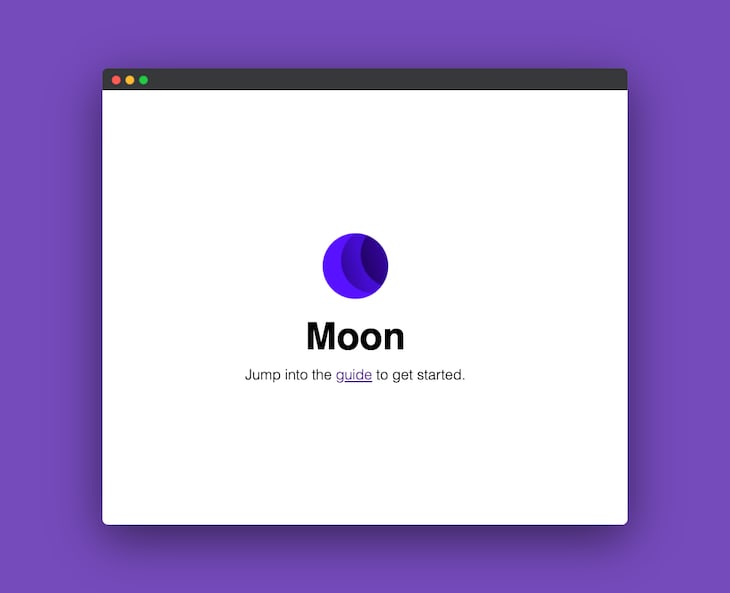
At this point, our application should be up and running on http://localhost:8080/:
Moon gives us two scripts by default:
-
dev– this command will start a webpack server with live reload -
build– this command will generate a production build of our application
Adding Tailwind CSS to our application
Next, we’ll add Tailwind CSS to our application to provide some default styles. We can do so by adding the following line to our src/index.html file:
<link href="https://unpkg.com/tailwindcss@^1.0/dist/tailwind.min.css" rel="stylesheet">
Note: This is not the recommended method of installing Tailwind CSS. More options are provided in the Tailwind CSS documentation.
Fetching data from JSONPlaceholder
Next, we’ll be adding the feature with which we’ll be able to fetch data from an API like JSONPlaceholder and show it on the browser. This API will be paginated, so we’ll fetch only the first post initially, and then, on clicking a button, we’ll fetch the subsequent posts.
JSONPlaceholder is a very easy API to use. It’s free and can be fetched using the code below:
fetch('https://jsonplaceholder.typicode.com/posts/1')
  .then(response => response.json())
  .then(json => console.log(json))
This will return a JSON response like the following:
{
  userId: 1,
  id: 1,
  title: "sunt aut facere repellat provident occaecati excepturi optio reprehenderit",
  body: "quia et suscipit suscipit recusandae consequuntur expedita et cum reprehenderit molestiae ut ut quas totam nostrum rerum est autem sunt rem eveniet architecto"
}
To get started with our application, let’s first define the HTML structure of the layout. We can create a new file, src/view/home/index.js, with the following content:
// src/view/home/index.js

import Moon from "moon";
import navbar from "../components/navbar";
import post from "../components/post";

const { section, div } = Moon.view.m;

export default ({ data }) => {
  return (
    <div>
      <section>
        <navbar />
      </section>
      <section>
        <post data=data />
      </section>
    </div>
  );
};
We’ll be creating the navbar and post components next. The navbar component is responsible for showing a dummy navigation bar. We can create a new file, src/view/components/navbar/index.js, with the following content:
// src/view/components/navbar/index.js

import Moon from "moon";

const { div, ul, li, a } = Moon.view.m;

export default () => {
  return (
    <div className="bg-gray-100 border-b">
      <div className="max-w-2xl mx-auto p-8 flex justify-between">
        <div>
          <ul class="flex">
            <li class="mr-6 font-bold">
              <a class="text-blue-500 hover:text-blue-800" href="#">
                Home
              </a>
            </li>
          </ul>
        </div>
        <div>
          <ul class="flex">
            <li class="mr-6 font-bold">
              <a class="text-blue-500 hover:text-blue-800" href="#">
                About
              </a>
            </li>
            <li class="mr-6 font-bold">
              <a class="text-blue-500 hover:text-blue-800" href="#">
                Contact
              </a>
            </li>
          </ul>
        </div>
      </div>
    </div>
  );
};
Next, we’ll create our post component. The post component is responsible for showing the posts fetched from the API, along with a button to fetch the next post from the API and render it on the browser. So let’s create a new file src/view/components/post/index.js with the following content:
// src/view/components/post/index.js

import Moon from "moon";
import home from "../../home";

const { div, h2, p, button } = Moon.view.m;

const post = ({ data }) => {
  return (
    <div className="bg-white">
      <div className="max-w-2xl mx-auto p-8">
        <div className="mb-8">
          <h2 className="font-bold text-xl mb-2">{data.title}</h2>
          <p className="font-light">{data.body}</p>
        </div>
      </div>
    </div>
  )
}

export default post
This will show the post. However, let’s add a button for fetching the subsequent posts:
// src/view/components/post/index.js

const post = ({ data }) => {
  const handleClick = () => {
    Moon.run(() => {
      const postCount = data.postCount + 1

      return({
        http: [
          {
            method: "GET",
            url: `https://jsonplaceholder.typicode.com/posts/${postCount}`,
            headers: {
              "Content-type": "application/json"
          },
            onLoad: ({ http }) => {
              const response = {...JSON.parse(http.body), postCount}

              return {
                view: <home data=response />
              };
            },
          }
        ]
      })}
    );
  };

  return (

    ....

    <button
      class="bg-blue-500 hover:bg-blue-700 text-white font-bold py-2 px-4 rounded"
      @click=handleClick
    >
      Fetch post {data.postCount + 1}
    </button>

    ....

  )
}
If we click on the button now, the handleClick function will be called. The handleClick function will fetch the next post from the API and render it on the browser. When the API request is complete, the home component will be rendered on the browser with the API response.
Since, this HTTP request is specific to how Moon works, let’s learn a little bit more about it. According to the Moon documentation, the HTTP driver accepts a list of HTTP requests as output. Each request can have a method, url, headers, body, responseType, onLoad, and onError property. Only the url property is required.
Moon.use({
    http: Moon.http.driver
});

Moon.run(() => ({
  http: [{
      method: "GET",  // GET, POST, PUT, DELETE, etc.
      url: "https://jsonplaceholder.typicode.com/posts/1",
      headers: {
        "Content-Type": "application/json" // Any type
      },
      body: "HTTP driver test", // If we need to send a body, we can use this. However, this data type must match the "headers"
      responseType: "json",
      onLoad: ({ http }) => {
        console.log(http);

        return {};
      },
      onError: ({ http }) => {
        console.error(http);

        return {};
      }
  }
]}));
The above function will log the following in our browser’s console:

Moon’s debugger is also very helpful. If we didn’t define the HTTP driver, it would throw a helpful message on our browser’s console:

Next, we will need to update our src/main.js file with the following content:
// src/main.js

import Moon from "moon";
import home from "./view/home"

// Define all the drivers that we'll need
Moon.use({
  data: Moon.data.driver,
  http: Moon.http.driver,
  view: Moon.view.driver("#root")
});

Moon.run(() => {
  const postCount = 1 // Fetch the first post initially

  return({
    http: [{
      method: "GET",
      url: `https://jsonplaceholder.typicode.com/posts/${postCount}`,
      headers: {
        "Content-type": "application/json"
      },
      onLoad: ({ http }) => {
        const data = {...JSON.parse(http.body), postCount}
        return {
          view: <home data=data />
        };
      },
    }]
  })}
);
The above code will render the home component once the API request to fetch the first post is complete.
Now, if we visit http://localhost:8080/, we should be able to see the following screen:
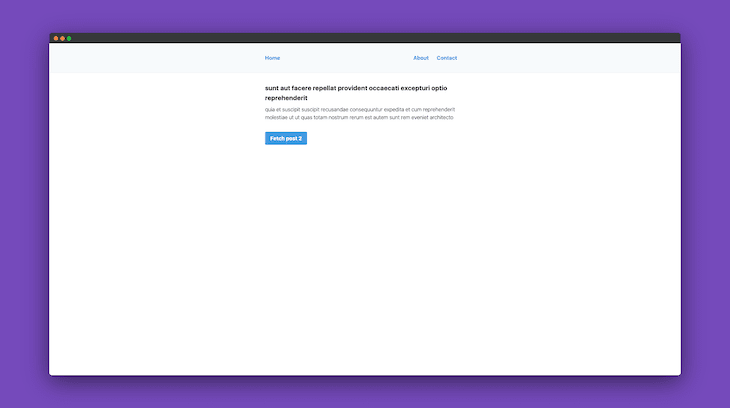
We can view the first post. If we click on the button, the next post will be fetched from the API and rendered on the browser:

Conclusion
In this tutorial, we’ve learned what Moon.js is and how we can build an application with it. The source code for the application we built in this tutorial is available on Github and is hosted on Vercel.
If you want to keep exploring Moon, check out the examples. You can also get acquainted with Moon using the Moon Playground or Guide.
LogRocket: Full visibility into production web apps

LogRocket is a frontend application monitoring solution that lets you replay problems as if they happened in your own browser. Instead of guessing why errors happen, or asking users for screenshots and log dumps, LogRocket lets you replay the session to quickly understand what went wrong. It works perfectly with any app, regardless of framework, and has plugins to log additional context from Redux, Vuex, and @ngrx/store.
In addition to logging Redux actions and state, LogRocket records console logs, JavaScript errors, stacktraces, network requests/responses with headers + bodies, browser metadata, and custom logs. It also instruments the DOM to record the HTML and CSS on the page, recreating pixel-perfect videos of even the most complex single-page apps.
Demo it yourself for free – no account required.
The post Functional user interfaces with Moon.js appeared first on LogRocket Blog.

Top comments (0)