
Written by Alexander Nnakwue✏️
Introduction
In this article, we’ll learn about NestJS, Vite, and esbuild; how they work together; and how to configure a NestJS app to make use of both other tools as dependencies. In the process, we will get to learn how to work with them in real life scenarios, their major features, and use cases.
Jump ahead:
- What is NestJS?
- What is Vite?
- What is esbuild?
- Installing and configuring a NestJS app
- Exploring the NestJS boilerplate
- Installing Vite and esbuild with NestJS
What is NestJS?
NestJS is a Node.js framework for building efficient and scalable enterprise server-side/backend applications. According to the documentation, it supports all latest ECMAScript versions of both JavaScript and TypeScript.
NestJS combines the well-known programming concepts and philosophies of OOP, functional programming, and functional reactive programming to solve the architectural challenges in the design of backend applications that are scalable, maintainable, easily testable, and are not tightly coupled together.
Although NestJS is platform independent and can work with any Node.js library if a binding is written for it, NestJS uses Express as a dependency by default, and can also be configured to use Fastify. This ease in configuring the framework via exposed APIs with other third-party modules makes it very easy for developers to customize the framework on a case-by-case basis.
What is Vite?
Vite is a build tool with lots of features, chief of which is a near-instant dev server startup time. It leverages the introduction of native ES modules in the browser and tooling written with languages that compile to native code to solve the issues with previous build tools (webpack, Parcel, etc.) relating to performance.
Vite works by first dividing the modules in an application into two categories, dependencies and source code, because dependencies rarely change during development. Vite pre-bundles these dependencies using esbuild under the hood. For source code that might need transforming (CSS, JSX, etc.), Vite serves them over native ESM to the browser.
As the browser makes the requests for the source code, Vite transforms and loads them on demand and the browser can use route-based code-splitting and conditional dynamic imports to bundle the needed code, making it a pretty fast process.
What is esbuild?
esbuild is a blazing fast JavaScript bundler written in Go and makes use of Go’s parallelism and ability to transform source code to machine code. Its features include, among others:
- Huge plugin support
- A minifier
- TypeScript and JSX support
- Both ES2015 and CommonJS module support
- Tree-shaking capabilities
Installing and configuring a NestJS app
Now that we have looked at NestJS, Vite, and esbuild at a high level, let’s proceed to learn about how they work together by configuring a NestJS app to make use of both Vite and esbuild as dependencies. In the process, we‘ll learn how to work with them in real life scenarios, their major features, and prime use cases.
To get started with NestJS, go ahead and install the CLI, which bootstraps the starter code. This is an especially better option for those who are new to NestJS.
Another option is to clone the starter repo from GitHub. Note that to install the JavaScript flavor of the starter project, we can clone this repo, but you’ll need Babel to compile vanilla JavaScript).
For our purposes, we are going to go ahead and install the CLI. Run the following command:
npm i -g @nestjs/cli
After we are done installing the CLI, we can go ahead to create a new Nest project:
nest new nest_vite_esbuild_demo
The output of running this command is shown below:
nest new nest_vite_esbuild_demo                                                                                 took 24s
⚡  We will scaffold your app in a few seconds..

CREATE nest_vite_esbuild_demo/.eslintrc.js (665 bytes)
CREATE nest_vite_esbuild_demo/.prettierrc (51 bytes)
CREATE nest_vite_esbuild_demo/README.md (3340 bytes)
CREATE nest_vite_esbuild_demo/nest-cli.json (118 bytes)
CREATE nest_vite_esbuild_demo/package.json (2007 bytes)
CREATE nest_vite_esbuild_demo/tsconfig.build.json (97 bytes)
CREATE nest_vite_esbuild_demo/tsconfig.json (546 bytes)
CREATE nest_vite_esbuild_demo/src/app.controller.spec.ts (617 bytes)
CREATE nest_vite_esbuild_demo/src/app.controller.ts (274 bytes)
CREATE nest_vite_esbuild_demo/src/app.module.ts (249 bytes)
CREATE nest_vite_esbuild_demo/src/app.service.ts (142 bytes)
CREATE nest_vite_esbuild_demo/src/main.ts (208 bytes)
CREATE nest_vite_esbuild_demo/test/app.e2e-spec.ts (630 bytes)
CREATE nest_vite_esbuild_demo/test/jest-e2e.json (183 bytes)

? Which package manager would you ❤️  to use? (Use arrow keys)
❯ npm
  yarn
  pnpm
Make sure you have the latest Node.js version installed on your machine (except v13, which is not supported).
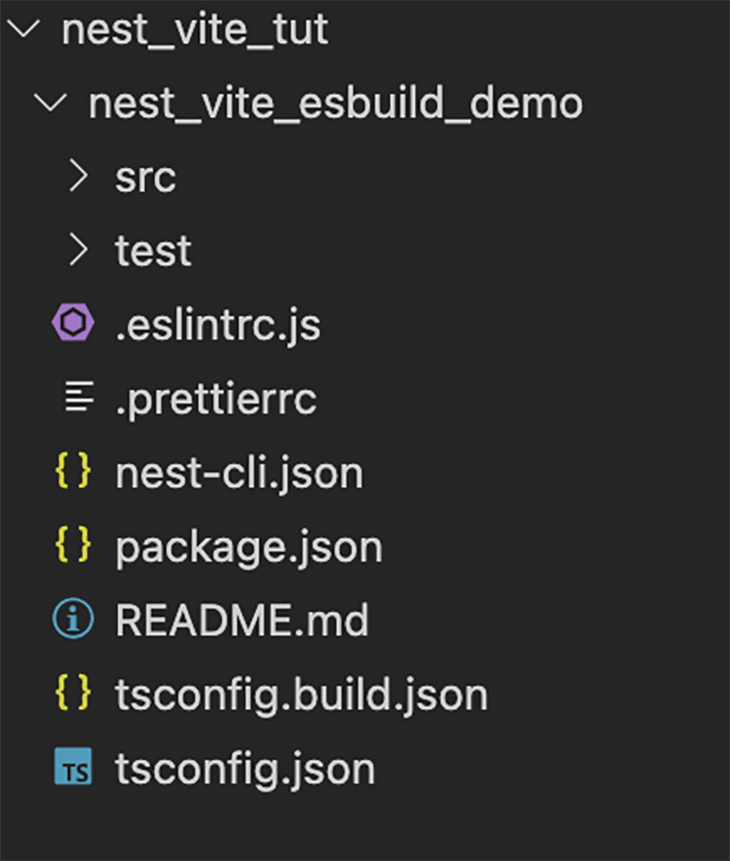
As we can see from the above, the project directory has been populated with Nest’s core files, dependencies, and base modules. Follow the steps and select the package manager of your choice. In this post, we’re using npm. The folder structure at the end of the installation is shown below.
Next, we can navigate into the folder by running the following command.
cd nest_vite_esbuild_demo
Then, go ahead and start the project:
npm run start
The output of running that command is shown below.
npm run start

> nest_vite_esbuild_demo@0.0.1 start
> nest start

[Nest] 33031  - 08/08/2022, 3:22:16 AM     LOG [NestFactory] Starting Nest application...
[Nest] 33031  - 08/08/2022, 3:22:16 AM     LOG [InstanceLoader] AppModule dependencies initialized +48ms
[Nest] 33031  - 08/08/2022, 3:22:16 AM     LOG [RoutesResolver] AppController {/}: +8ms
[Nest] 33031  - 08/08/2022, 3:22:16 AM     LOG [RouterExplorer] Mapped {/, GET} route +3ms
[Nest] 33031  - 08/08/2022, 3:22:16 AM     LOG [NestApplication] Nest application successfully started +8ms
As an alternative to the above, we can also start our application in development mode to watch for file changes, recompile the build, and reload the dev server by running the command below:
npm run start:dev
Then, navigate to http://localhost:3000/ in the browser. Further, we can also go ahead and perform a manual installation of NestJS’s core dependencies. In this setup, we can set up our project structure as we wish, just by running the command below.
npm i --save @nestjs/core @nestjs/common reflect-metadata
Exploring the NestJS boilerplate
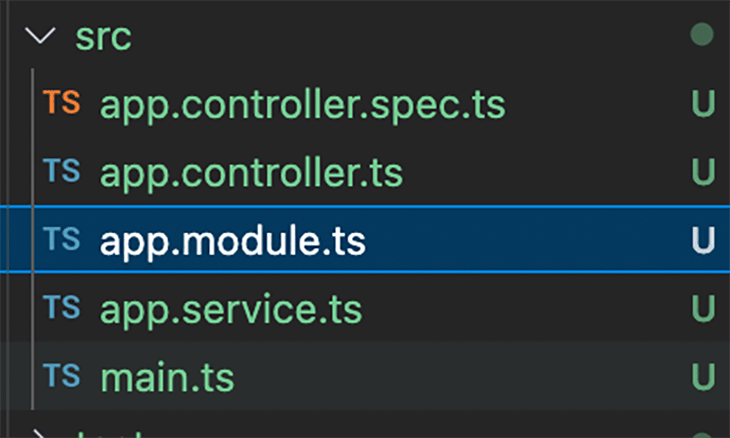
When we navigate to the src directory inside our project folder, we can see the default files created for us. We have:
- The
app.controller.tsfile, which represents our handler with just one route - The
app.service.tsfile, which handles anything related to method or utility functions, so as to keep the controller slim - The
app.modulefile, which handles the base module for our application (a way of structuring our application components) - The
app.controller.spec.tsfile, which handles testing our controller logic - The
main.tsfile, which is entry point of our application and creates a Nest application instance using the coreNestFactoryfunction
NestJS encourages developers to keep their application architecture as modular as possible, with each directory inside the source directory representing a single module. Each Nest application must have at least one module, a root module, which is the starting point for building the application graph.
For example, we can run the following command to create a new module:
nest g module product_demo
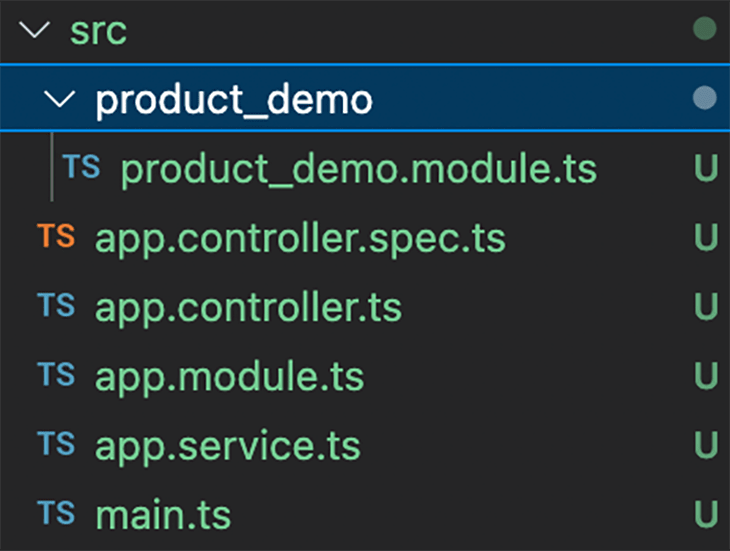
As you can see from the above, we have created a product_demo module. We can then go ahead to create the other needed files — controller and services — and also import the product_demo module into the app base module.
For more information regarding NestJS fundamentals and features, we can make reference to the documentation, including testing, providers, lifecycle events, decorators, middleware, modules etc., to gain mastery of the framework. Next, let us go ahead and set up Vite and esbuild on our NestJS application.
Installing Vite and esbuild with NestJS
Vite is plugin-based and also comes with a well-optimized and fast build process, which can greatly improve your overall developer productivity and experience. It also supports TypeScript out of the box.
Now, let’s integrate Vite into our NestJS backend app. We are going to install Vite via the plugin, which runs a Node dev server with hot module replacement.
Run the command below as a development dependency.
npm install vite vite-plugin-node -D
Next, in the root of our project directory, we can create the vite.config.ts file, which configures our project to make use of the plugin. Let’s see the contents of that file below.
import { defineConfig } from 'vite';
import { VitePluginNode } from 'vite-plugin-node';
export default defineConfig({
  // ...vite configures
  server: {
    // vite server configs, for details see \[vite doc\](https://vitejs.dev/config/#server-host)
    port: 3000
  },
  plugins: [
    ...VitePluginNode({
      // Nodejs native Request adapter
      // currently this plugin support 'express', 'nest', 'koa' and 'fastify' out of box,
      // you can also pass a function if you are using other frameworks, see Custom Adapter section
      adapter: 'nest',
      // tell the plugin where is your project entry
      appPath: './src/main.ts',
      // Optional, default: 'viteNodeApp'
      // the name of named export of you app from the appPath file
      exportName: 'viteNodeApp',
      // Optional, default: 'esbuild'
      // The TypeScript compiler you want to use
      // by default this plugin is using vite default ts compiler which is esbuild
      // 'swc' compiler is supported to use as well for frameworks
      // like Nestjs (esbuild dont support 'emitDecoratorMetadata' yet)
      // you need to INSTALL `@swc/core` as dev dependency if you want to use swc
      tsCompiler: 'esbuild',
    })
  ],
  optimizeDeps: {
    // Vite does not work well with optionnal dependencies,
    // mark them as ignored for now
    exclude: [
        '@nestjs/microservices',
        '@nestjs/websockets',
        'cache-manager',
        'class-transformer',
        'class-validator',
        'fastify-swagger',
      ],
  },
});
Next, we need to update the entry point of our app server file (main.ts) to export the app named viteNodeApp (in the Vite config exportName field above) or any other name we have configured in the Vite config file above. See below.
import { NestFactory } from '@nestjs/core';
import { AppModule } from './app.module';
if (import.meta.env.PROD) {
  async function bootstrap() {
    const app = await NestFactory.create(AppModule);
    await app.listen(3000);
  }
  bootstrap();
}

export const viteNodeApp = NestFactory.create(AppModule);
Next, in our package.json file, we can go ahead and add an npm script to run the dev server with the regular npm run dev command:
"scripts": {
  "dev": "vite"
}
As we have earlier mentioned, Vite comes with a dev server that serves our source files over native ESM. When we run our app with the Vite dev server using the npm run dev command after the entire setup, we’ll see the output below. 
To be sure everything is still working as expected, run the test suite with the npm run test command and we can see the output below. 
The plugin also uses Vite’s server-side rendering mode to build our app. To make use of this feature, we can go ahead and add a build script to our package.json file (using Vite to build our app instead of Nest):
"scripts": {
  "build": "vite build"
},
The vite build command bundles our code with Rollup and spits out highly optimized assets for our production environment. When we build our app with Vite by running the npm run build command after the entire setup, we can see the output below. 
As mentioned before, Vite makes use of esbuild under the hood to transpile TypeScript to JavaScript. It is a very fast transpilation process — it can even be up to 20 times faster than regular TypeScript compilers, and HMR updates can reflect in the browser in under 50ms.
One of the advantages of using the Vite plugin (vite-plugin-node) is that we can choose to use either esbuild or swc to compile our TypeScript files, though we used only esbuild in this post.
Conclusion
In this post, we have learned how to get going with NestJS, Vite, and esbuild. As we have seen, NestJS has an interesting and rather new approach to building Node.js applications with a philosophy around OOP, FP, and FRP. These improvements greatly improve developer time and productivity in the long run, as we don’t have to bother about how to design our modules and components. NestJS solves that for us and proposes a one-module-per-folder pattern. We can also use the power of TypeScript to write our backend code.
Vite, on the other hand, is on a whole new level in the world of build tools. It is coming at a time where popular JS-based bundlers and build tooling in the NodeJS ecosystem needed a boost in terms of performance. Vite compiles our code to native code using a completely different approach from webpack and Parcel. As we have learned, it uses the browser and native ESM for bundling.
In all, we have combined these awesome technologies to build a simple boilerplate backend that can be a starting point for your next NestJS project.

Top comments (0)