Intro
In a previous post, I mentioned working on an issue for converting raster images to SVGs. This week, I did some research on the tool recommended in the issue, SVGCode, as well as other popular tools and in this post I will be discussing some of what I learned after trying them out. For the tools that I tried, I wanted to find something that is free and easy to use, while still being able to create high quality SVGs, as there are a lot of images to convert. (Disclaimer: I'm pretty new to working with images and image editing software so I'm probably not using all the right terminology here, but I'm trying to learn!)
SVGCode
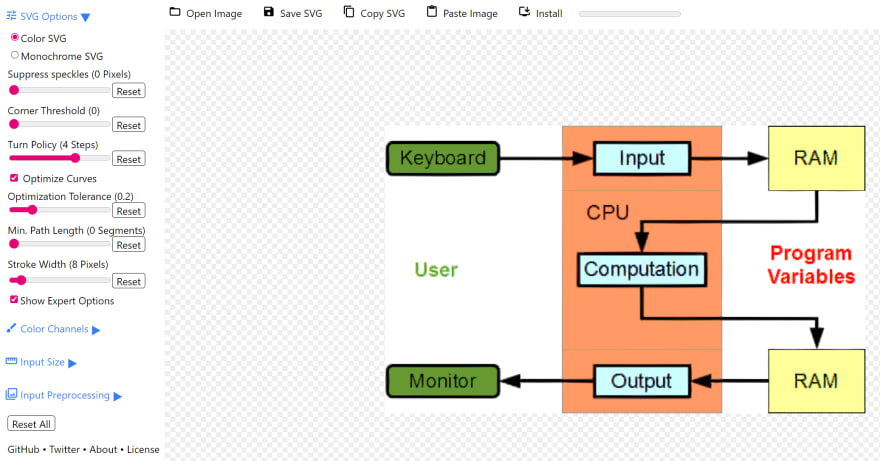
After watching the video tutorial and testing out the different settings, this is what I could come up with for one image. It looks decent here, but upon zooming in:
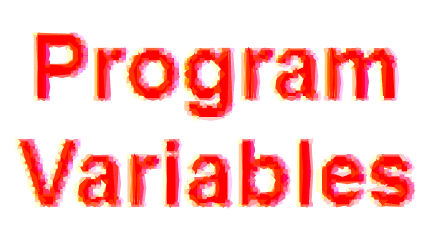
You can see that the outlines don't look great. I tried to de-speckle the image in order to create smoother outlines, but this left a lot of white space that I tried to fill using other methods such as by increasing stroke width, but the result wasn't much better.
Although I think this tool is great considering it's free and very easy for anyone to learn and use, I decided to try out a few others to compare and see if I could get better results.
Adobe Illustrator
Another tool I tried was Adobe Illustrator, which luckily I have access to for free through my school!
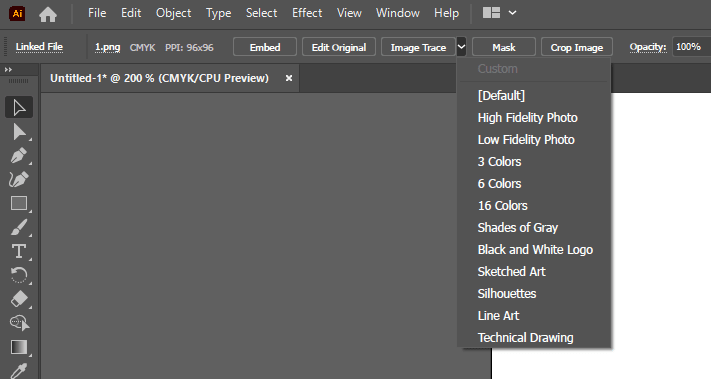
Personally, I liked the results using Adobe Illustrator and it was surprisingly easy to use as well. All you have to do after selecting an image is click on "Image Trace" in the toolbar and choose a preset.
For this particular image, I found that "High Fidelity Photo" produced the closest result to the original image, but depending on your image, other presets may be more suitable.
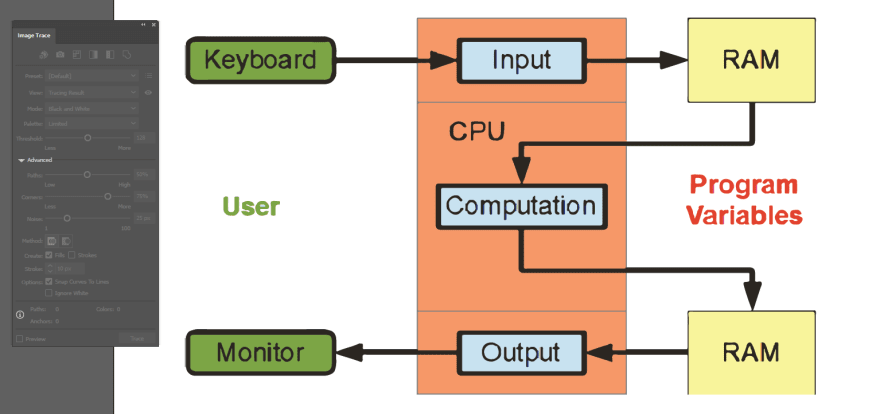
Here is an example of the image zoomed in, which although is not perfect, seems to be much cleaner compared to the image created through SVGCode.
Inkscape
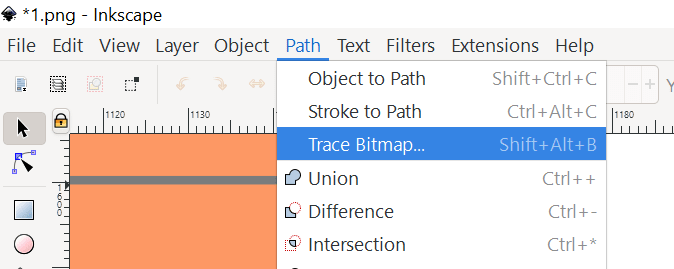
I also tried using Inkscape, which I had a bit of experience working with before in a previous project, where I modified an SVG logo. This tool was pretty easy to use as well. From the toolbar, you can click on "Path" and select "Trace Bitmap":
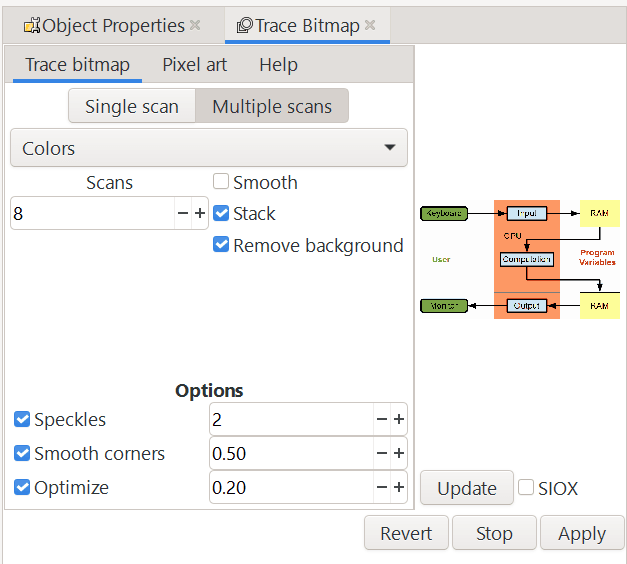
After doing so, you should see this box appear, which allows you to customize the image that you wish to convert:
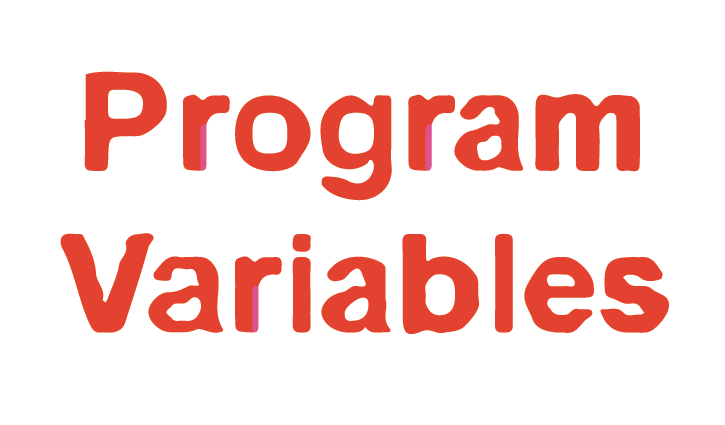
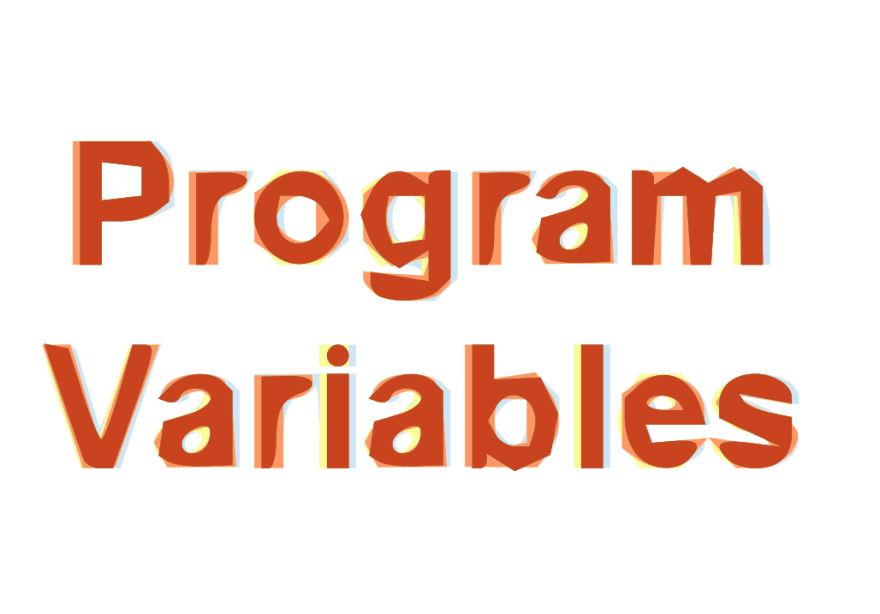
For this image, there are 8 colours so I chose to do 8 scans and you can see the result below:
The top image is the original whereas the bottom image is the converted vector. However, upon zooming in, the SVG doesn't look that great:
Vector Magic
Vector Magic is a free online image conversion tool that I found. I think it's great because, like SVGCode, you don't need to download anything and you can edit the image right in your browser.
Here are some images of the results. For a free program, I think the results are pretty decent but it's not as customizable as Illustrator, for example.
Conclusion
Overall, I learned a lot about different image conversion tools and hope you did as well after reading this blog post. Next week, I'll be creating a pull request with my different findings and suggestions and I'll be blogging about this as well. Thanks for reading!




Top comments (0)