Background
Google Analytics is free but there have been privacy concerns over the handling of user data. Zoom was recently fined 85 million for misleading users about their Google and Facebook trackers.
With ad blocks and tracking prevention built right into browsers like Safari, it is time to consider hosting your own analytics platform.
Start an Umami Project on Railway
Umami is free, open source, and dead simple. It requires a server with Node JS and either a MySQL or PostgreSQL database.
You can set that up with a single click on Railway.
You can use my referral link to register and get a $5 credit. You also have a monthly $5 quota of free cloud resources and credit card not required. This should be plenty for Umami.
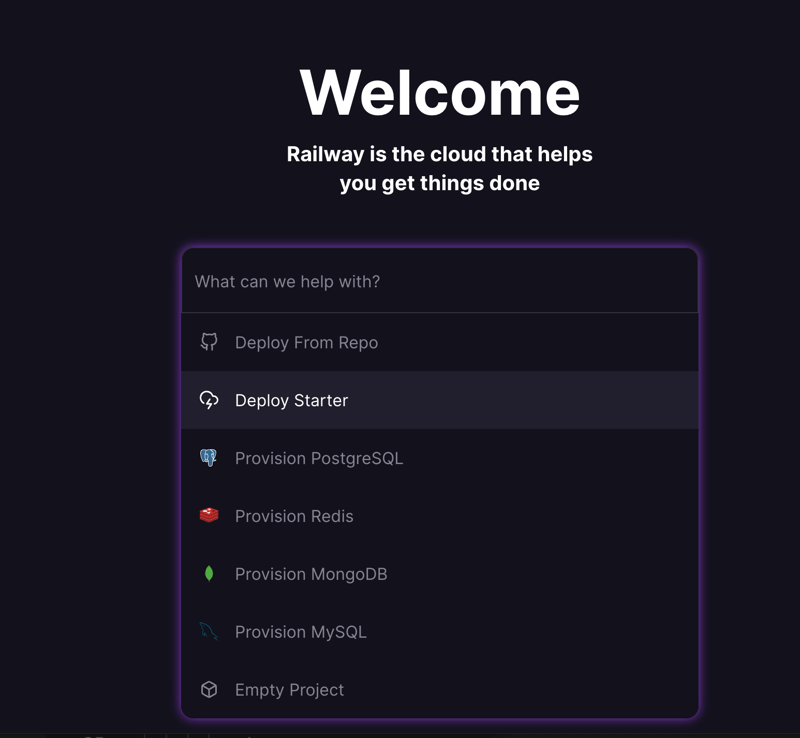
Go start a new project and select Deploy Starter.
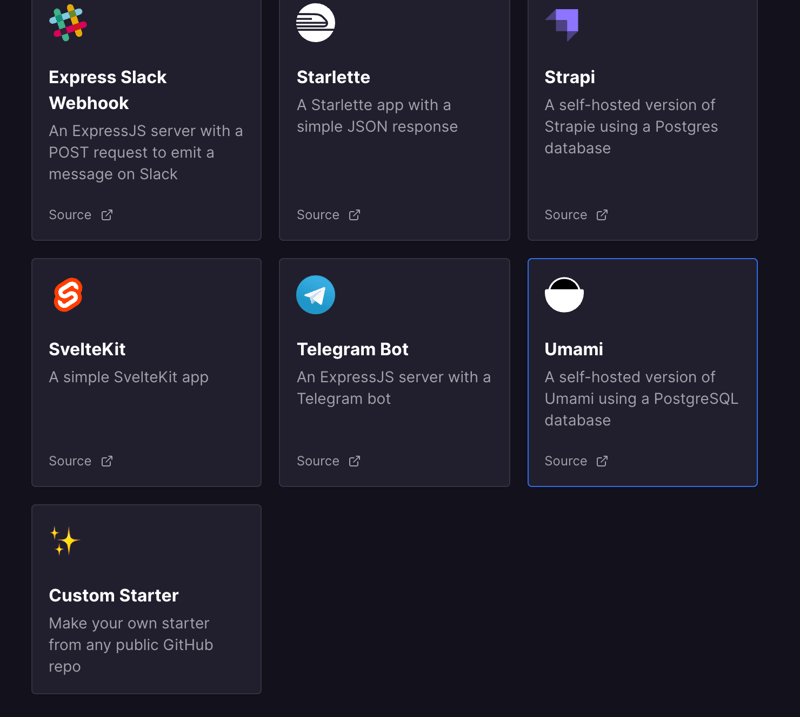
Select Umami.
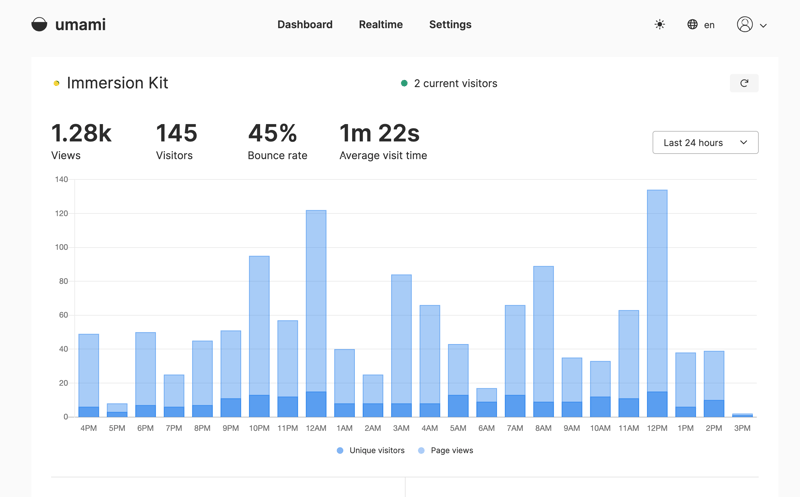
Ackee is another open source analytics platform you can deploy on Railway. I first tried Ackee but I prefer Umami because of its Realtime Dashboard that allows me to see active sessions and what webpages are being visited at this very moment.
I hate to admit it but I might be a bit addicted to seeing what people are looking at on my website 😅 so I try not to visit my Umami dashboard that often.
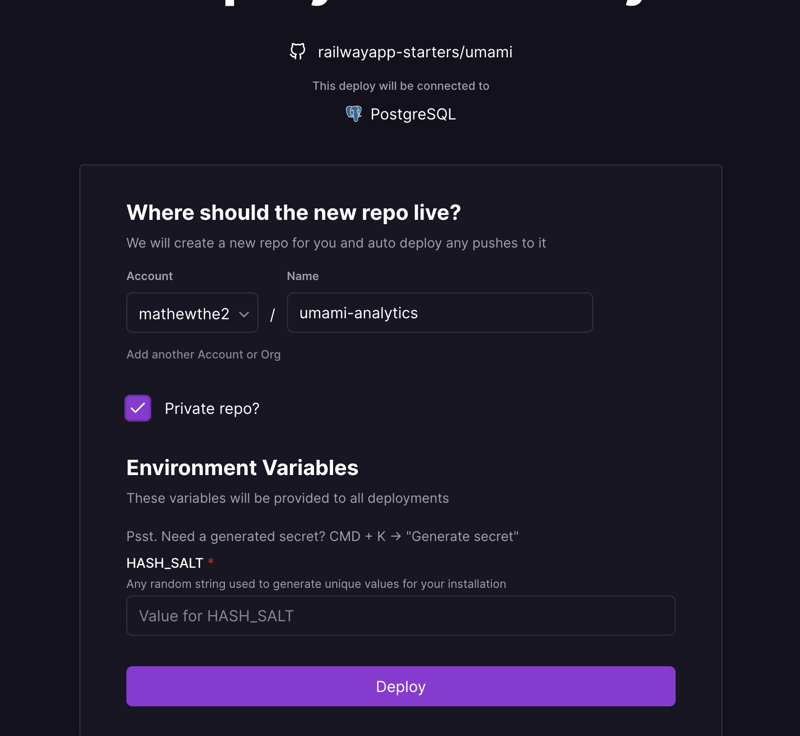
Select your Github account and name the repository for Umami.
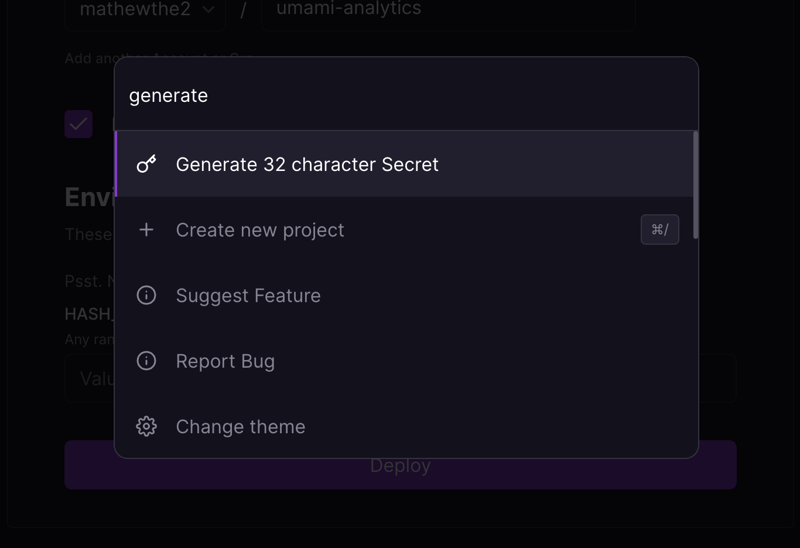
You will need to enter HASH_SALT which can be easily generated on the platform with CMD+K -> Generate.
Once you click deploy, both the Node server and the Postgres database will be set up.
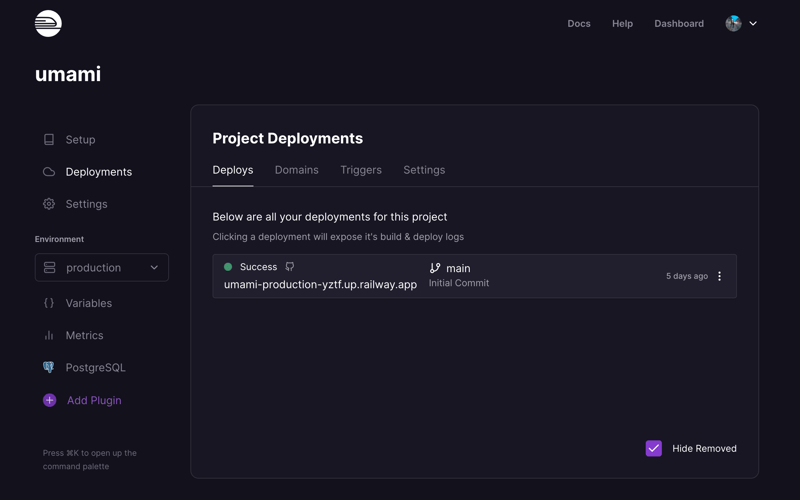
Once they have been deployed, click on the Deployments tab and click on the link below the Success message to go to the Umami platform.
🎉🎉 Congratulations! Your own analytics platform 📈 is set up!
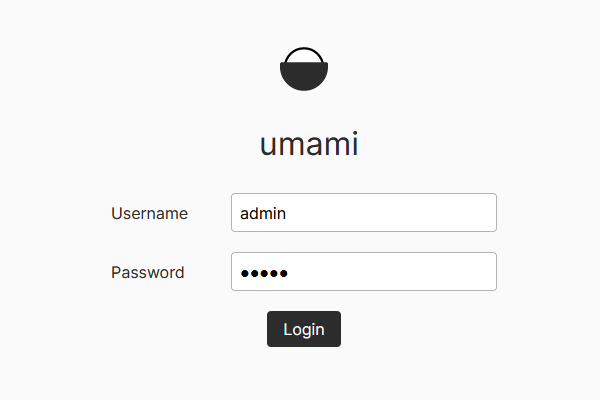
Login
The default account has the username admin and the password umami.
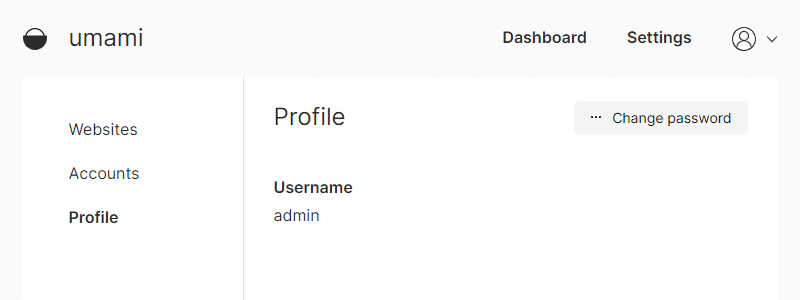
Log in and go to Settings to change the password.
Add a website
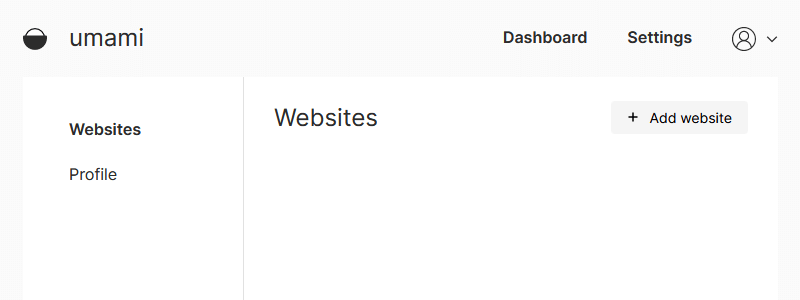
In Settings, navigate to Websites and click on the Add Website button.
From Umami:
The Name field can be whatever you want. Usually it's the same as the domain name.
The Domain field is the actual domain of your website. It is used to filter out your own website from the list of referrers in your metrics.
The Enable share URL checkbox means you want to share your website stats via a unique URL.
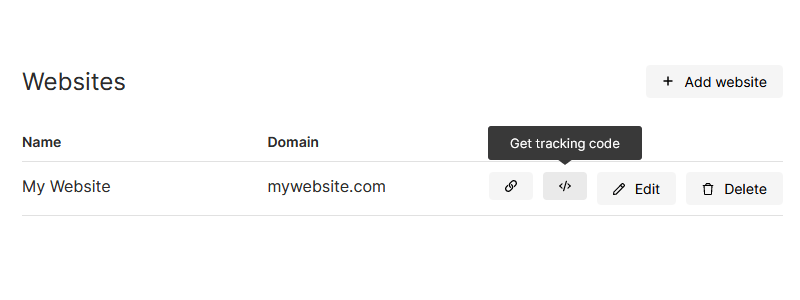
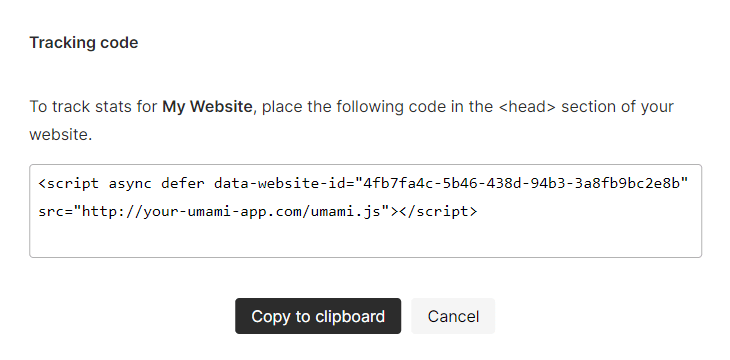
After a website is added, we can get its tracking code.
A form will pop up with a code containing a script tag. You can then insert it to the <head> section of your website.
Next JS app
If you are adding it to your Next JS app, you can add it to your _app.js file and enclose it inside next/head. You can also use the environment variable NODE_ENV to render the tracker only on production environments so it won't collect data on your local environment while you're developing the website.
import Head from 'next/head';

function MyApp({ Component, pageProps }) {
  return (
    <>
      {process.env.NODE_ENV === 'production' &&
        <Head>
          <script async defer data-website-id="4fb7fa4c-5b46-438d-94b3-3a8fb9bc2e8b" src="https://your-umami-app.com/umami.js"></script>
        </Head>
      }
      <Component {...pageProps} />
    </>
  )
}

export default MyApp
Enjoy your new analytics portal!
No Social Media trackers!
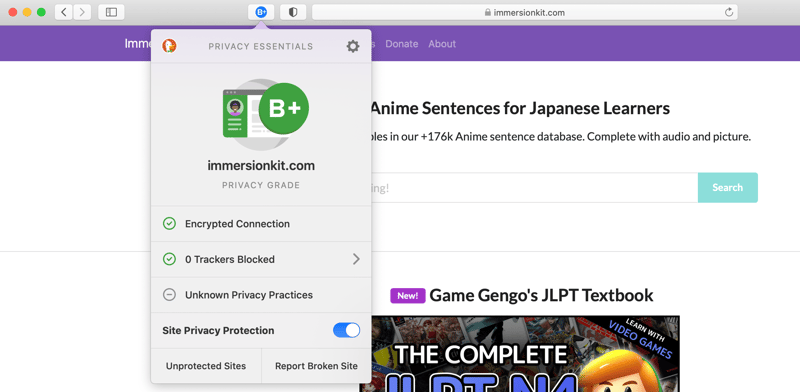
You can verify that Umami does not show as a tracker on browsers and security extensions.
Since it doesn't use cookies, there is no need to show cookie consent pop up forms.
Safari Tracker Report:
DuckDuckGo Privacy Essentials:





Latest comments (0)