
Welcome Back!
In this series we are creating a delightful to develop, and pleasant to look at homepage that contains 0 runtime dependencies (CSS or JS libs/frameworks). To make this process fun and simple we are employing a small number of developer tools such as Pug, Stylus, NPM Scripts, Gulp, and Surge.
In the last section we covered the creation of our project, creating our first deployment asset (a single HTML page), and got it deployed out to the internet. We also threw in some temporary styles just so we could start sharing something 🆒 as quickly as possible.
In this post we are going to split out our src content from our dist content, (by this we mean we will introduce the concept of keeping our development assets distinct from our deployment assets), convert our HTML markup to Pug markup, and add the rest of our content to our site.
Aside: Why use Pug?
Optional: read only if you are interested in this technology choice.
A very fair sentiment at this point is "why throw in an additional technology? If the point is to make it simple then use as few dependencies as possible.". My response to this feedback is that we are not aiming to make the simplest possible solution. We are intending to make the most delightful or pleasant developer experience.
To be sure, simplicity is an aspect of developer satisfaction and should be heavily weighed, but in my particular case (and I'd bet in yours) there are other aspects to contend with. Here are a few items that I think make Pug shine as a developer tool:
- It is pleasant to look at, and is highly expressive without being overly verbose. Check out this simple comparison of the exact same markup. You get approximately 20% less code. In a small example this may not mean much, but over time that can amount to a significant amount of code that you can forego including.
// Pug
div(class='card text-center')
  div(class='card-header') A clever header
  div(class='card-body')
    div(class='card-title') Hello Dale!
    div(class='card-content') Happy you stopped by!
<!-- HTML -->
<div class="card text-center">
    <div class="card-header">A clever header</div>
    <div class="card-body">
        <div class="card-title">Hello Dale!</div>
        <div class="card-content">Happy you stopped by!</div>
    </div>
</div>
It is modular, and extensible. As projects grow the idea of being able to logically separate and eventually re-use UI components or at least work on them in cognitive isolation is very valuable.
It enforces a consistent format. This is something the coding world is really coming around to. Python does it, Go's formatting tool
fmtdoes it, and a thousand linters the world over do it, albeit, in a bespoke fashion. An opinionated format reduces cognitive load, and reduces bike shedding.
Basically, Pug helps make my code more elegant, consistent, and extensible than it would have been otherwise, and to me using Pug is just plain fun!
If you really dislike it there is nothing stopping you from just creating the markup in HTML and finding a different way to place it in the dist directory for deployment. I understand that folks like their tools and don't judge. I clearly like mine 😌
Pug Primer
If you haven't worked with Pug before it is an HTML templating language. That means you will write files with a .pug extension and compile them into HTML files. We will not be employing most of the power that Pug offers in this tutorial as we mostly just want to enjoy the conciseness and expressiveness of the language, but all of the power is there if you feel like taking your page to the next level. For this tutorial all you need it know is the following:
Whitespace is meaningful! This means that if items are not properly indented they will either not compile at all (usually with a helpful error message) or compile in unexpected ways. Let's look at a very simple example.
Notice the use of whitespace in the following valid Pug markup:
div(class='container')
  h1 Hello There
  p I am so glad you stopped by!
footer(class='rights')
  small all rights reserved
The above will correctly compile to the following HTML:
<div class="container">
    <h1>Hello There</h1>
    <p>I am so glad you stopped by!</p>
</div>
<footer class='rights'>
  <small>all rights reserved</small>
</footer>
Transition to Pug
The first thing we are going to do is "mature" our project a bit by creating some separation for our concerns.
We are going to create a src (also known as "source") directory that contains our raw, uncompiled project files and assets, and we are going to run scripts against these items that transform and copy them to places inside the dist directory. This process is often called compilation and is how the development of large projects usually occurs. You write will clean, possibly commented, human readable code and the compilation process will create valid, machine runnable code.
In our particular project we are going to compile .pug files (located in the src directory) into .html (located in the dist directory) files.
So let's get started!
- In your project's root directory let's install the Pug compiler.
# In your terminal
npm i --save-dev pug-cli
- Great, now let's set up our src directory with our
.pugsource code.
# In your terminal
mkdir src
- Now, let's make our first source Pug file.
# In your terminal
touch src/index.pug
Now that we have a Pug file let's get it filled in with our code in its current state state. Recall, that we have our current deployment asset at dist/index.html. Let's copy the contents of that file into Pug. There are a number of online tools that can do this and here's an NPM package that will do it too. For brevity, feel free to copy mine.
// In src/index.pug
doctype html
head
meta(charset='UTF-8')
meta(name='viewport' content='width=device-width, initial-scale=1.0')
link(href='https://fonts.googleapis.com/css2?family=Cabin:ital,wght@0,400;0,500;1,400&display=swap' rel='stylesheet')
style.
body {
font-family:'Cabin', sans-serif;
}
h1 {
font-size: 2.5rem;
}
.row {
display: flex;
justify-content: center;
}
.column {
display: flex;
}
.hero {
align-items: center;
height: 100vh;
}
.welcome-info {
text-align: center;
}
.welcome-info .sugar {
font-style: italic;
}
title Dale Gribble
body
div(class='row')
div(class='column hero')
div(class='welcome-info')
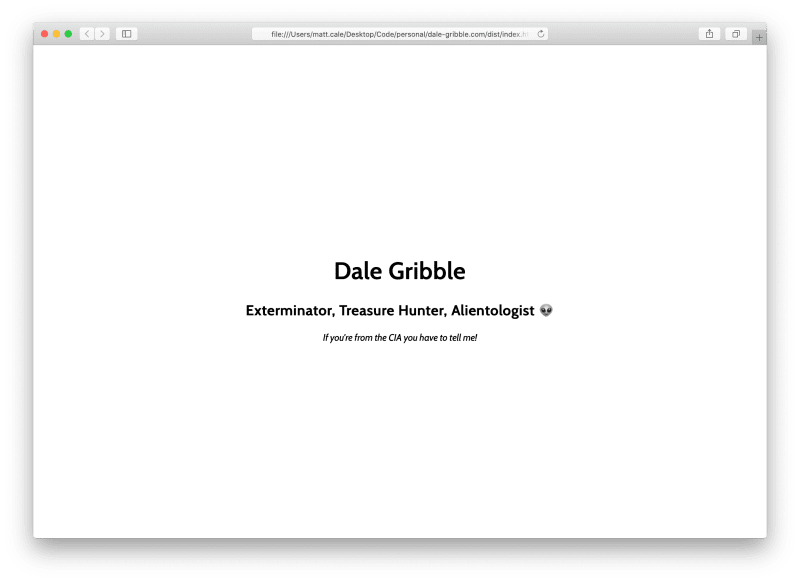
h1 Dale Gribble
h2 Exterminator, Treasure Hunter, Alientologist 👽
p(class='sugar') If you're from the CIA you have to tell me!
BTW, I know you can elide tags like div and attrs like class and id, but I think the above strikes a balance of clarity and brevity. You are welcome to elide these elements if you wish
Awesome we have some seriously 💣 looking markup here. Now, let's compile that bad boy!
- Add a new NPM script that looks like this:
// In package.json
"scripts": {
    "compile-views": "pug src --out dist"
}
- And give it a whirl!
# In the terminal
npm run compile-views
- If everything went as planned there should be an index.html file in your dist directory with exactly the same contents as before; only this time it's been minified (per the Pug compiler's default settings). Check it out in the browser to make sure everything still looks as you'd expect it to.
From now on when we want to see our result we will first need to compile our views. Later on we will add a task runner that makes this occur every-time the src/index.pug file is saved, but for now this shouldn't be too cumbersome.
Completing our Markup
Now, we are going to finish up creating our content. We already have the hero section that covers the entire view-height when someone first visits our page, now let's give interested viewers a little more information about ourselves through 2 "Question & Answer" rows. Place the div.row elements at the same indentation level as the div.row we already have. Recall, that indentation is important in Pug. If you are confused you can always check out the tutorial repo under the tutorial 2 release to see how I did mine.
- Let's add the rows and see how it looks!
// In src/index.pug
div(class='row')
    div(class='column q-and-a work')
        div(class='question')
            h3 What do you do for work?
        div(class='answer')
            p Well, at Dales Dead Bug (TM) I operate as an assassin of assassins. Make no mistake, ants, spiders, mosquitos, and wasps want you dead! I am the guardian of all humanity against these dubious foes.
div(class='row')
    div(class='column q-and-a fun')
        div(class='question')
            h3 What do you do for fun?
        div(class='answer')
            p I hunt, I fish, I play a lot of golf and I drink in the alley with my friends. Also I am the president of the Arlen gun club which is alright, I guess.
- Compile it and check it out
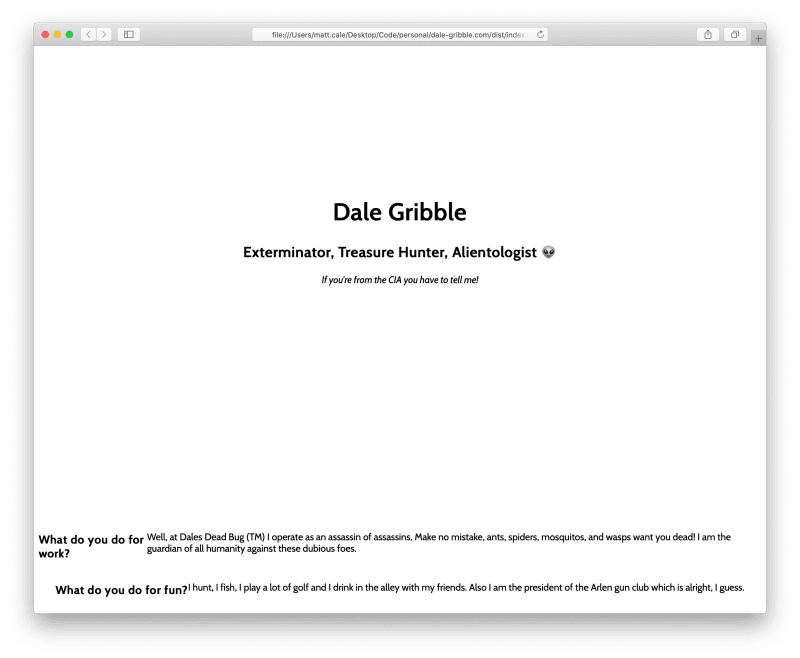
Hmmm, it does have our new content, but it isn't very pretty. We haven't yet gotten to our doing basic styles yet (hype for upcoming post), but because we don't want folks seeing something ugly let's add just a tiny bit more temporary styling to the src/index.pug head section.
// In src/index.pug
style.
  // Other styles elided
  .q-and-a {
      max-width: 550px;
      flex-direction: column;
      justify-content: space-around;
      align-items: center;
  }
- Great, let's compile it and check it out again.

Well, alright! We've got a page with enough content to be useful! Release it out to the world using the same deployment script as last time.
# In the terminal
npm run deploy
Check out your live site. That's pretty 🆒, huh?
In this post we transitioned our markup to Pug which is a lovely, and powerful templating language that can be used to keep your project pleasant, and maintainable as it grows.
We added the rest of the site's content (at least for a good little bit) and added some temporary styling to it so that we could feel happy about deploying it.
We also transitioned to a more mature pattern of keeping our source code separate from our distribution code by introducing the src directory where we write our human readable Pug that we then "compile" into our minified HTML in the dist directory.
In our next post we will be introduced to using Gulp for an even more pleasant developer experience. Try to give yourself a break here. Excited to see you in the next section 🤠
Will post link when it's ready!

Oldest comments (0)