DEV Community

MrChoke
MrChoke

Posted on • Originally published at Medium on

1

Catalina NTFS rw (no extra packages)

ไม่แน่ใจว่าทำได้ทุกเครื่องไหมต้องการผลทดสอบจากทางบ้าน

เท่าที่อ่านดู macOS มันก็เขียน NTFS ได้นะแหละแต่ default มัน read-only วันนี้พี่เค้าเอา Ext-HDD มาให้เลยมีโอกาสได้ลอง

ผลการทดสอบคือถ้า UI มันเปิดอัตโนมัติสั่ง mount ยังไงก็ read-only ต้องใส่ option ไม่ให้ UI เปิดอัตโนมัติ โดยมีขั้นตอนดังนี้

ดู device name

  1. ดู device name ด้วยคำสั่ง
mount
Enter fullscreen mode Exit fullscreen mode
  1. ทำการ unmount
sudo umount /dev/disk2s1
Enter fullscreen mode Exit fullscreen mode
  1. สร้าง directory มารับการ mount ที่ไหนก็ได้
sudo mkdir /Volumes/t
Enter fullscreen mode Exit fullscreen mode
  1. ทำการ mount ใหม่อีกครั้ง
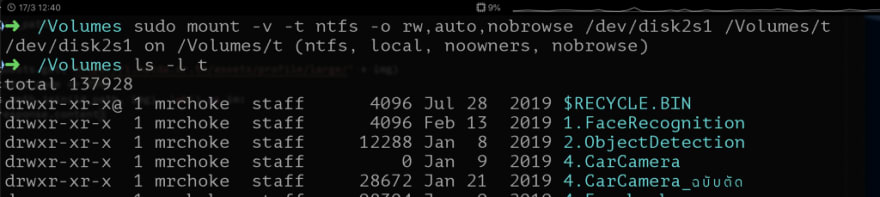
sudo mount -v -t ntfs -o rw,auto,nobrowse /dev/disk2s1 /Volumes/t
Enter fullscreen mode Exit fullscreen mode

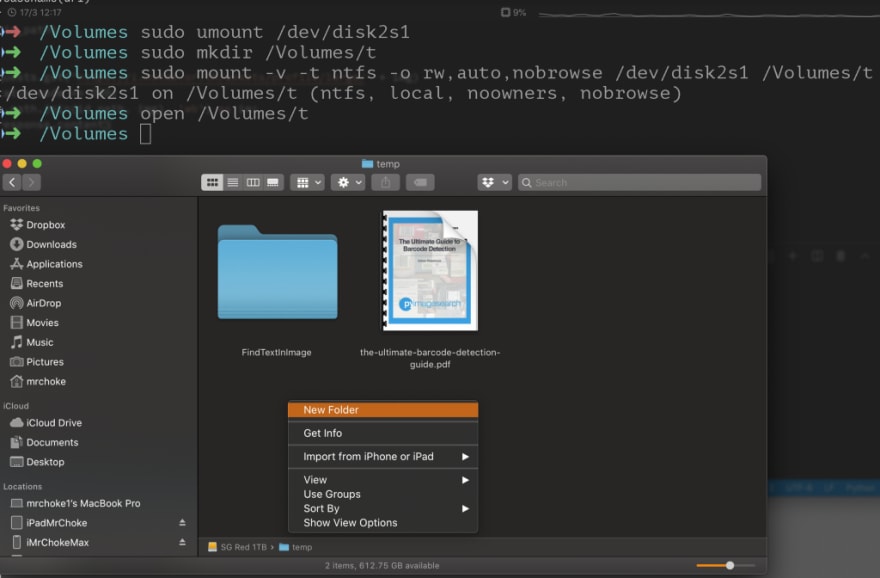
ขั้นตอนนี้ให้ใส่ options rw คือ ให้ read-write และ nobrowse ก็คือ mount เสร็จก็จะนิ่งๆ finder จะไม่เปิดให้อัตโนมัติ ถ้า mount สำเร็จตอนนี้ user ของเราก็จะอ่านเขียนได้แล้ว ถ้าจะเปิดด้วย finder ก็สั่ง

open /Volumes/t
Enter fullscreen mode Exit fullscreen mode

สร้างเขียนได้แล้ว

สร้าง directory ได้

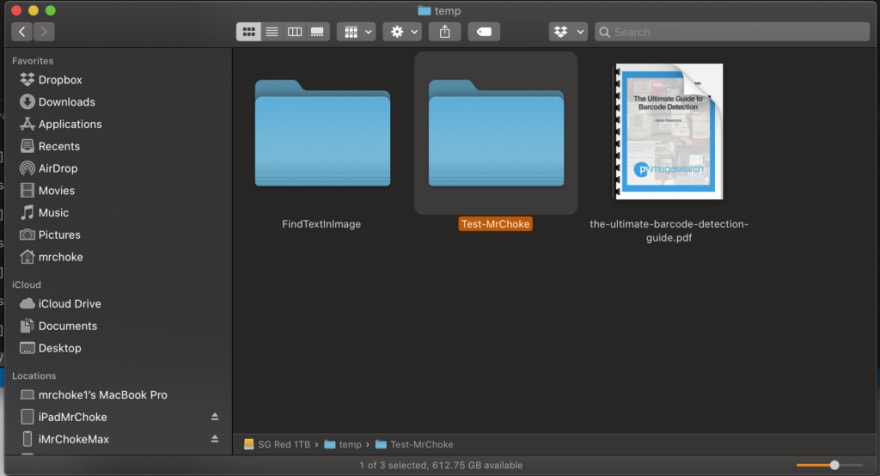
หรือจะใช้ command line copy file มาใส่ได้เลย

ใน drive จะเป็นสิทธิของ user

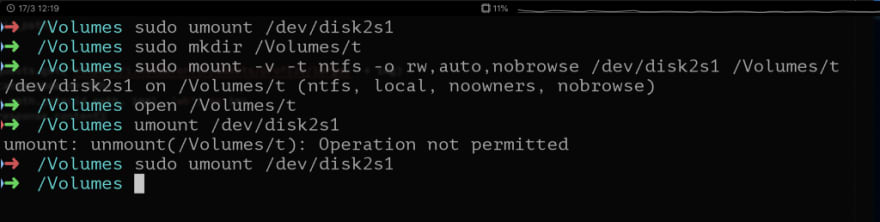
เมื่อใช้งานเสร็จแล้วก็ให้ unmount

sudo umount /dev/disk2s1
Enter fullscreen mode Exit fullscreen mode

Hostinger image

Get n8n VPS hosting 3x cheaper than a cloud solution

Get fast, easy, secure n8n VPS hosting from $4.99/mo at Hostinger. Automate any workflow using a pre-installed n8n application and no-code customization.

Start now

Top comments (0)

Sentry image

See why 4M developers consider Sentry, “not bad.”

Fixing code doesn’t have to be the worst part of your day. Learn how Sentry can help.

Learn more

👋 Kindness is contagious

Please leave a ❤️ or a friendly comment on this post if you found it helpful!

Okay