
Introducation
Kimai is open source time-tracking app.
There are two major versions: Kimai1, which is GPLv3 licensed, and Kimai2, which is MIT licensed.
In this post, I'll show how to install Kimai2, the latest.
It is based on Symfony, the PHP robust framework.
Besides, Kimai2 is great to keep up the Symfony's updates :)
Environment
- OS: OpenBSD 6.5
- Database: MariaDB 10.0
- Web Server: httpd
- App Server: PHP 7.2
- Time-Tracking App: Kimai2 0.9
Tutorial
The official installation manual is here.
Requirements
First of all, you have to have:
Additionally, HTTPS is recommended.
Well, All the links in this section are to the tutorials.
DB server
Create database and user:
CREATE DATABASE <database> CHARACTER SET = 'utf8mb4';
GRANT ALL PRIVILEGES ON <database>.* TO <dbuser> IDENTIFIED BY '<dbpass>';
App server
Get the package:
$ git clone -b 0.9 --depth 1 https://github.com/kevinpapst/kimai2.git
$ cd kimai2/
Then modify the permissions:
# chown -R :www .
# chmod -R g+r .
# chmod -R g+rw var/
Also configure the system:
$ cp -p .env.dist .env
$ nvim .env
Here is where to change at least in .env:
- APP_SECRET=change_this_to_something_unique
+ APP_SECRET=<some_salt_key_long_enough>
...
- DATABASE_URL=sqlite:///%kernel.project_dir%/var/data/kimai.sqlite
+ DATABASE_URL=mysql://<dbuser>:<dbpass>@<dbhost>:<dbport>/<database>
Let's install via Composer.
Using php-7.2 /usr/local/libexec/composer.phar is the trick for OpenBSD installation.
$ php-7.2 /usr/local/libexec/composer.phar install --no-dev --optimize-autoloader
The result is:
Loading composer repositories with package information
Installing dependencies from lock file
Package operations: 138 installs, 0 updates, 0 removals
  - Installing ocramius/package-versions (1.4.0): Downloading (100%)
  - Installing kimai/kimai2-composer (0.1): Downloading (100%)
  - Installing symfony/flex (v1.2.3): Downloading (100%)

Prefetching 101 packages 🎶 💨
  - Downloading (100%)

  - Installing beberlei/doctrineextensions (v1.2.0): Loading from cache
...
  - Installing white-october/pagerfanta-bundle (v1.2.4): Loading from cache
Generating optimized autoload files
ocramius/package-versions:  Generating version class...
ocramius/package-versions: ...done generating version class
Executing script cache:clear [OK]
Executing script assets:install [OK]
Then create schema in the database created below:
$ php-7.2 bin/console doctrine:schema:create
The result is:
 !
 ! [CAUTION] This operation should not be executed in a production environment!
 !

 Creating database schema...


 [OK] Database schema created successfully!
Here you will catch the warning above.
The official document says:
You can safely ignore the message: This operation should not be executed in a production environment!
Well, let's go ahead:
$ php-7.2 bin/console cache:warmup --env=prod
The result is:
 // Warming up the cache for the prod environment with debug false


 [OK] Cache for the "prod" environment (debug=false) was successfully warmed.
The system is now almost ready.
Create a user as the system administrator:
$ php-7.2 bin/console kimai:create-user <username> <email-address> ROLE_SUPER_ADMIN
The result is:
Please enter the password:

 [OK] Success! Created user: <username>
The last step is preparing web server.
Add the definition below to /etc/httpd.conf:
server "<fqdn>" {
        listen on $ext_addr port 80
        block return 301 "https://$SERVER_NAME$REQUEST_URI"
}
server "<fqdn>" {
        listen on $ext_addr tls port 443
        tls {
                certificate     "/etc/letsencrypt/live/<fqdn>/fullchain.pem"
                key             "/etc/letsencrypt/live/<fqdn>/privkey.pem"
        }
        # create unique log files (optional):
        log {
                access  "<fqdn>-access.log"
                error   "<fqdn>-error.log"
        }

        # the document root is the directory named `public`:
        root "/<...>/kimai2/public"
        directory index index.php

        location "/*.php" {
                fastcgi socket "/run/php-fpm.sock"
        }
        location "/*.php[/?]*" {
                fastcgi socket "/run/php-fpm.sock"
        }
        # if directories are accessed to, call `index.php` with url parameter:
        location match "^/(.*)/[^\.]+/?$" {
                fastcgi socket "/run/php-fpm.sock"
                request rewrite "/index.php/%1"
        }
}
Restart it:
# rcctl restart httpd
Conclusion
Now all servers, database/app/web, are ready and listening.
Let's access to <fqdn> via any web browser:
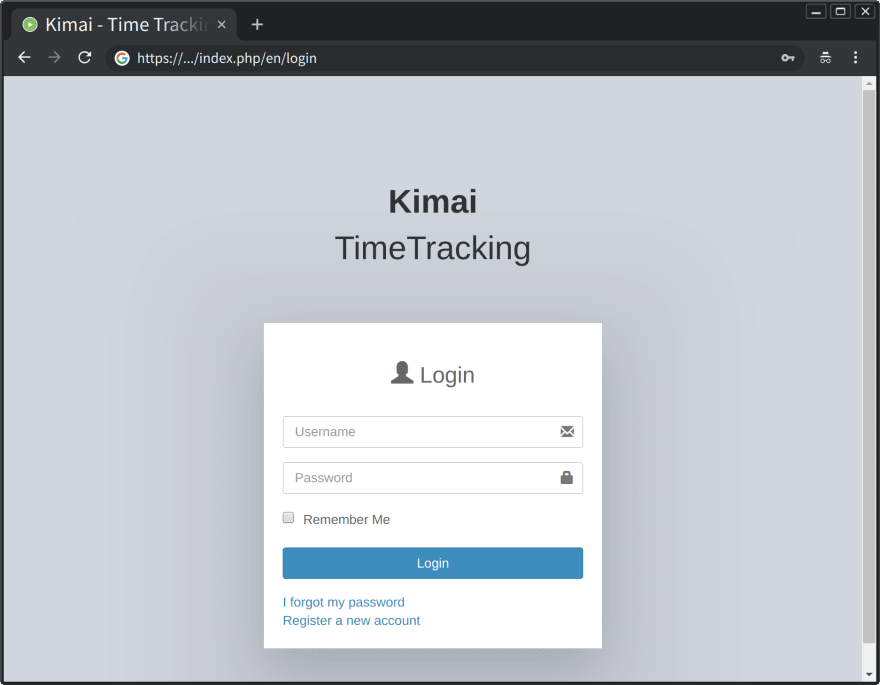

Voilà 😆
I like this simple UI 🥳
Thank you for your reading.
Happy computing.

Top comments (0)