
Vim is great. I have been using different text editors and IDEs through years, and Vim stuck with me through all hardships and happy times. Maybe because I invested much time in learning and fine-tuning it to my needs that it became a part of me, a bit.
I love Vim. It's not easy to use. I love Vim anyway.
Maxin Cardamom
With those lines, one of the best Vim talks on YouTube starts.
And it makes perfect sense. I remember being frustrated and asking why would anyone use Vim while I was learning it. But all that paid struggle off. If you are afraid of the Vim learning curve, I found this great post that
proclaims you can learn Vim 30 minutes!
One of the main reasons why I use Vim as my editor is speed. And I do not mean the speed of writing code, which is also excellent. I am thinking of the reading speed of the code. Did you know that the ratio of reading versus writing code is 10 to 1. That means that you are regularly reading old code to write new code. And with Vim, reading and finding old code has been the easiest and fastest for me!
I will explain in another blog post which plugins and shortcuts I use, so be sure to subscribe to the newsletter.
VSCode vs. Vim
A lot of folks are using Visual Studio Code for development. I do not blame them. I have used VSCode and Visual Studio and it is one of the best software that came out of Microsoft!

 Tim Pope@tpope
 when people ask me to recommend a text editor05:27 AM - 14 Sep 2019


Most recently, I have been using VSCode for writing (and reading) TypeScript code. Why you'd ask? Well, before I made an ultimate Vim TypeScript setup, I had to use VSCode. The only reason why I used VSCode, was that Vim was too slow for editing TypeScript files.
Luckily, I have upgraded Vim to 8.2 version, and it started to be blazing fast once again. I ditched VSCode and moved back to Vim and my .vimrc.
If you are thinking about the two, I would say to use Vim, but I am probably biased. VSCodeVim lets you combine the best of two worlds, and this is what I was using in my Visual Studio Code setup.
Upgrading to the new Vim version meant I could finally savor the sweet fruits plugins of the Vim and TypeScript ecosystem.
Vim and TypeScript
To get you started with using TypeScript and Vim together, I will show plugins for syntax highlighting:
- pangloss/vim-javascript provides syntax highlight and indentation for JavaScript in general
- leafgarland/typescript-vim provides syntax highlight for TypeScript
- maxmellon/vim-jsx-pretty support for JSX highlighting
These three will suit all of your needs. If you are using GraphQL, there is vim-graphql that works nicely for me.
After you add all of these plugins, this is how a React component looks like:

I use vim-plug to install plugins, but with new Vim 8.2, you can add plugins to ~/.vim/pack/some-package/ like
described in vimhelp.org.
To add these plugins in your .vimrc using vim-plug, you can do the following:
Plug 'pangloss/vim-javascript'    " JavaScript support
Plug 'leafgarland/typescript-vim' " TypeScript syntax
Plug 'maxmellon/vim-jsx-pretty'   " JS and JSX syntax
Plug 'jparise/vim-graphql'        " GraphQL syntax
Then, install these plugins with :PlugInstall or use this shortcut I use:
" Source Vim configuration file and install plugins
nnoremap <silent><leader>1 :source ~/.vimrc \| :PlugInstall<CR>
You can then press your leader key and number 1 to install and apply all the changes in your .vimrc.
Now, to the coolest part!
Code completions
Coding in Visual Studio Code was pretty nice, and I got used to having suggestions as I type. Luckily, there is the same thing for Vim! A plugin called coc.nvim
has made my development experience so much better! Conquer of Completion, or CoC for short, is similar to
YouCompleteMe and deoplete plugins, but I found it easier to configure.
This of the CoC as a swiss-army knife of a Vim plugin. It is largely inspired by VSCode and has a full Language Server Protocol support. We can picture the Language Server Protocol or LSP as a middle-man between the language tooling and code editors. In other words, you only need to write one protocol for TypeScript and have it reused for different editors. I best understood the idea from a diagram below:

To set up coc.nvim plugin, you need to include the plugin in your .vimrc:
Plug 'neoclide/coc.nvim', {'branch': 'release'}
Having plugin by itself will not be enough for a full-on VSCode-like experience with TypeScript. To have code completion show up for TypeScript, you need to install
coc-tsserver. The reason for this is that CoC works with extensions. There are many extensions that you can use, and more on why extensions are needed is in CoC Wiki.
In our case, we will use coc-tsserver extension that we can install with :CocInstall coc-tsserver. Or, you can put this line in your .vimrc which I find better:
" CoC extensions
let g:coc_global_extensions = ['coc-tsserver']
At this point, you should start seeing language server errors highlighted with associated icons in the gutter, and cursoring over the errors will show the error or warning message.

Not only that, but you will be able to do autocomplete and get code fix
suggestions! Similar to VSCode. In the GIF below, I'll try to add a styled container to the 404 page of my blog.

I am also showing which keys I'm pressing in the bottom left corner of the GIF so you get a sense of what is going on in Vim. To sum up, I have created a Container variable that is using styled.div. After that, I am including <Container> in my code, but the TS Server is complaining that styled cannot be found. Then, I'm using a shortcut to view code fixes, and I choose to import styled.
I took some of the tricks from example Vim configuration from the coc.nvim repo which you should definitely check out!
One of the shortcuts I used in the GIF above is leader key + ac:
" Remap keys for applying codeAction to the current line.
nmap <leader>ac  <Plug>(coc-codeaction)
" Apply AutoFix to problem on the current line.
nmap <leader>qf  <Plug>(coc-fix-current)
The last one will apply a quick fix immediately by pressing leader + qf. Besides that, my configuration is pretty simple. I also use the following:
" GoTo code navigation.
nmap <silent> gd <Plug>(coc-definition)
nmap <silent> gy <Plug>(coc-type-definition)
nmap <silent> gi <Plug>(coc-implementation)
nmap <silent> gr <Plug>(coc-references)
The gd, gy, gi, gr it useful when jumping around the code trying to figure out where code is being defined and referenced from. This is why I love Vim and it lets me be fast with writing and reading code! To better illustrate, here is a GIF of jumping between the definition of the SEO component and where it is referenced.

That's it, folks! If you want to learn more about Vim and my setup, please subscribe to the newsletter to get the latest blog posts. Also, my .vimrc are available inside my dotfiles repo
Also, sharing this with friends is an excellent way of spreading knowledge and making me earn internet points:
Vim setup for TypeScript that your government doesn't want you to know 👇
pragmaticpineapple.com/ultimate-vim-t…10:02 AM - 05 May 2020

 nikolalsvk
/
dotfiles
nikolalsvk
/
dotfiles
Configuration files for Vim and Git
👋 Welcome to my dotfiles 📚
👀 Here is how your terminal could look like 🐅
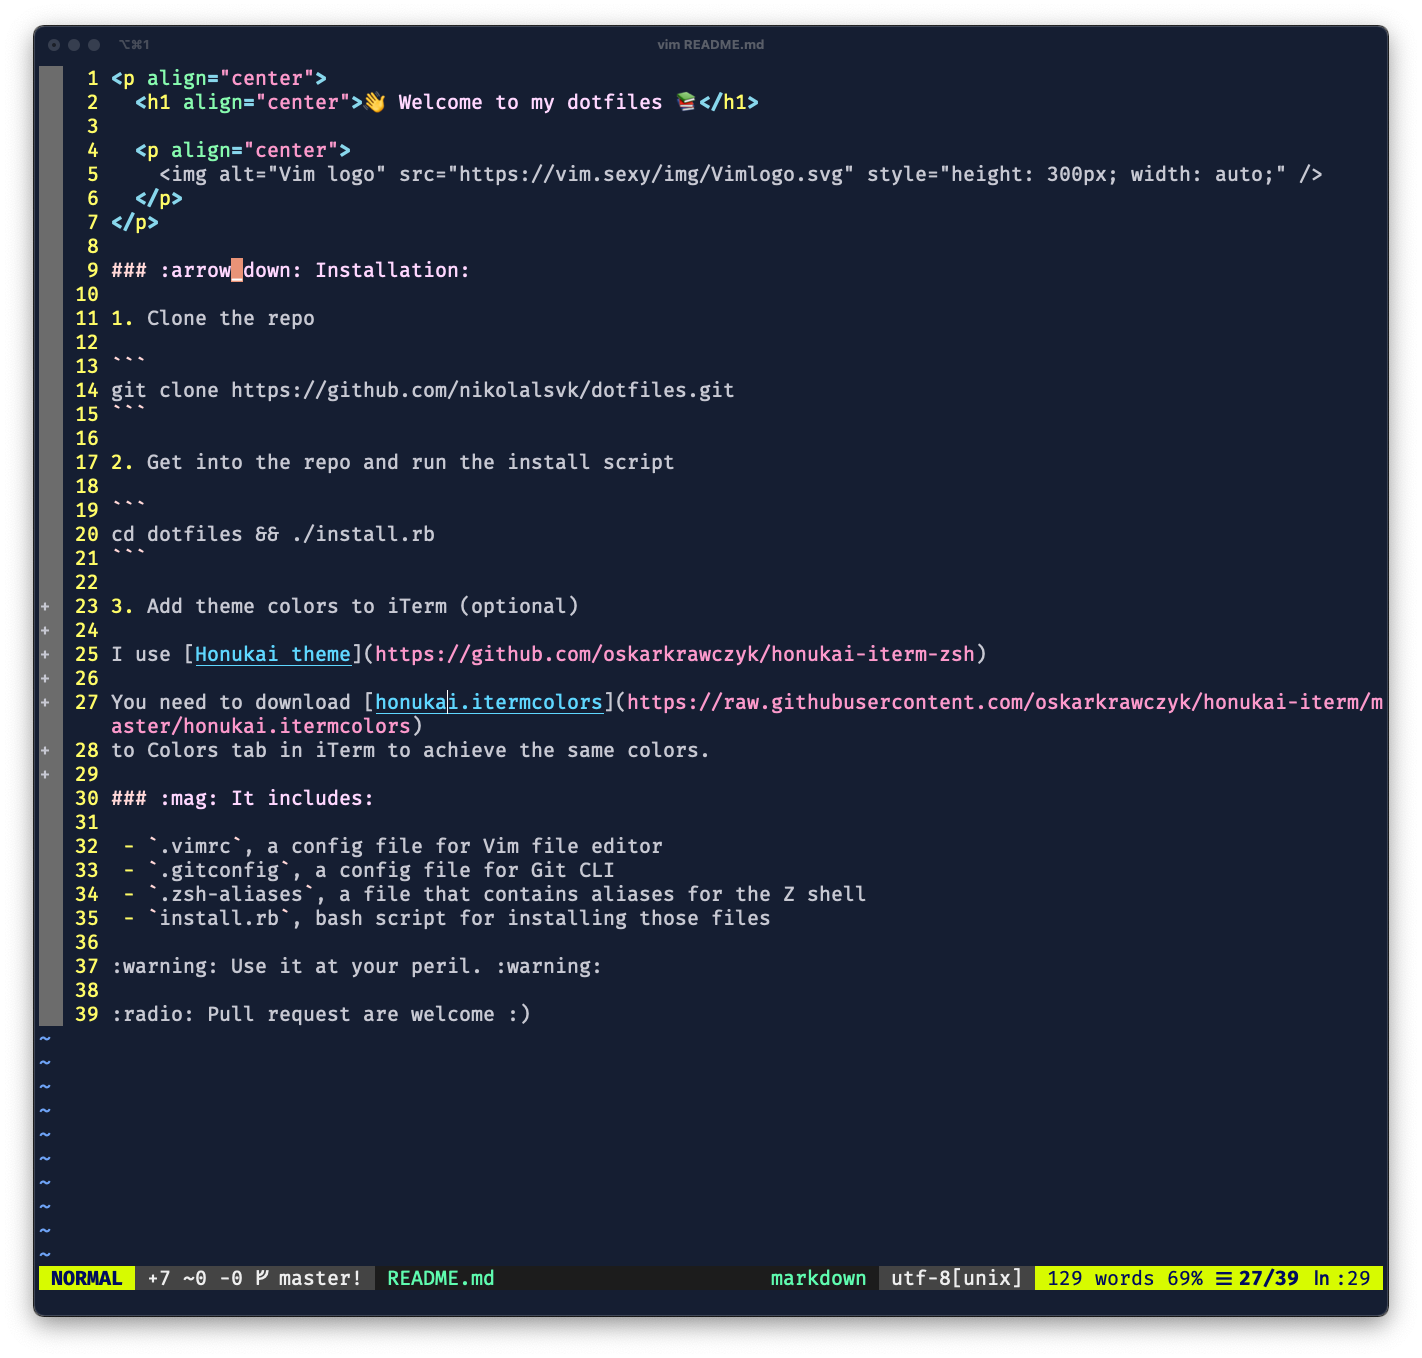

⬇️ Installation:
Get started quickly:
-
Clone the repo
git clone https://github.com/nikolalsvk/dotfiles.git
-
Get into the repo and run the install script
cd dotfiles && ./install.rb
Or, you can do it via zx using:
npx zx install.mjs
-
Add theme colors to iTerm (optional)
I use Honukai theme if you're interested in having the similar visual appearance.
You need to download honukai.itermcolors to Colors tab in iTerm to achieve the same colors.
That is it. If you find something broken or worth fixing, create an issue and / or a pull request and let's make it better.
🔍 It includes:
-
.vimrc, a config file for Vim file editor -
.gitconfig, a config file for Git CLI -
.zsh-aliases, a file that contains aliases for the Z shell -
install.rb, bash script for installing those files
Cheers!

Oldest comments (1)
Thanks for the article! I'm using vs code vim plugin, and the only thing I'm not very happy about is the speed of autosuggestion.
So wanted to try your setup. How do you switch between files and do the auto formatting, linting etc?
Thanks!