My previous post focused on the key motivations behind using AWS, as well as overviews of the most used services. This post will cover how to get a simple application up and running on the cloud.
The very first thing to do is to make an AWS account. This will require you to input a credit card, but don’t worry, there’s no fee. AWS only charges you for the services you use, and most of those services offer a Free Tier, even those that don’t will have an option that is measured in pennies per million users or pennies per terabyte. So just make sure your test application isn’t something ridiculous like uploading your entire movie collection.
Now that you have an account, let’s go over the ways that you can access and manage your AWS account and projects.
The AWS console and you
After creating your account, you will be forwarded to the AWS web console. This serves as a ‘home screen’ for your account, and allows you to easily manage services, create or delete instances, and set up automated responses for your application. The AWS console is easily the most intuitive way to set up and manage your services.

The AWS command line interface
The AWS CLI is a powerful tool that allows you to manage every aspect of every AWS service from your local machine. You can download the packages for the CLI here. Windows users can just download and run the installer, Mac and Linux users (or users running a Linux CLI on Windows) will install using pip.
$ pip install awscli
If you don’t have pip installed, the page provided has a bit more instruction on how to install it, as well as how to handle some potential issues. Verify that the cli is properly installed by checking its version.
$ aws –version
If this fails and the installation otherwise appeared to work, try restarting your computer.
Setting up access
Before we can get to our app, we need to be able to communicate between our local machine and the partitions we’ll create using our AWS account. In the upper right of the screen, click on your name to show a dropdown, then click My Security Credentials.

You’ll get a pop up warning you that your account credentials provide unlimited access to all of your AWS resources, and recommending that you use an IAM account instead. If we were doing something important, then we would want to take that advice. Using an account with unlimited permissions is dangerous, you might accidentally delete something or divert a resource from one project to another. Ideally, we should create a separate IAM identity, which would have its permissions restricted such that we couldn’t damage anything.
But for now, we have nothing to lose. Close the window and click on the Access Keys (access key ID and secret access key) tab. Then click Create New Access Key. This will generate a new key pair, which you should download.

Open your command line and run the command
$ aws configure
You will be prompted to input the ID and secret from the Access Key you just downloaded. You will then be asked for your Default region name, go back to your browser, click on the logo to bring you back to the AWS console home, and click on the location next to your user name. You’ll see a list of locations a names, pick whichever location is closes to you and enter its associated name. MY closest location was Oregon, so I entered us-west-2. Finally, choose your output format, this will be the format of responses given by the CLI. I recommend json, it’s much more readable.

Once you have completed this, you should try the command below. If you have successfully completed set up, you should receive a see all of the Elastic Cloud Compute instances you have created so far. Since we’ve just started, this should be an empty array. If you receive an error message instead, double check that aws cli is installed, or try aws configure again.
$ aws ec2 describe-instances
Starting with Virtual Private Clouds
I mentioned the power of VPCs in the previous post. In short, it’s a partition which will hold all the subnets and instances used in your application. It will also handle all of the routing to and from your application.

Go to your AWS console home and search for ‘VPC’. Click the Launch VPC wizard button. This will bring you to a screen where you can select the starting architecture for your VPC. Go ahead and leave the default option: Single Public Subnet.
This will take you to the IP settings page for your VPC. Since we selected Single Public Subnet, we have the option of choosing the range of IPs for the subnet within the VPC. The values in this range are arbitrary, so long as they are within the bounds of the VPC. Select any Availability Zone for your subnet. Don’t forget to give both your VPC and subnet a name. Now just hit Create VPC.

Now you’ve created your VPC, but it still doesn’t have any routing behavior. We want to allow users to come in and view our app. Click OK to continue back to the Your VPCs tab, which should now list your newly created VPC. Click the link in the ‘Main Route Table’ column, it should be a string of characters beginning ‘rtb-‘.

This will take you to the route table. At the bottom of the screen, click the routes tab and the Edit routes button.

Add a new route with the Destination ‘0.0.0.0/0’, this is effectively a wildcard, and will handle incoming requests from any IP. Click on the Target drop down, since we want to make this publicly available, select Internet Gateway. You will see an identifies beginning with ‘igw-‘, this is the gateway that was created with the VPC.
Creating your EC2 Instance
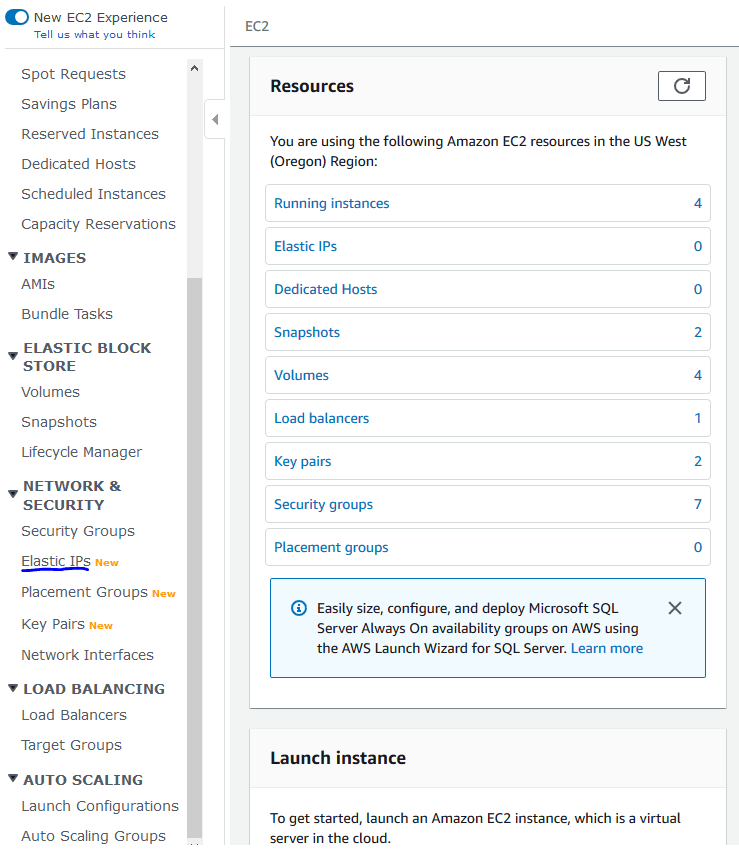
EC2 is the core building block of most AWS applications. It is a virtual machine which you can launch and use to host your application. From the home page of the AWS console, do a search for EC2 to arrive at its dashboard. Click the Launch instance button.
Your first decision will be to choose an Amazon Machine Image (AMI). These are a combination of the OS and pre-installed software for your virtual machine. Note that not all of these images are free tier eligible, so be careful with which one you select. I’m going to be posting a Ruby-on-Rails application, so I select “Amazon Linux AMI”.

Step 2 is easy, because only one option is free tier eligible! It’s selected by default, so just click Next in the lower right.
In step 3, ensure that your Network is set to your VPC, and then your Subnet is set appropriately. Then hit Next

Step 4 is storage. You can set the size of your instance in GiB. The default is 8, but you can scale that up to 30 and still stay in the free tier.
Step 5 is tags. At the very least, you should give your instance a name so its easier to identify later. Click Add tag, put ‘Name’ in the Key field, and whatever you want to call the instance in the Value field.
Finally we reach step 6. Security groups control what has access to your app. You can create a new security group here, or assign it to an existing one. When creating a default security group, your app is only accessible by anyone that has the SSH key (which we’ll create in a second). Since I want my application to be public, I added a new rule which allows connections from anywhere on port 3000.

Go ahead and hit Next and Launch. You’ll see a pop up which asks you to determine the key pair you’d like to use for your instance. Select ‘Create a new key pair’ and give it a name. Then click Download Key Pair and save it somewhere safe. Then click Launch Instance.
Getting an Elastic IP
Elastic IP addresses are public addresses can be reassigned to different targets. This allows you to pull off some pretty useful tricks, such as seamlessly switching between an older and newer version of your application. For now, however, we’re just going to use it to connect our application to the public internet. I know I’ve said ‘connect our application to the internet’ a lot already, but so far we’ve only set up the permissions and routes that will allow users from our to access our instance. We still need to build the last bit of that bridge and allow users to find our instance in the first place.
You’ll find the Elastic IPs link on the left side of the EC2 dashboard. You may have to scroll down to see it. Simply click Allocate Elastic IP address. You’ll have the option to use an address that you own, or one of Amazons. Since I don’t own my own IP address, I used the latter.
Once the Elastic IP is created. Select it and click the Actions tab at the top of the EC2 dashboard, and then Associate IP address. You’ll see a simple menu where you can select the instance you want to associate, instances are identified by a long string of characters beginning with ‘i-‘. Fortunately, if you added a name tag for the instance earlier, that will appear as well. Once you’ve selected the instance, click the Private IP address field, which should only give you the one option, and hit Associate.
You’ll now have an IPv4 address associated with your instance. Copy it, because we’ll be using it in the next step.
Sending your files to your Instance
Remember your key that you downloaded when you created your instance? It was downloaded as a .pem file. You’ll be using scp to send your files up to your instance. If you’re using Windows, you’ll need to first convert the .pem to a .ppk and use pscp instead.
Extra Step for Windows Users: First, download PuTTYgen. Once its installed, start it up and click Load, select the .pem file (you may need to switch the file type in the browser to ‘All files’). You should get a message that the conversion was successful. Then select Save private key to save your .ppk file.
In whichever CLI you prefer, use the following command to send your files. (Remember, if you are on a Windows machine, you will use ‘pscp’ instead of ‘scp’.) Anything included in <> brackets should be replaced with the appropriate value, and don’t include the brackets. 'Chosen address' is whatever file path you want your file to be placed in. You can even leave it blank if you just want to deposit your file in the instance’s home directory.
$ scp -r -i <path-to-key-file> <file-to-transfer> ec2-user@<instance ip>:/home/ec2-user/<chosen address>
My version of the command was
$ pscp -r -i ./IronDocAWS.ppk ./IronDocs ec2-user@44.231.36.250:/home/ec2-user/
Accessing your Instance
Finally, let’s dig into our instance! If you’re using Linux or MacOS, you’ll be using the ‘ssh’ command to log into the instance. If you’re a Windows user, you can access with PuTTY, or you can just use the Ubuntu command line which is compatible with Windows.
ssh -i <path to pem file> ec2-user@<ip of instance>
If you get an error that says your permissions are “too open”, you need to secure your file. Run the command below, which will set the permissions of your file such that only you are able to read it.
$ chmod 400 <path to pem file>
If all has gone well, you should be in! You can now install the necessary software to run your application. For me, this was installing rails along with all of my gems. And voila, you are now being hosted by the Amazon cloud!

If you are using nodejs for your server's front-end, you can just run 'npm start' and view your project by visiting :3000 in your browser.
If you're using a rails front end, you'll have to remember to deploy to an IP other than localhost. Use 'rails s -b 0.0.0.0', otherwise you'll get a 'failed to load' error when you try to connect.

Top comments (0)