How to redirect 3D Mouse to Remote Desktop Session
What is a 3D mouse
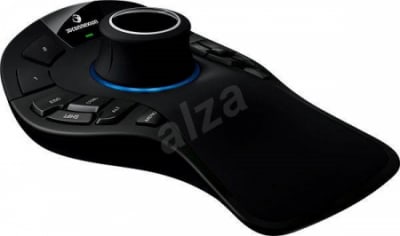
A 3D mouse is a specialized pointing and control device that is designed to be used in virtual 3D environments. It provides this functionality through a variety of methods including accelerometers, multi-axis sensors, and infrared sensors. Used in tandem with a traditional mouse, it allows individuals to employ a two-handed approach to their work.
Computer modelers and designers make use of 3D mice because they increase productivity and are more comfortable to use compared to traditional techniques. They are also considered essential gear for serious gamers who wish to immerse themselves in the world of virtual reality. A 3D mouse offers users the six degrees of freedom required to successfully navigate three-dimensional environments.
An example of 3D mouse that are in great demand: Logitech Space Navigator, Space Mouse Pro, Space Explorer, Space Pilot PRO and etc.
Accessing a 3D mouse in RDP sessions
It can be challenging to use a 3D mouse from within a Remote Desktop Session. If it uses a USB interface, you need the ability to redirect data transmission to your remote session. One option is to use RemoteFX USB redirection which allows an RDP to access a USB connected 3D mouse.
While this solution does enable access to the mouse, there have been problems reported with inconsistent performance from the device. The issue is that the mouse acts fine until it enters the 3D environment. When used in the 3D space, issues with the mouse driver result in a lack of control over the device’s movements.
Redirecting a 3D Mouse to RDP
USB for Remote Desktop is a third-party solution developed to streamline the process of redirecting USB device transmission. Here’s how to use USB Network Gate to redirect a 3D mouse to an RDP session.
Download and install USB Network Gate on the machine that is attached to the 3D mouse and the computer that will use RDP to access it.
On the computer with the direct connection to the 3D mouse, launch the application and go to ’Devices’. Locate the mouse in the device list and select ‘Settings’. Here you can update parameters like the port number or enable encryption. When you are finished updating parameters, click ‘Share’.
The mouse is now available to any network-connected computers that have USB Network Gate installed. Open USB for Remote Desktop app in your RDP session and in ‘Devices’L click ‘Connect’ to access the shared device.
That’s it! The 3D mouse is now available in your RDP session and ready for use.

Top comments (0)