Hey! In this post I am going to show you how you can start using the best version/revision control software today, none other than, Git.
If you are starting with coding or you already know coding but not yet used Git before, then it is time to introduce yourself to this wonderful technology and this article is a good start to embark on your Git journey.
Why this article is a good read:
- This article is not going to tell you the syntax only, I am going to focus on what is the concept/working behind that command.
Why even do Git/Github:
- The best way to maintain/manage your project. You can access your project anywhere anytime
- When you work with a team then the issues of working on same files and other conflicts are handled carefully by Git
- Almost all Open Source world knows Git and since the code will be visible to everyone, people will be interested in contributing to your code as well
- It is free
This is my first post on Medium so there may be some mistakes or not up to the mark with Medium, so please bear with me.
Enough now! Let’s begin the real stuff here.
Creating a Github repository
Let’s start with a simple PHP project in your say ‘E:\’ drive and directory ‘E:\xampp\htdocs\testing’. (See below images)
The target is to upload this project on Github.
You need to have an account on Github which is free to create of course, so you must sign up if you haven’t. After signing in, click on ‘New repository’ and you will see a screen like this:
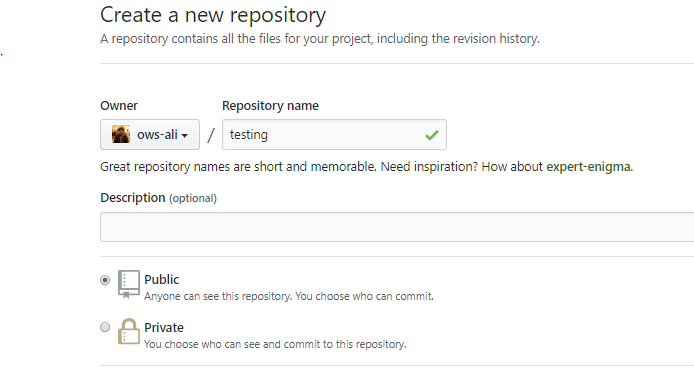
Add the repository name of your choice (add description if you want) and click ‘create repository’.
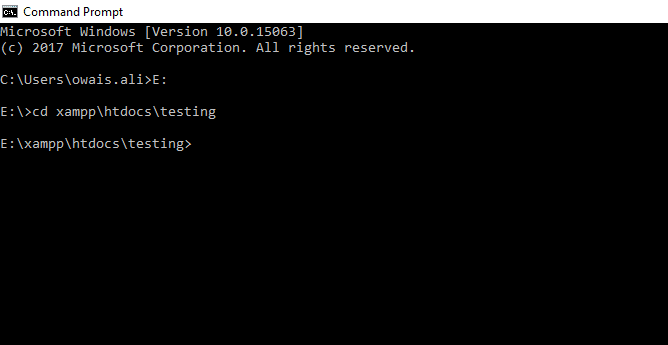
Now, open Command Prompt, by typing ‘cmd’ in start menu, and change directory to the ‘testing’ directory like this:
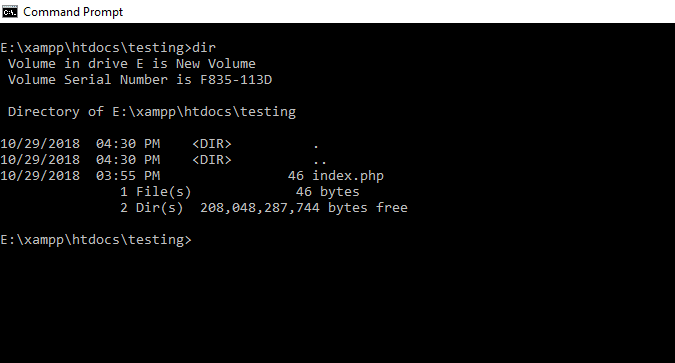
Type ‘dir’ and you can see in the following picture we have only one file ‘index.php’ which we will be pushing to Github
Git on local
Now, you need to tell the ‘testing’ folder that this is going to be a Github project. So, you need to initiate the ‘testing’ folder as local git repository. This simple command will do it
git init
It will create a .git folder in testing folder and it means you are now ready to play with remote Github project. You probably be thinking how should I tell git that where my repository on Github is, so here is the command which tells what is the url of your Github repository:
git remote add origin https://github.com/ows-ali/testing
In your case ows-ali/testing will be replaced by [your_username]/[your_repository_name]
Now, you do
git add .
This stages your files (add command means you are prepared to make a commit to git and then push it, files can be removed after adding so this extra layer comes handy a lot of time).
Now few things are useful to know about this command:
- git add . add all the edited or new files to stage
- git add index.php will only add index.php to stage and only this will be pushed to Github ultimately
Now, you are ready to make a commit
git commit -m “first commit”
The commit is what takes the changes from your local repo to remote repository on Github (a commit can contain changes in one file, or many file, or creation or deletion of files etc)
So, finally the most awaited command that will finally push your code on Github is:
git push origin master
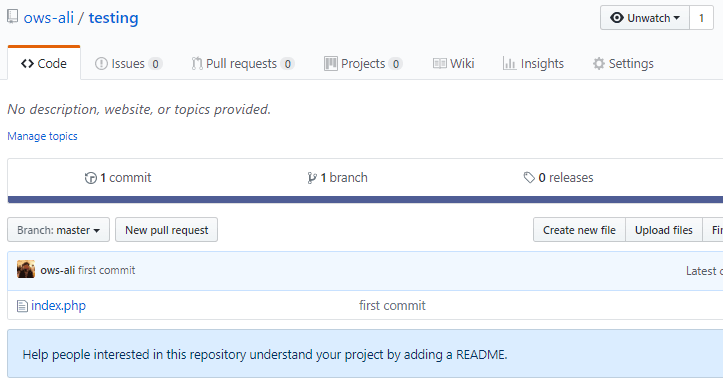
Now go ahead, check your repository, the index.php will be visible on your repository and it will look like this:
Introducing README Markdown file
Now, in the above picture you see below that it is asking you to create a README file. Wait! that was not in the plan, I haven’t heard of it and probably my project does not have it. No worries, it is another beautiful and important file about Git projects and it is totally worth it to understand it. README.md is a markdown language which you can use to provide description about your project, also you need to follow a specific markdown styling to write. Oh but is that it? No, the most wonderful thing about README file is whenever you open your repository on Github, the Github will automatically show you the README.md file if it has any. Pretty Good, right.
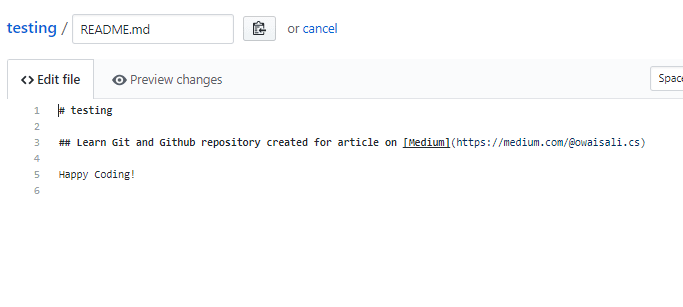
So well you can go back and create a file and push it following the above steps but we can also create files right from the repository as well. So, click on ‘Add a README’ and add your content as following or anything you like:
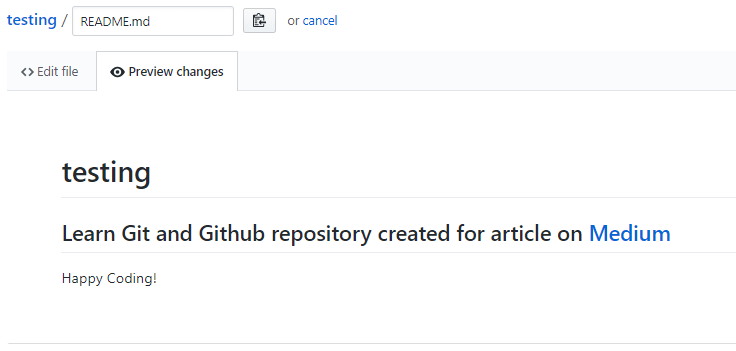
Click on preview and you can see the changes before finalizing:
You can learn few styling here:
- # is equivalent to
tag in html (no closing required though like in html)
- ## is equivalent
and so on
- text acts similar to tag
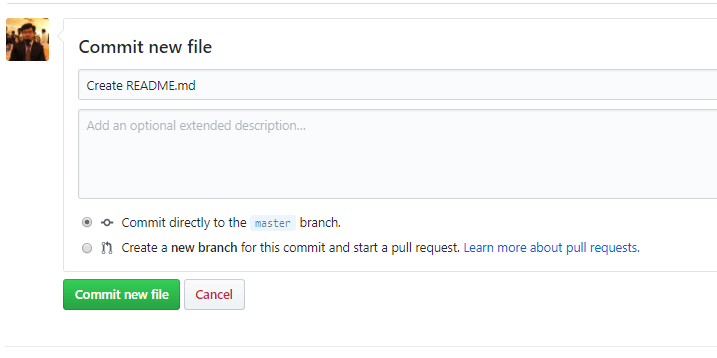
Looks fine, now go ahead and type your commit message (remember commit is used to carry in all kind of changes to repository) and click commit.
Now, your repository will look like this
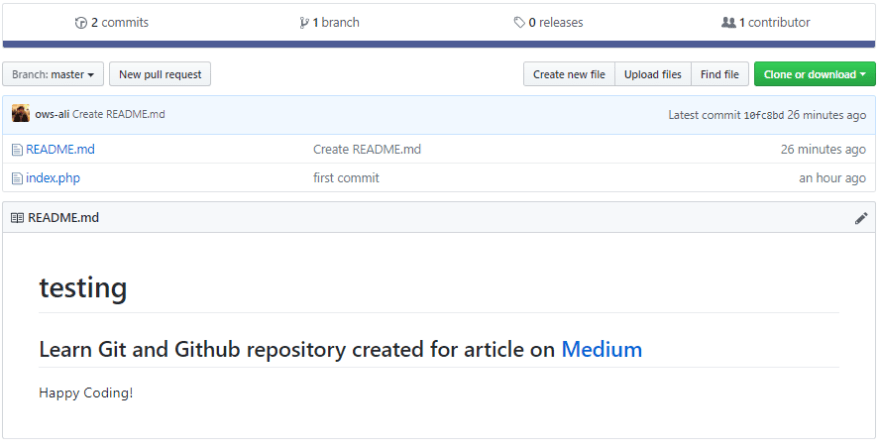
Lovely! Looks much better.
Ok, wait, there is a problem. Right! this README.md file is not in your local computer. Hmm..
Pull from remote Github repository
Here comes the command pull. Open the command prompt in the project directory and type
git pull origin master
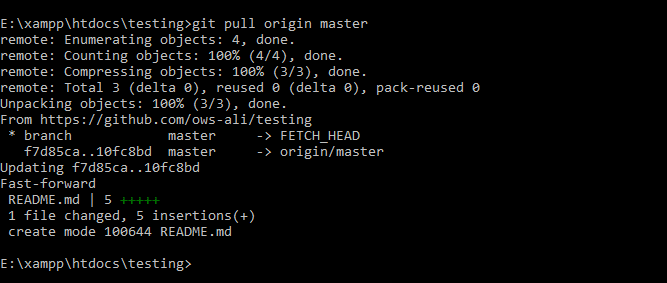
Seems wonderful. Now, the remote and local repositories are in sync. So this concludes our article here. You can have a glass of water if you feel like it.
Going Beyond
If you got this, you can go ahead and learn about:
I will hopefully write more on how can you dive into contributing into open source so stay tuned.
It’s my first article but you already know that Medium has a wonderful clap feature, right? :)
Happy Coding!

Top comments (0)