When people think about plugin development, they automatically think about WordPress. But there are other ecosystems you can develop for, especially if you are a big javascript fan.
In this tutorial, we will learn about developing plugins for Srapi, a headless CMS that allows you to bootstrap your API and manage content.
You can learn more about Strapi here.
What are plugins, and why build them?
Plugins allow adding or extending new functionality to an application without altering the core code or components, making it maintainable, customizable, and easily shareable via NPM.
You can also submit your plugins to the Strapi marketplace.
You can see some great examples here
Prerequisites
Before you can jump into this content, you need to have a basic understanding of the following.
- Basic knowledge of JavaScript
- Basic knowledge of ReactJS
- Basic understanding of Strapi
Don't worry if you are not familiar with Strapi yet; getting started is really easy. We will do it together here, including setting up our initial plugin. But first, let's introduce what we will learn to build in this post.
What we are going to build?
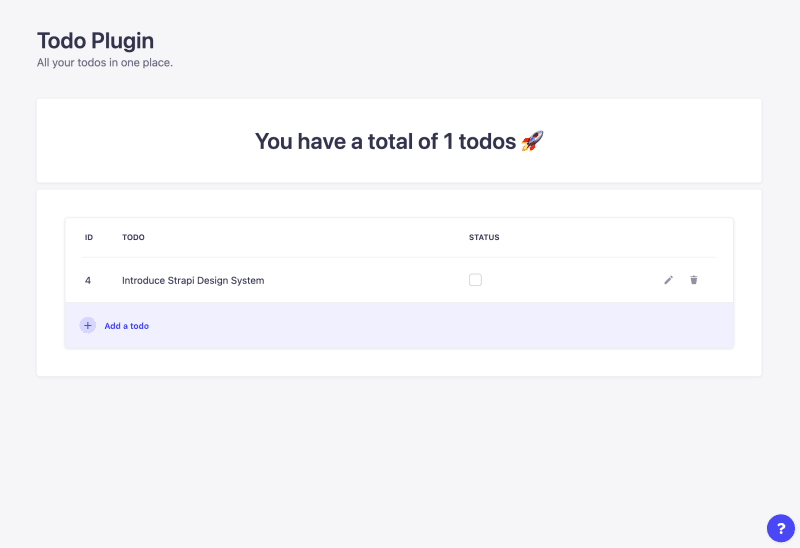
To learn the ropes of plugin development, we will build a simple todo app that will allow us to learn about Strapi plugin development by introducing us to the tools, structure, and best practices in an easily digestible step-by-step guide.
Setup Strapi
Before we jump into building our plugin and looking at the available tools, let's do a clean install of strapi.
Just make sure you have npm and node version 14 installed.
In your favorite terminal, run this command.
npx create-strapi-app@latest your-project-name-here --quickstart
The above command will set up an instance of Strapi with Sqllite, which is fine for what we are doing today.
You can get more information on Strapi here. quick start guide
Once everything is all set, you will see this screen, go ahead and enter all the required information, and hit "Let's start" to go to the next step.
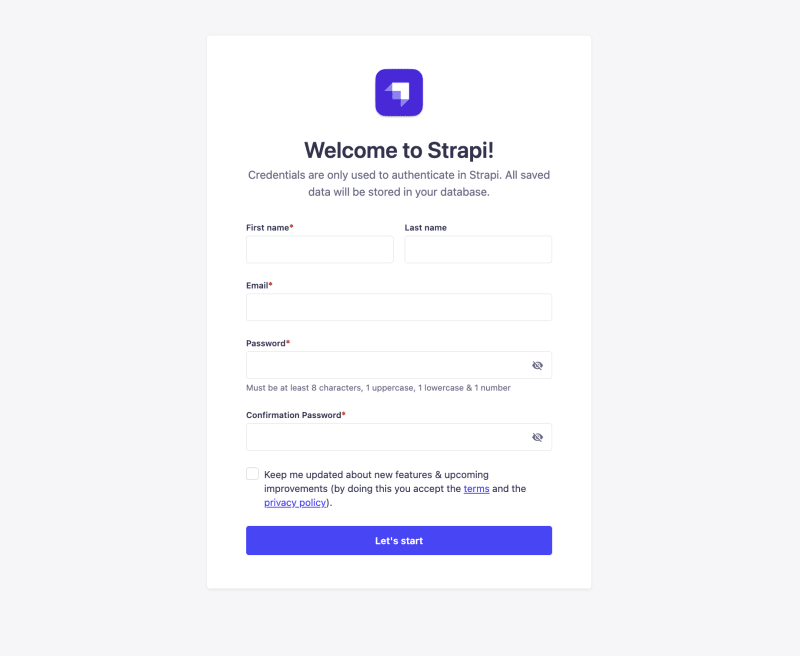
Create an admin user and sign into your admin account.

Scaffold the plugin
We will set up the initial plugin using the Strapi CLI tool. You can learn more about it here.
In the terminal, change into your project directory and run this command.
yarn strapi generate
$ strapi generate
? Strapi Generators
  api - Generate a basic API
  controller - Generate a controller for an API
  content-type - Generate a content type for an API
❯ plugin - Generate a basic plugin
  policy - Generate a policy for an API
  middleware - Generate a middleware for an API
  service - Generate a service for an API
Select the plugin option and press enter.
$ strapi generate
? Strapi Generators plugin - Generate a basic plugin
? Plugin name todo
Name your plugin "todo" and press enter.
It will generate all the required files to get us started. We will take a look at the folder structure in just a minute.
✔ +! 25 files added
Let's open our project in the code editor. Please go into the config folder, create a plugins.js file, and copy and paste the code below to register our plugin.
module.exports = {
  // ...
  'todo': {
    enabled: true,
    resolve: './src/plugins/todo'
  },
  // ...
}
To see our plugin, we must first rebuild our UI; we can either run "yarn build" then "yarn develop" to accomplish this.
Or just run "yarn develop --watch-admin" that will listen to any changes we make in the UI code and rebuild the frontend on each change.
You should now see your "todo" plugin in the left navigation.

Plugin Development Tutorial [ Part 1 ]
Plugin Development Tutorial [ Part 2 ]
Plugin Development Tutorial [ Part 3 ]
Plugin Development Tutorial [ Part 4 ]
Plugin Development Tutorial [ Part 5 ]
Plugin Development Tutorial [ Part 6 ]
Plugin Development Tutorial [ Part 7 ]
You can find the completed project on GitHub here
Thank you for taking the time to read this tutorial. I hope it was as fun for you as it was for me.

Top comments (0)