
While engrossed in coding, numerous ideas for small projects or tools often arise. However, due to the time-consuming nature of work hours, many of these prototypes remain unfinished. Fortunately, AI bots have emerged to revolutionize this situation by allowing developers to focus on the architecture and conceptualization of their applications.
Don't get me wrong. Having coding knowledge is crucial if you want to steer ChatGPT in the right direction quickly and get awesome results. It helps you communicate your intentions clearly and get the quality outcome you're aiming for.
The project
I wanted Code Session Tracker to be a React-based time tracking app that would allow me to track various coding sessions. It should enable me to easily start and stop time-tracked segments with descriptions, while also providing a comprehensive view of all the tracked times.
This project was a collaborative effort with OpenAI's ChatGPT, an AI language model. The primary objective was to rapidly prototype a straightforward tool that I could incorporate into my daily work
Setp 1. Build the components.
"Can you build a time tracking react app with functional components. I want to be able to track how I spend my work hours."

And that's it! Your component is now ready. During the development process, I later collaborated with ChatGPT to optimize the code structure by separating components, such as the list, into separate files. This iterative approach aimed to maintain cleaner and more organized code. Nevertheless, the basic functionality was present from the initial stages.
Step 2. UI: Ant Design Integration.
"Can you use antd to visualize the components?"
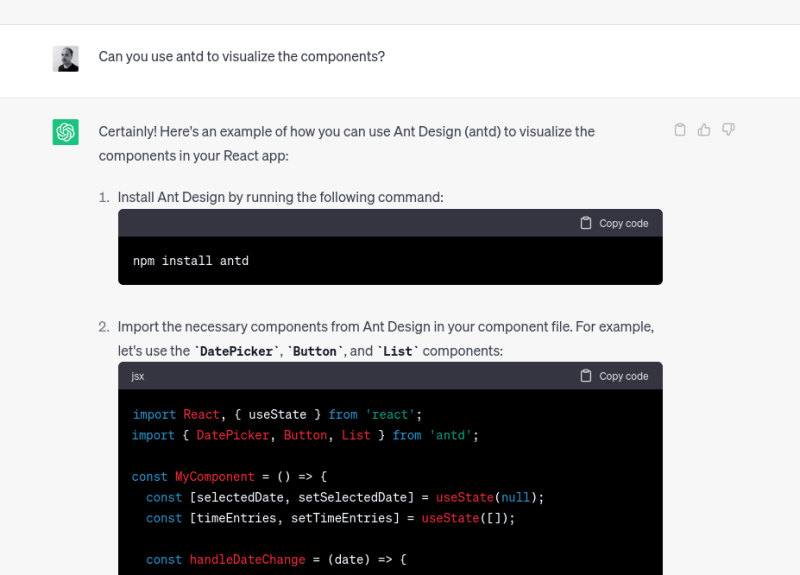
I'm familiar with the antd library, which made me confident about its smooth integration. By requesting ChatGPT to include it, you can enjoy a visually appealing and user-friendly interface right out of the box.
Step 3. Data persistence.
"Can u explain how to persist the data using Lokijs and the local storage?"
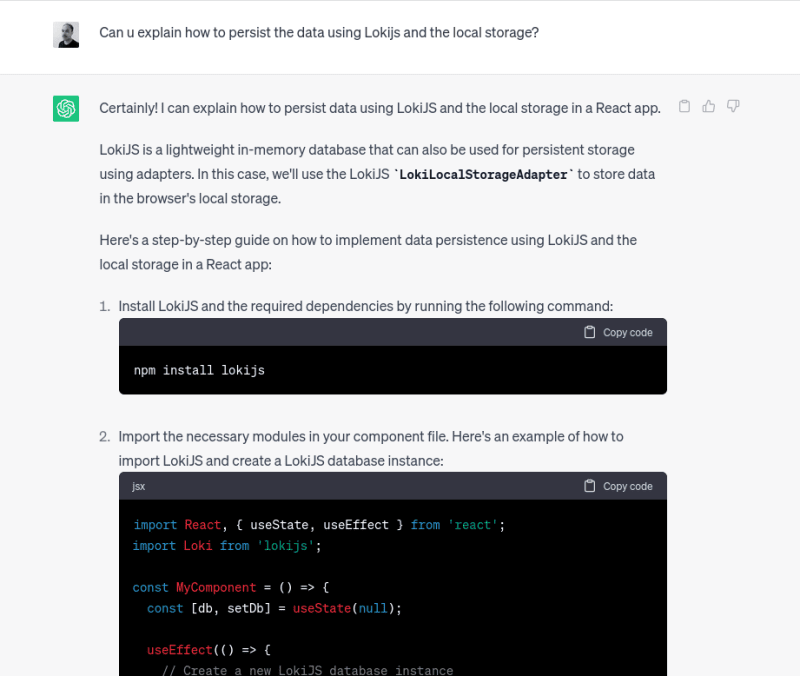
Undoubtedly, having a clear goal and prior knowledge of the libraries can expedite the process when using ChatGPT. However, I encountered a few hiccups with ChatGPT's understanding of lokijs, leading to additional time spent on debugging. Nonetheless, once the basic data flow was established, it became easier to synchronize the storage, database, and React component state.
Step 4. Deploy to Vercel
"How do I deploy the app to Vercel?"
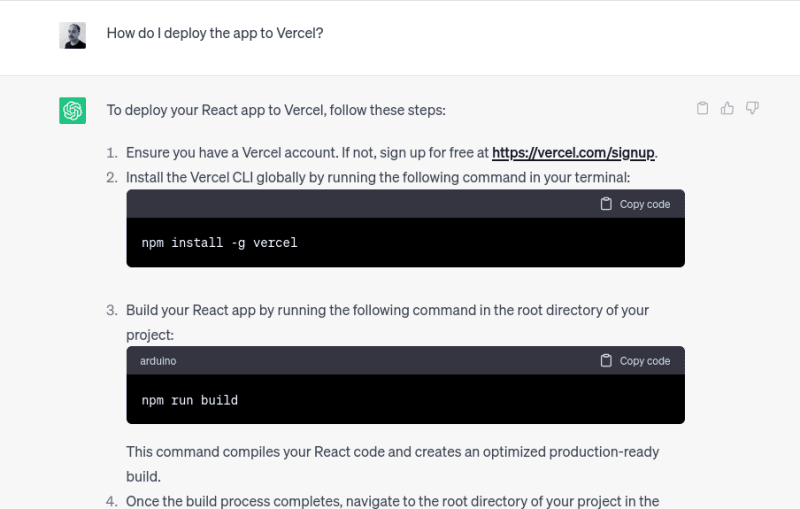
This step was quite straightforward. While I hadn't personally deployed to Vercel before, I had a decent grasp of its underlying philosophy and principles.
And that's it! You can find the resulting code at this GitHub repository, and experience the live version here. I hope you can customize these milestones to suit your own project and chosen framework, enabling you to create an outstanding app in record time.

Top comments (0)