Azure Key Vault is a cloud service used to manage keys, secrets, and certificates. Key Vault eliminates the need for developers to store security information in their code. It allows you to centralize the storage of your application secrets which greatly reduces the chances that secrets may be leaked. Key Vault also allows you to securely store secrets and keys backed by Hardware Security Modules or HSMs.
Create an Azure Key Vault
we will create an Azure Key vault and then create a password secret within that key vault, providing a securely stored, centrally managed password for use with applications.
1.Sign in to Azure Portal
2.Search for Key Vault
3.Configure the key vault (Create new resource group and Key vault name) Leave the defaults for everything else.

SOFT-DELETE Soft delete protection will automatically be enabled on this key vault. This feature allows you to recover or permanently delete a key vault and secrets for the duration of the retention period. You can create a new key vault with soft delete off for a limited time using CLI / PowerShell / REST API. The ability to create a key vault with soft delete disabled will be fully deprecated by the end of the year.
Days to retain deleted vaults: It can be configured to between 7 to 90 days. Once it has been set, it cannot be changed or removed.
Purge protection: Enabling "purge protection" on a key vault is an irreversible action. Once the purge protection property has been set to "true", it cannot be changed or removed. To enforce a mandatory retention period and prevent the permanent deletion of key vaults or secrets prior to the retention period elapsing, you can turn on purge protection. When purge protection is enabled, secrets cannot be purged by users or by Microsoft.
- Click Review + create, and then click Create.
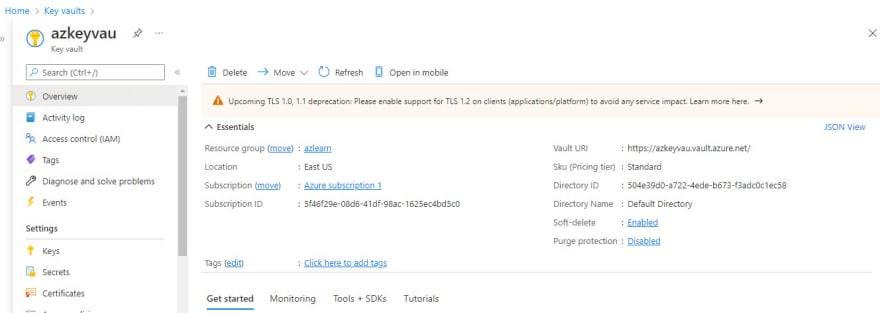
- Once the new key vault is provisioned, click Go to resource.
Note: On the key vault Overview tab, take note of the Vault URI. Applications that use your vault through the REST APIs will need this URI.
Add a secret or password to the Key Vault created
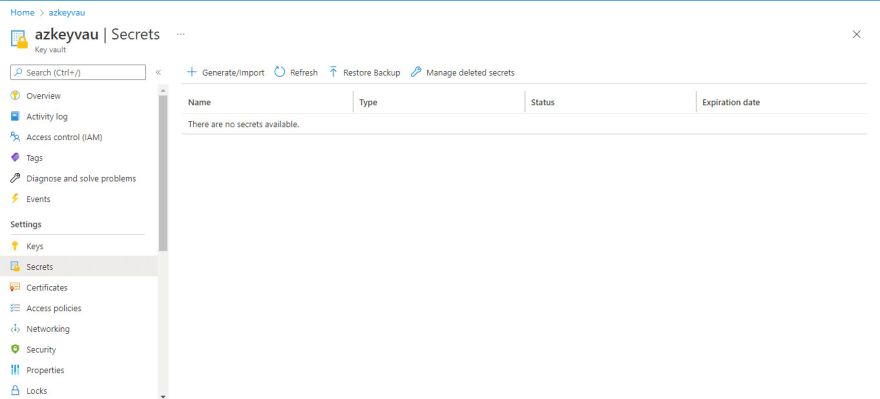
Under Settings click Secrets, then click + Generate/Import.
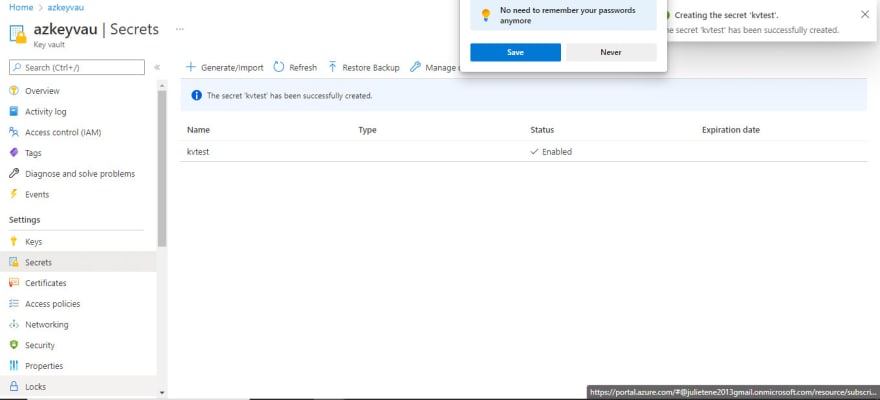
Configure the secret (add a name and value) Notice you can set an activation and expiration date. Notice you can also disable the secret.

Click create
Select the secret you just created
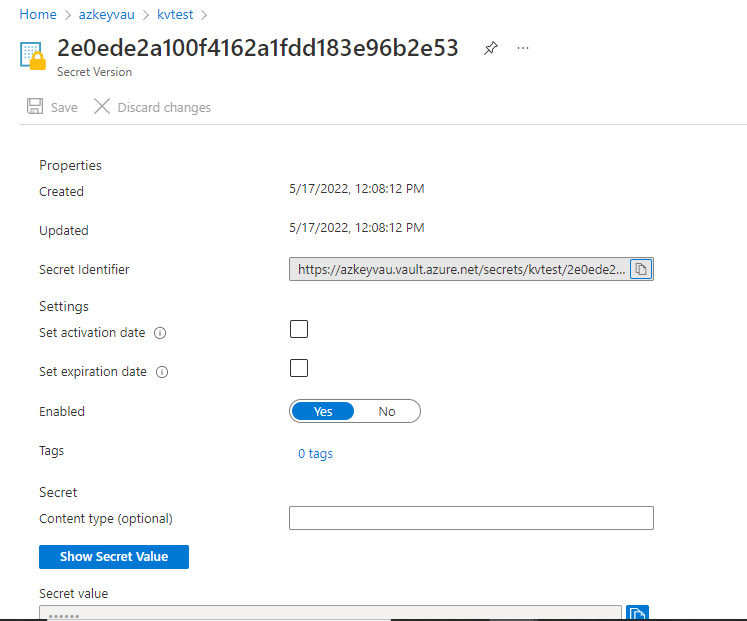
Note the Secret Identifier. This is the url value that you can now use with applications. It provides a centrally managed and securely stored password.
Click the button Show Secret Value, to display the password you specified earlier.
Awesome! You have created an Azure Key vault and then created a password secret in that key vault.

Top comments (0)