Note: This tutorial is not for AngularJs but for Angular 2+. Here instead of saying Angular 2+ everytime, we will be refering Angular as Angular 2+.
If you haven't yet tried out Angular, wants to know how to install it and build your first app with it then you are in the right place.Here, We will be discussing the process of installing it in your workspace. Lets get started.
Things to Install
Go ahead and install nodejs on your desired machine. Click on the installer based on your platform and it will be downloaded.
After installing node, go ahead and open cmd then type npm -v(-v for version). You'll get something like this(you'll get version number based on your installation).
If not, try installing node again and try again the npm -v command.
Now go ahead and type npm install -g @angular/cli.
It will install angular cli on your machine globally(-g for global installation).
At this stage, you are all setup for Angular app.
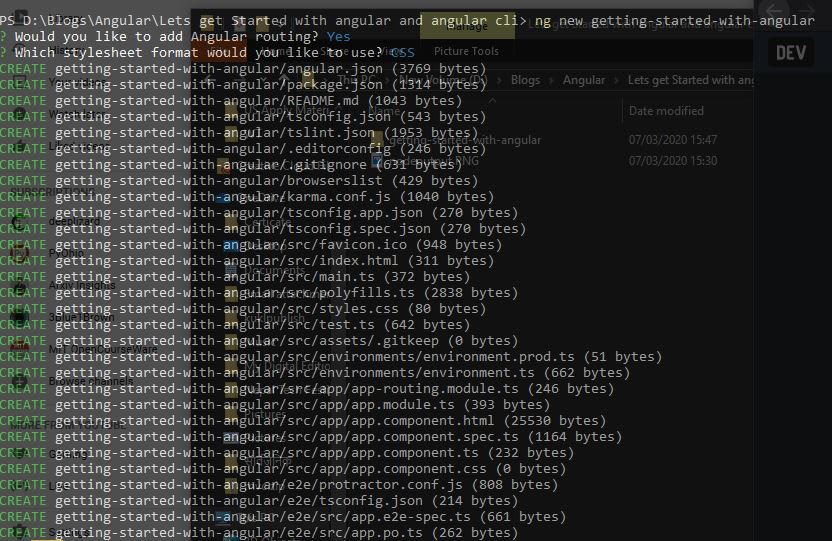
Now go type ng new getting-started-with-angular, here getting-started-with-angular is your projects name.
It will ask you for angular routing, type y and then hit enter
It will again ask you to choose stylesheet format, select one and hit enter.
Now it will create intial files for your Angular apps.
After it finishes just type cd getting-started-with-angular then hit enter.
Now type ng serve -o.
ng serve runs the server and serves your projects file to the localhost:4200, by default. -o is used to open browser after it finishes compiling files.
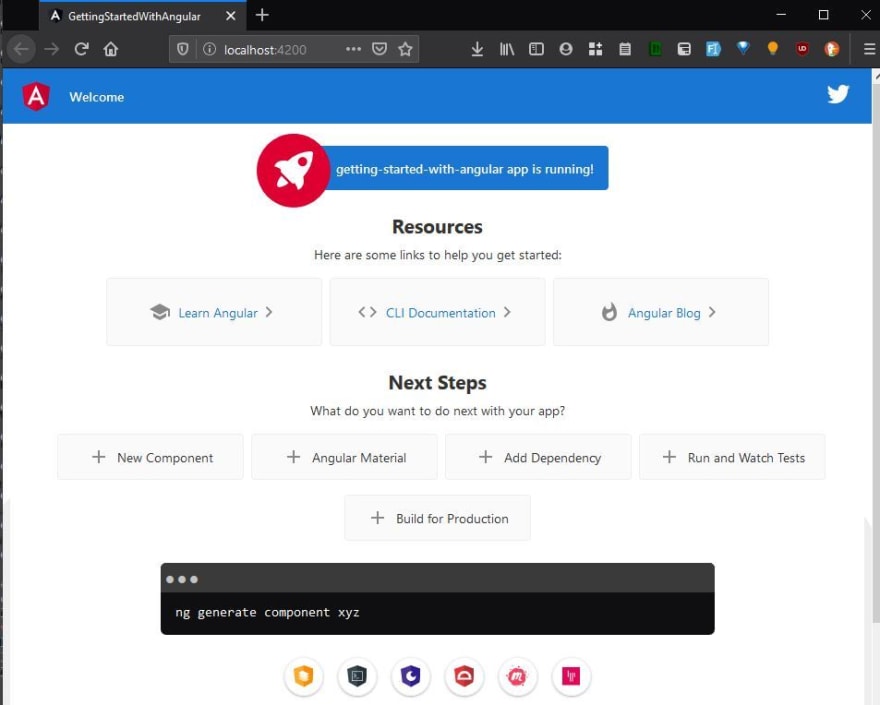
ng serve -o should automatically open your browser and you can see this.
Congratulations on setting up Angular and serving your first app Angular app.
This is a first blog on Angular Series. We will discussing more about it in our upcoming blogs.
This is my very first blog post here on dev.to. I am open for suggestions. I hope I will do better on my upcoming tutorials/blogs.


Top comments (0)