Requisites
This is not a start-from-subzero tutorial, so you will need a few things installed and working on your machine before starting this first post:
- Docker installed on your machine
- An AWS active account
- AWS SAM CLI working on your machine https://docs.aws.amazon.com/serverless-application-model/latest/developerguide/serverless-sam-cli-install.html
There so much literature about using GeoIP third party services, but if you really like to play and test a DIY GeoIP endpoint to use in your projects, follow me across two posts and let's check how to do it.
Let's be clear about the final goal: "My own endpoint which will receive an IP as query parameter and it will return location info such as country and city". To accomplish this goal we will make use of the following technologies/services:
Maxmind
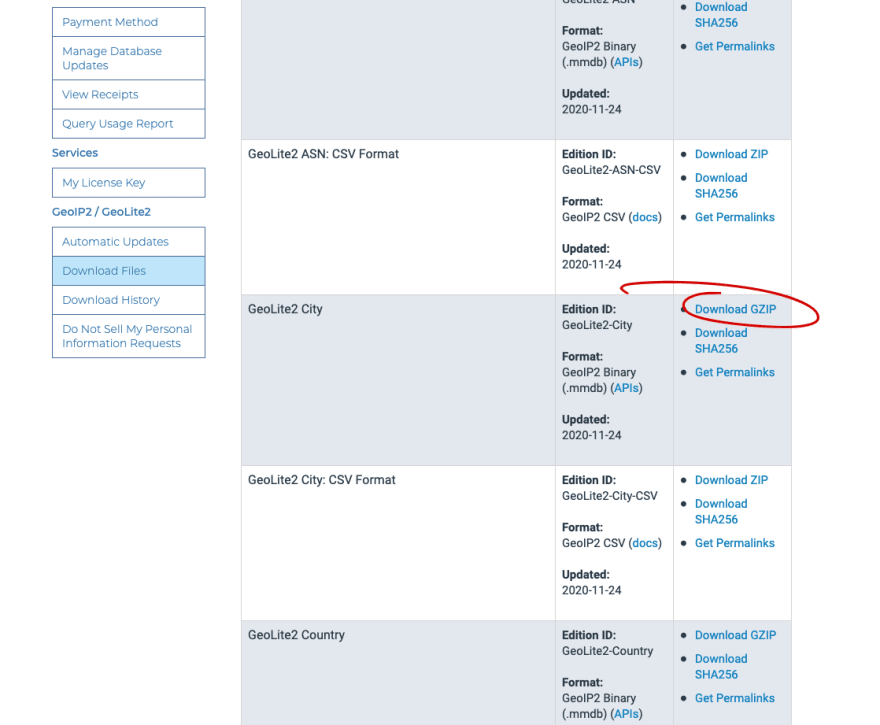
First of all, Maxmind ( https://dev.maxmind.com/geoip/geoip2/geolite2/ ) offers us a group of free GeoIP (capped) databases to play with. Follow instructions in the URL above and download "GeoLite2 City":
Locate the file "GeoLite2-City.mmdb" to be able to use it later.
Now let's check the usage for NodeJS of their APIs at https://github.com/maxmind/GeoIP2-node, do not worry, we will spare a few lines of code in few moments.
AWS Serverless ApplicationManager (SAM)
SAM allows us to build and deploy serverless applications with little effort. Though SAM is oriented towards offering full REST capabilities in order to build a whole application, we will only use it to manage, invoke and deploy a Lambda function.
Since installing SAM and getting started with it is out of scope for this post, you may follow the official doc to do that https://docs.aws.amazon.com/serverless-application-model/latest/developerguide/what-is-sam.html
Whenever you have SAM working in your machine, follow these steps.
Navigate to your dev playground folder and exec
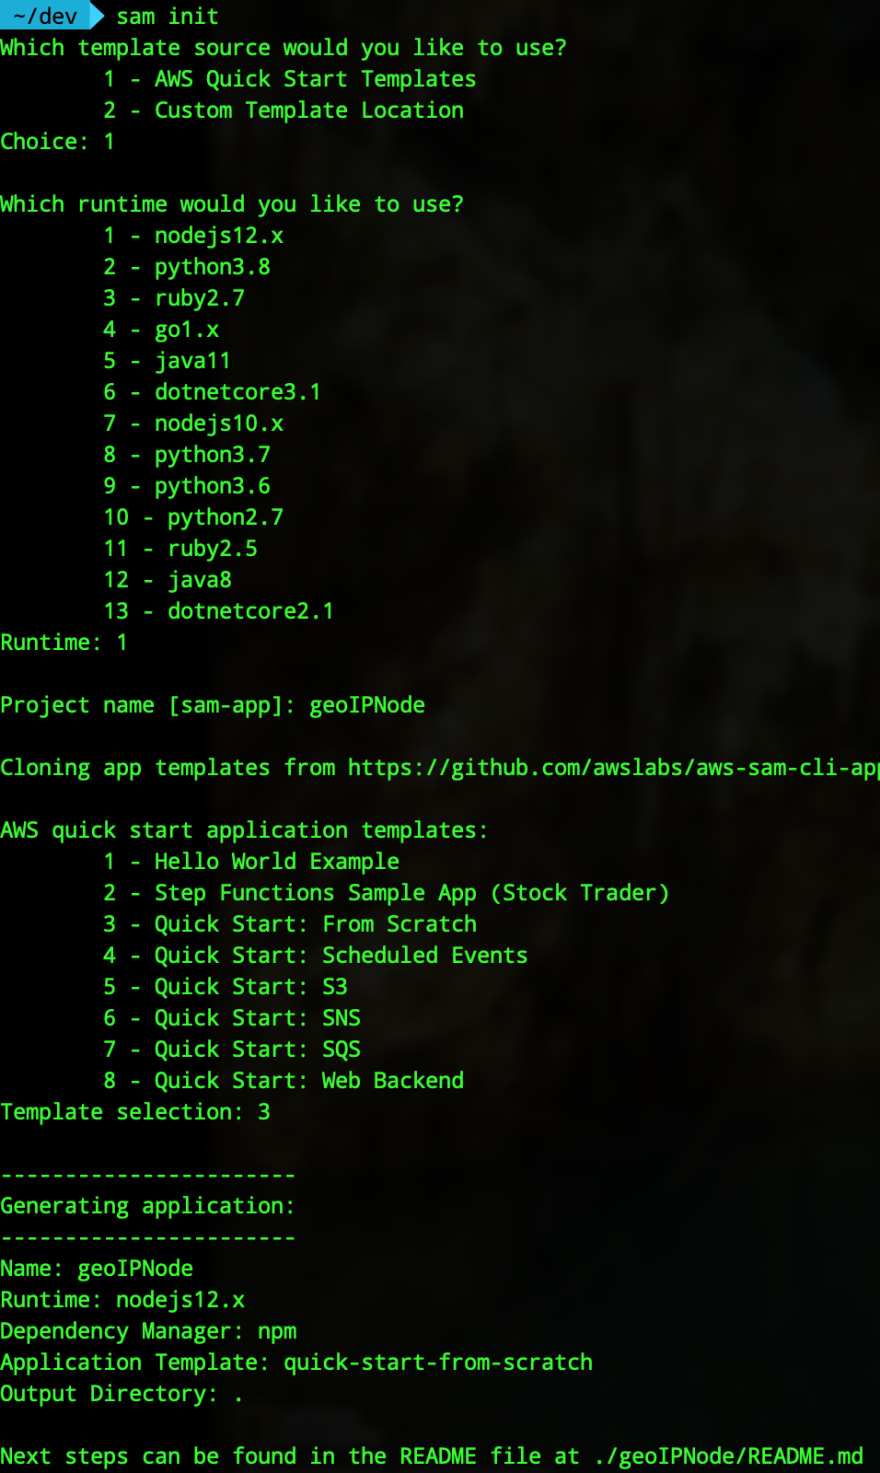
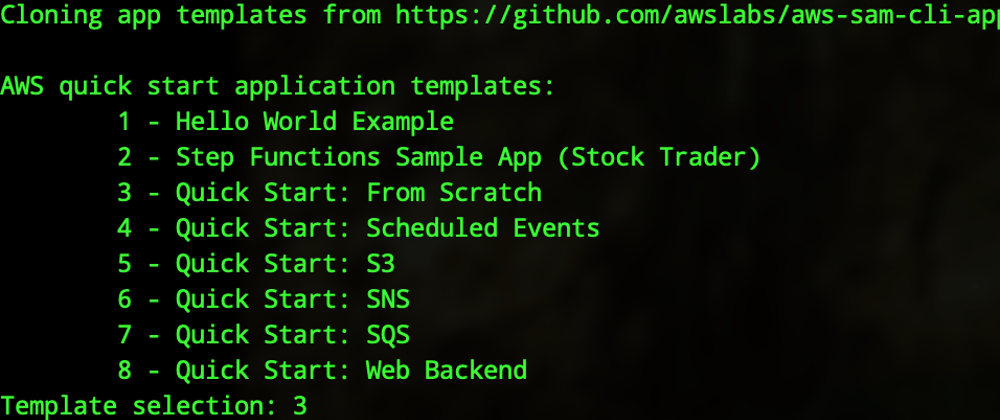
sam init. Setup the project like in the folowing screenshot:
Exec
cd geoIPNodeExec
sam local invokeand this will execute the default fromtemplate.ymlso you should see the following output(Note: you need Docker in your machine):
We already executed a Lambda function in our machine successfully, that is good, really good.
Maxmind again
Let's go back to https://github.com/maxmind/GeoIP2-node and check the NodeJS code from their page. We will use the Buffer example:
const fs = require('fs');
const Reader = require('@maxmind/geoip2-node').Reader;
// Typescript:
// import { Reader } from '@maxmind/geoip2-node';

const dbBuffer = fs.readFileSync('/usr/local/city-database.mmdb');
const reader = Reader.openBuffer(dbBuffer);

console.log(reader.city('1.1.1.1'));
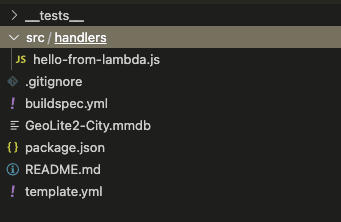
Do you remember where the *.mmdb file is? It is time to put it inside the project folder in order to get a folder structure like this one:
Now add the replace the initial code for this (replace 1.1.1.1 for you IP):
const fs = require('fs');
const Reader = require('@maxmind/geoip2-node').Reader;
 exports.helloFromLambdaHandler = async () => {
    let response={};

    const dbBuffer = fs.readFileSync('GeoLite2-City.mmdb');
    const reader = Reader.openBuffer(dbBuffer);

    try {
        // const ret = await axios(url);
        response = {
            'statusCode': 200,
            'body': JSON.stringify({
                message: 'hello world',
                city: reader.city('1.1.1.1').city
            })
        }
    } catch (err) {
        console.log(err);
        return err;
    }

    return response
}
Note: do not forget to install @maxmind/geoip2-node using Yarn or NPM, for example:
npm install @maxmind/geoip2-node
An exec again sam local invoke :
That was easy.
The second part is already published.


Top comments (1)
Let us know if you have any plan to offer tutorial for IP2Location LITE? We are glad to provide any assistance.