Jenkins is one of the most popular Continuous Integration and Delivery Servers today, so it's only natural that you're probably interested in learning more about it. When starting out, you'll need to first run it on your local machine. However, the problem with that is the Jenkins configuration files will then live directly on your machine. A better solution is to run it as a Docker container, here are some of the reasons why:
- All of your Jenkins configuration files live inside the container rather than the host machine. Knowing that all the files you need are inside the container, you can eliminate the issue of accidentally mixing your files with Jenkins configuration files.
- Docker instances are easier to manage if you are interested in running Jenkins on multiple platforms
- You can easily create and destroy the Jenkins server and remove all the Jenkins data
Another benefit of using containers is persisting the state of your Jenkins server using Docker volumes. Why do this?
- You get to keep all your projects and configurations even after restarting your computer (local machine)
- You don't need to run the whole Jenkins setup again
- You can remove your container instance and still able to recover the state of your Jenkins server
With that in mind, I'll show you how you can start configuring Jenkins and persisting state on your local machine. Let's get started!
Jenkins setup
Before we get started, you'll need to install Docker on your machine. If you're not sure how you can refer to this official documentation.
After installing Docker, download the latest stable Jenkins image by running:
You should see something like this:
Persisting Jenkins Data
You can create a volume by running the command below:
docker volume create [YOUR VOLUME]
Volumes are used to make sure that you don't lose your Jenkins data. If you are using the -v flag on container creation (docker container run), feel free to skip this step since Docker will automatically create the volume for you.
Run the container by attaching the volume and assigning the targeted port. In this example, we'll also run it in detached mode. Here is the command to run your Docker container:
docker container run -d \ -p [YOUR PORT]:8080 \ -v [YOUR VOLUME]:/var/jenkins_home \ --name jenkins-local \ jenkins/jenkins:lts
If you were wondering what the arguments stand for, here is what each means:
- -d: detached mode
- -v: attach volume
- -p: assign port target
- ---name: name of the container
And now, we're ready to take a look at an example of how you could run this command:
docker container run -d -p 8082:8080 \ -v jenkinsvol1:/var/jenkins_home \ --name jenkins-local \ jenkins/jenkins:lts
After running the command, you should be able to see the code to be used for the next step on your setup.
In the command we ran, /var/jenkins_home is the path to where the Jenkins state is stored on our container instance. The most important argument we pass when it comes to data persistence in this example is the -v **[YOUR VOLUME]**:/var/jenkins_home. This argument is what helps Docker link the volume to the file inside the container. To learn more about Docker volumes, you can check out the official documentation. If you're not familiar with Docker, you can start with this helpful docker blog series, Learning Docker - The Command Line Interface. You'll notice that I am using port 8082 instead of the default 8080. The reason, other than demonstrating that you can use other ports, is that port 8080 is used by some web frameworks.
If you run docker ps, you should see your docker container running
After confirming that your container is running, go to localhost:[YOUR PORT] (localhost:8082 on my example) on your browser and you should see this page:
As a part of the Jenkins setup, we need to view the password inside the container instance. In order to do this, we need to use the CONTAINER ID (or the name) and run docker exec.
Here is the full command:
docker container exec \ [CONTAINER ID or NAME] \ sh -c "cat /var/jenkins_home/secrets/initialAdminPassword"
After running the command, you should see the code. Copy the code and paste it on the webpage to unlock Jenkins. After unlocking, click on Install suggested plugins on the Customize Jenkins page.
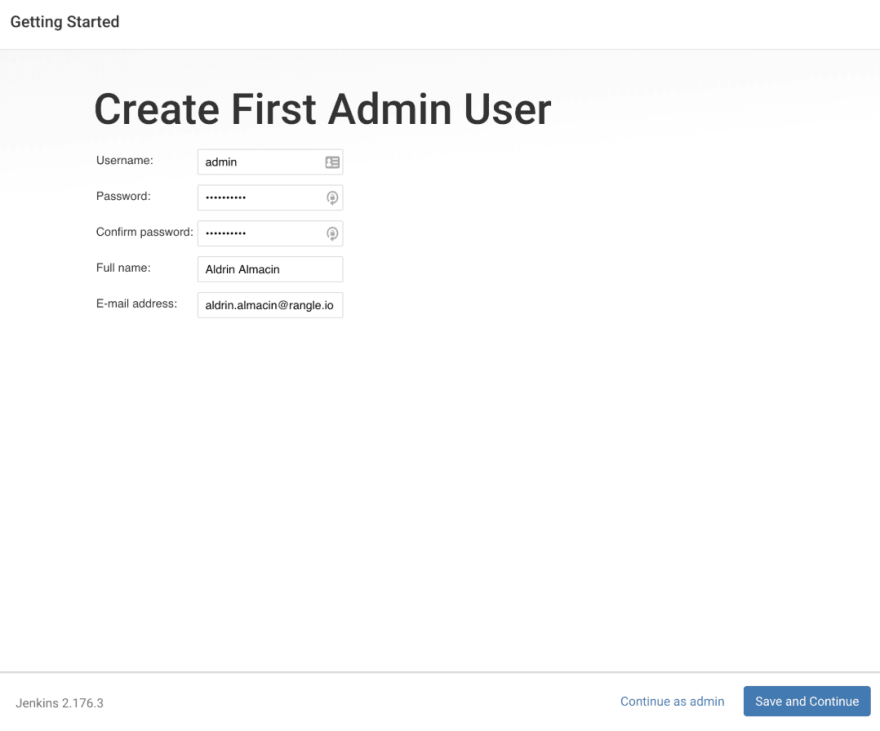
Wait until the installation is complete and then you can proceed in creating your first admin user.
After creating the admin user, setup the Instance configuration. Since you are only using Jenkins locally, leave the URL to your localhost URL. Click on Save and Finish to start using Jenkins.
Confirming Jenkins state is persisted
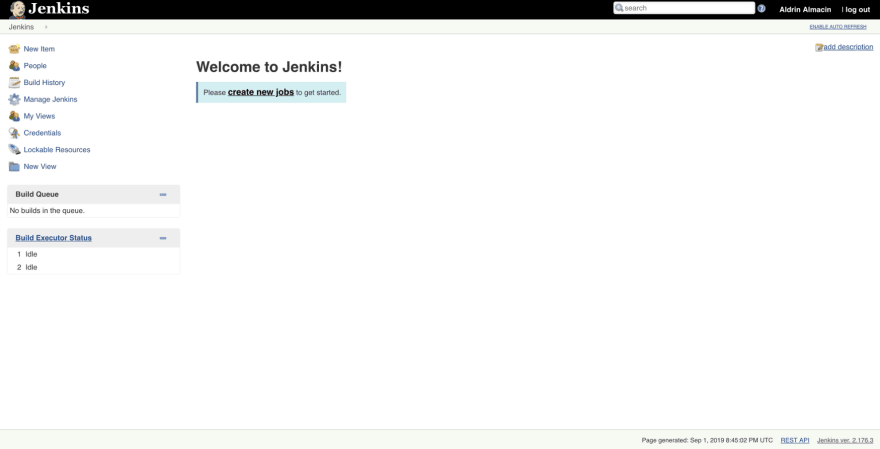
Once you get to the Jenkins home page, create a new job.
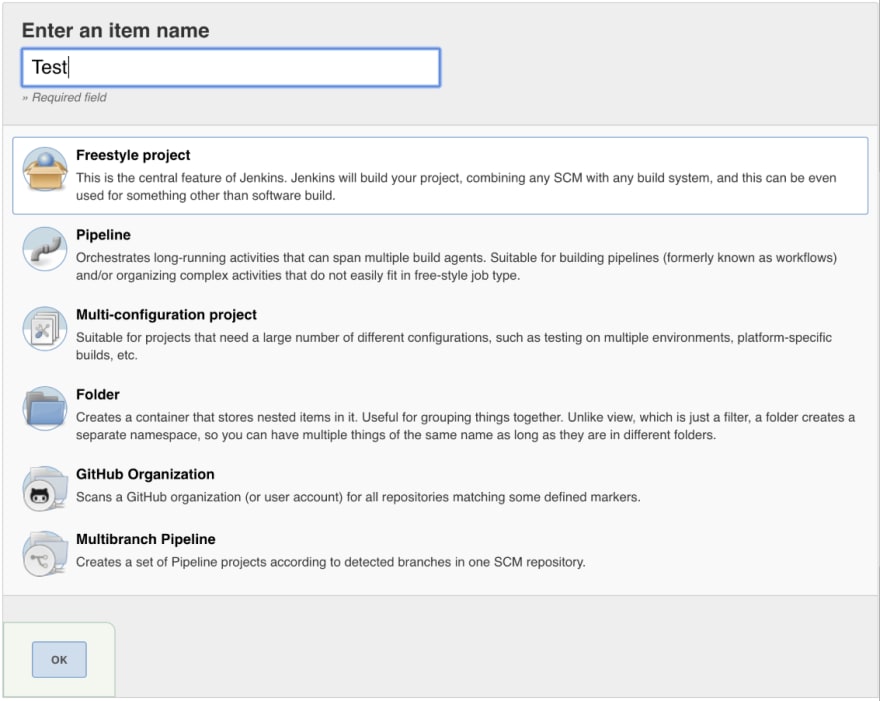
Name the job Test and set it to be a Freestyle project.
Leave everything as default and add a new Shell Execution under Build. Add this as the command:
echo "Working"
Save the job and click on Build Now to start running the job.
Click on the Build Status (blue ball) under Build History (left sidebar) to view the console output. You should see that our command ran with no problems.
Recovering Jenkins
After confirming that the job runs, we want to make sure that we can recover our Jenkins configuration if needed. In Jenkins, all of the configuration is stored in /var/jenkins_home/ by default. Remember that we are using docker volume to store information about our Jenkins instance.
In order to check if the persistence works correctly, let's destroy our current docker container and see if we can log in as an admin and view our job build history.
First, run docker container kill [CONTAINER ID] to stop the instance. After doing so, run docker container rm [CONTAINER ID] to completely remove the container instance.
Visit localhost:[YOUR PORT] (localhost:8082 on my example) to confirm that the Jenkins instance is not running anymore. You should see something like this:
Run the same command we used to create the container instance in order to recover the Jenkins instance.
docker container run -d -p 8082:8080 \ -v jenkinsvol1:/var/jenkins_home \ --name jenkinslocal \ jenkins/jenkins:lts
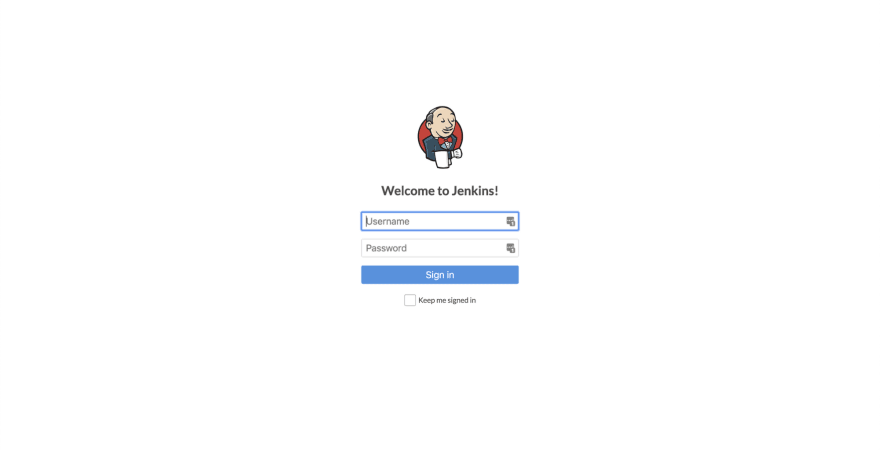
You should get a new CONTAINER ID after running the command. Visit localhost:[YOUR PORT] (localhost:8082 on my example). You should see the login page. Login with the admin credentials you set during Jenkins initialization.
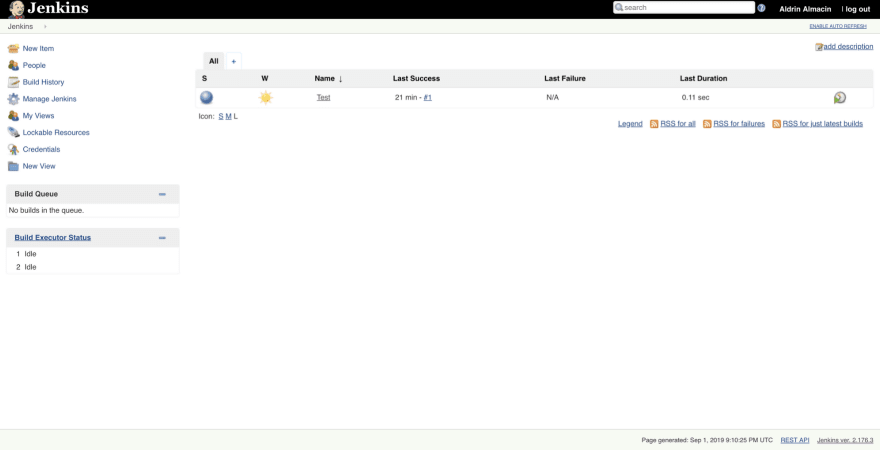
After logging in, you should see the job you created and view the console output.
In summary
I hope you can now see why Docker is the best way to start learning or at least playing around with Jenkins. You can easily run a Jenkins instance as a Docker container and persist your Jenkins server state using Docker Volumes. In case you need to restart or recover your Jenkins instance, all of the state is stored inside the Docker Volume. If you want to read more about Jenkins, Docker and DevOps, check out our other blogs, here.









Top comments (0)