
TL;DR
ArangoDB is a multi-model database supporting Key/Value, Document, and Graph models with one unifying query language.
Foxx Microservices are Arango's way of writing separate data access and domain logic code running directly within the database with native access to in-memory data.
Foxx TypeScript is an ArangoDB Foxx service template that lets you write testable, typescript powered microservices.
foxx_ts_demo is the source code of the tutorial in this article.
Graph Databases
Graph databases caught my interest and I've been experimenting with them for a couple of months now. This a very broad topic that does not really belong to this article so I'm just going to demonstrate why I choose to work with this model with a couple of key points:
Better Mental Modeling
As an example let’s think about a basic social media interaction. At the core all we need is user follows user. With traditional "relational" databases you'd need to create a through table that holds foreign-keys to represent this many-to-many relationship. This itself is already unnecessarily complicated, but what if we introduce posts, reactions, etc. In order to fetch posts only from users that the current user follows you'd need to do expensive multiple joins and possibly sub-queries.
However with graphs it is as simple as stating the relationship.
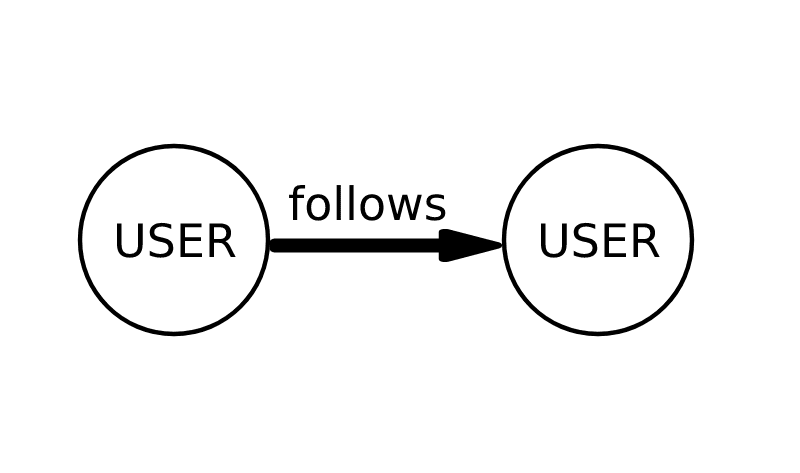
This image is the actual representation of this relationship. Having this simplicity is essential both for modeling your business logic and communicating it across different teams in your company.
Graph Algorithms
Graph Theory is the study of graphs. There are a number of well-known algorithms and techniques that help us conduct efficient data analysis and enable us to create personalized suggestions.
This example from Amazon Neptune shows how having your data model in such form makes it really intuitive and straightforward to generate suggestions and make your platform more personalized.

Separate Data Access Layer (DAL)
For projects that are relatively big and/or heavily data-reliant it makes sense to separate your Data Access Layer(DAL) from your API. It is also widely accepted to have a separate Business Logic Layer(BLL).
ArangoDB is a relatively new database and is being rapidly developed. Recently it was communally voted as the number 1 graph database. Currently there are not many ORMs(or OGMs) supporting Arango. Because of this I tried finding the right way of accessing my data layer. This is when I came across Foxx Microservices.
Foxx Microservices are Arango's way of writing separate data access and domain logic code running directly within the database with native access to in-memory data.
Foxx services consist of JavaScript code running in the V8 JavaScript runtime embedded inside ArangoDB. Each service is mounted in each available V8 context (the number of contexts can be adjusted in the server configuration). Incoming requests are distributed across these contexts automatically.
Essentially ArangoDB offers a REST API to communicate with the database. So what ORMs(or OGMs) do is introduce an abstraction over these APIs to be used in your client. Foxx Microservices can be used to extend this API. Your Business Logic Layer then can directly call the extended database API instead of a separate service that does not have direct access to the database. Thus, using Foxx as your DAL not only offers modularity and long-term maintainability but also ensures the best possible performance.
Our First TypeScript Foxx Microservice
We've created an ArangoDB 🥑 Foxx Microservice template supporting TypeScript and Yarn >= 2.0. Navigate to this link https://github.com/SquashConsulting/foxx_typescript/generate to generate your first Foxx Microservice with our TypeScript template.
In order to follow the rest of the article make sure you have arangodb running locally and have foxx-cli set up.
Project Structure
├── LICENSE
├── README.md
├── manifest.json
├── package.json
├── src
│   ├── entry.ts
|   └── scripts
│       ├── setup.ts
│   └── routes
│       ├── hello.ts
│       └── index.ts
├── test
├── tsconfig.json
└── yarn.lock
If you have your foxx-cli installed and set up, then in order to use the typescript service in ArangoDB, you need to run yarn build and then do foxx install <mount> --server <server_name> --database <db_name>
*NOTE: * this template uses yarn >= 2.0, so please make sure you go through the instructions in the template README to complete your setup.
This will extend your database API by adding a /hello route that simply returns hello world.
Setting Up The Service
The template project comes with @types/arangodb package. So you can already use them in your project.
Let's write another route that inserts user data in the database.
First of all we need to create a setup script that creates the necessary collections for us.
inside src/scripts/setup.ts write this:
import { db } from "@arangodb";

const documents: [string] = ["users"];

documents.forEach((collection: string): void => {
  if (!db._collection(collection)) {
    db._createDocumentCollection(collection);
  } else if (module.context.isProduction) {
    console.debug(
      `collection ${collection} already exists. Leaving it untouched.`
    );
  }
});
Then update your manifest.json to run this script.
/* ... */
"scripts": {
  "setup": "dist/scripts/setup.js"
},
/* ... */
Notice how we use dist instead of src to tell aranago to run the bundled commonjs code instead of typescript.
After this you can finally install your service using foxx-cli
$ yarn build
...

$ foxx install /foxx_ts_demo --server squash --database squash

Installed service at "/foxx_ts_demo".
Notice that I installed the service on /foxx_ts_demo using the server squash and the homonym database that I configured using the foxx-cli
Now if you navigate to ArangoDB's WebView(default is http://localhost:8529) choose the database you configured you will see users collection.
This happened because setup is one of Foxx lifecycle scripts. For more info refer to the official docs.
Creating A Custom Route
Now that we have everything set up, we can move forward and create our first ever typescript API!
You can see the example route in src/routes/hello.ts.
Before we extend this with a POST request that creates a user, let's update our setup script to add unique index on the username field.
// src/scripts/setup.ts
/* ... */

const users: ArangoDB.Collection = db.users;

users.ensureIndex({
  unique: true,
  type: "hash",
  fields: ["username"]
});
Now we can add the route:
// src/routes/hello.ts
import joi from "joi";
import { db } from "@arangodb";

interface IUser extends ArangoDB.Document {
  email?: string;
  username?: string;
}

router
  .post("/user", function(req: Foxx.Request, res: Foxx.Response) {
    try {
      const user: IUser = req.body;

      const users: ArangoDB.Collection = db.users;

      const meta: IUser = users.save(user);
      const data: IUser = { ...user, ...meta };

      res.send({ data });
    } catch (e) {
      // Failed to save the user
      // We'll assume the uniqueness constraint has been violated
      res.throw("bad request", "Username already taken", e);
    }
  })
  .body(
    joi
      .object({
        email: joi.string().required(),
        username: joi.string().required()
      })
      .required(),
    "User Info"
  )
  .description("Creates a new user.");
The combination of TypeScript and joi validations makes this code pretty self-explanatory. We take the user data from the request save it in the collection and return it with additional data.
If you navigate to Arango WebView's Services tab you will see your service. Click on the service. There are three main sections:
- Info - Your README.md file.
- API - We used joi to define our APIs this helps Arango to generate Swagger API definitions for us.
- Settings - Your service configurations(Will talk about this later)
Now If you go the the API tab, you will see the newly created POST /user API, expanding it will reveal the API options with an additional option to try the API directly from the web view.

Give it a try and create a user. After successfully creating the user, the API will respond with 200 OK and send the user data back. If you try to create a user with the same username the API should respond with 400 Bad Request and error massage that states that the username is already in use.
Next Steps
I hope I've succeeded in convincing you to give ArangoDB and Foxx Microservices a try. If you do so, you'll discover a lot more than I've managed to cover in this article. My favorite Foxx features are Linking Services together and making them configurable.
You can checkout https://github.com/SquashConsulting/foxx_services to see how we used both of these(and other cool) features to create a separate Data Access Layer with shared utils where you can define your configurations and have all the other linked services be generic.
Conclusion
To wrap things up, separating your Data Access Layer(DAL) from your Business Logic Layer(BLL) is a technique that results in maintainable and modular code-base. Using ArangoDB Foxx with Typescript and joi validations to accomplish this provides additional benefits such as configurable, performant, and type-safe microservices.
If you liked this article consider following me on Mastodon or Twitter @irasjonell and maybe starring the repos used in this article.
References
- foxx_ts_demo - The source code of the tutorial in this article.
- Foxx TypeScript - The typescript template project
- Foxx Services - Foxx services meta repo
- ArangoDB - ArangoDB source code

Top comments (0)