
Introduction
Previously we are working on implementing native android logging. In this series we will play with native bitmap compression. We already know that by using native code it will reduce the CPU overhead and make the performance faster.
If you are a skipper person 🤣 that just want to jumping into the code you can find the source code at the bottom.
Continue...
Continuing from our previous article, we now create:
-
bitmapfolder inside ournativeliblibrary. - create a new C++ file
bitmap.cppand check the header option to automatically create ourbitmap.hfile
Open the bitmap.h file then we need to add our new function:
jbyteArray compressBitmap(JNIEnv *env, jobject bitmap, jint format, jint quality);
Which remains our header file become like this:
#ifndef HI_NDK_BITMAP_H
#define HI_NDK_BITMAP_H

#include <jni.h>

jbyteArray compressBitmap(JNIEnv *env, jobject bitmap, jint format, jint quality);

#endif //HI_NDK_BITMAP_H
Now switching the into our bitmap.cpp file, we will do our actual implementation here. Looking at the official documentation there is a AndroidBitmap_compress function which requires a few parameters:
int AndroidBitmap_compress(
  const AndroidBitmapInfo *info,
  int32_t dataspace,
  const void *pixels,
  int32_t format,
  int32_t quality,
  void *userContext,
  AndroidBitmap_CompressWriteFunc fn
)
So how do we use supply all of the required parameters ? It seems weird that the official documentation doesn't provide the sample, that would be different if we are reading another part of the android development for ex: jetpack compose, we will find bunch of implementation example there.
Here for simplicity, this is the compressBitmap function:
// Struct to store compression data
struct CompressionContext {
    JNIEnv *env;
    std::vector<uint8_t> buffer;
};

// Write callback function for compressed data
bool writeCompressedData(void *userContext, const void *data, size_t size) {
    if (userContext == nullptr || data == nullptr || size == 0) {
        LogPrint(ANDROID_LOG_ERROR, LOG_TAG, "Invalid write callback parameters");
        return false;
    }
    auto *ctx = static_cast<CompressionContext *>(userContext);
    ctx->buffer.insert(ctx->buffer.end(), (uint8_t *) data, (uint8_t *) data + size);

    LogPrint(ANDROID_LOG_DEBUG, LOG_TAG, "Compressed Data Written");
    return true;
}

jbyteArray compressBitmap(JNIEnv *env, jobject bitmap, jint format, jint quality) {
    ..

    if (format != ANDROID_BITMAP_COMPRESS_FORMAT_JPEG &&
        format != ANDROID_BITMAP_COMPRESS_FORMAT_WEBP_LOSSY) {
        LogPrint(ANDROID_LOG_ERROR, LOG_TAG,
                 "Invalid format, use JPEG or WebP LOSSY for compression");
        return nullptr;
    }

    ...

    // Compress the Bitmap
    int result = AndroidBitmap_compress(&info, dataspace, pixels, format, quality, &ctx,
                                        writeCompressedData);

    ...

    return compressedData;
}
If we take a look on the format, the image compression should done only on jpeg and webp lossy, for the PNG version it wouldn't be supported. You can refer here for more details about the format.
Head to our CMakeList.txt file, we need to register our bitmap class and folder so our nativelib.cpp will be able to call the compressBitmap function similiarly like we are doing before on native android logging.
- Register jnigraphics library
target_link_libraries(${CMAKE_PROJECT_NAME}
        # List libraries link to the target library
          android
        log
        jnigraphics
)
- Set the target sources
target_sources(
        ${CMAKE_PROJECT_NAME}
        PRIVATE
        ${NATIVE_SRC_DIR}/nativelib.cpp
        ${NATIVE_SRC_DIR}/logging/logging.cpp
        ${NATIVE_SRC_DIR}/bitmap/bitmap.cpp
)
- Then register the folder
target_include_directories(
        ${CMAKE_PROJECT_NAME}
        PRIVATE
        ${NATIVE_SRC_DIR}/logging
        ${NATIVE_SRC_DIR}/bitmap
)
Moving to our NativeLib class then we register the function:
external fun compressBitmap(bitmap: Bitmap, format: Int, quality: Int): ByteArray?
Here we can make some optimization by encapsulating the NativeLib this is to avoid that our single library exposing all of our native functions. In this case we can create a new interface BitmapUtils
interface BitmapUtils {
    fun compressBitmap(bitmap: Bitmap, format: Int, quality: Int): ByteArray?

    companion object {
        val instance: BitmapUtils by lazy { NativeLib }
    }
}
Then implement the interface into our NativeLib class:
internal object NativeLib : BitmapUtils {

    init {
        System.loadLibrary("nativelib")
    }

    ...

    external override fun compressBitmap(bitmap: Bitmap, format: Int, quality: Int): ByteArray?
}
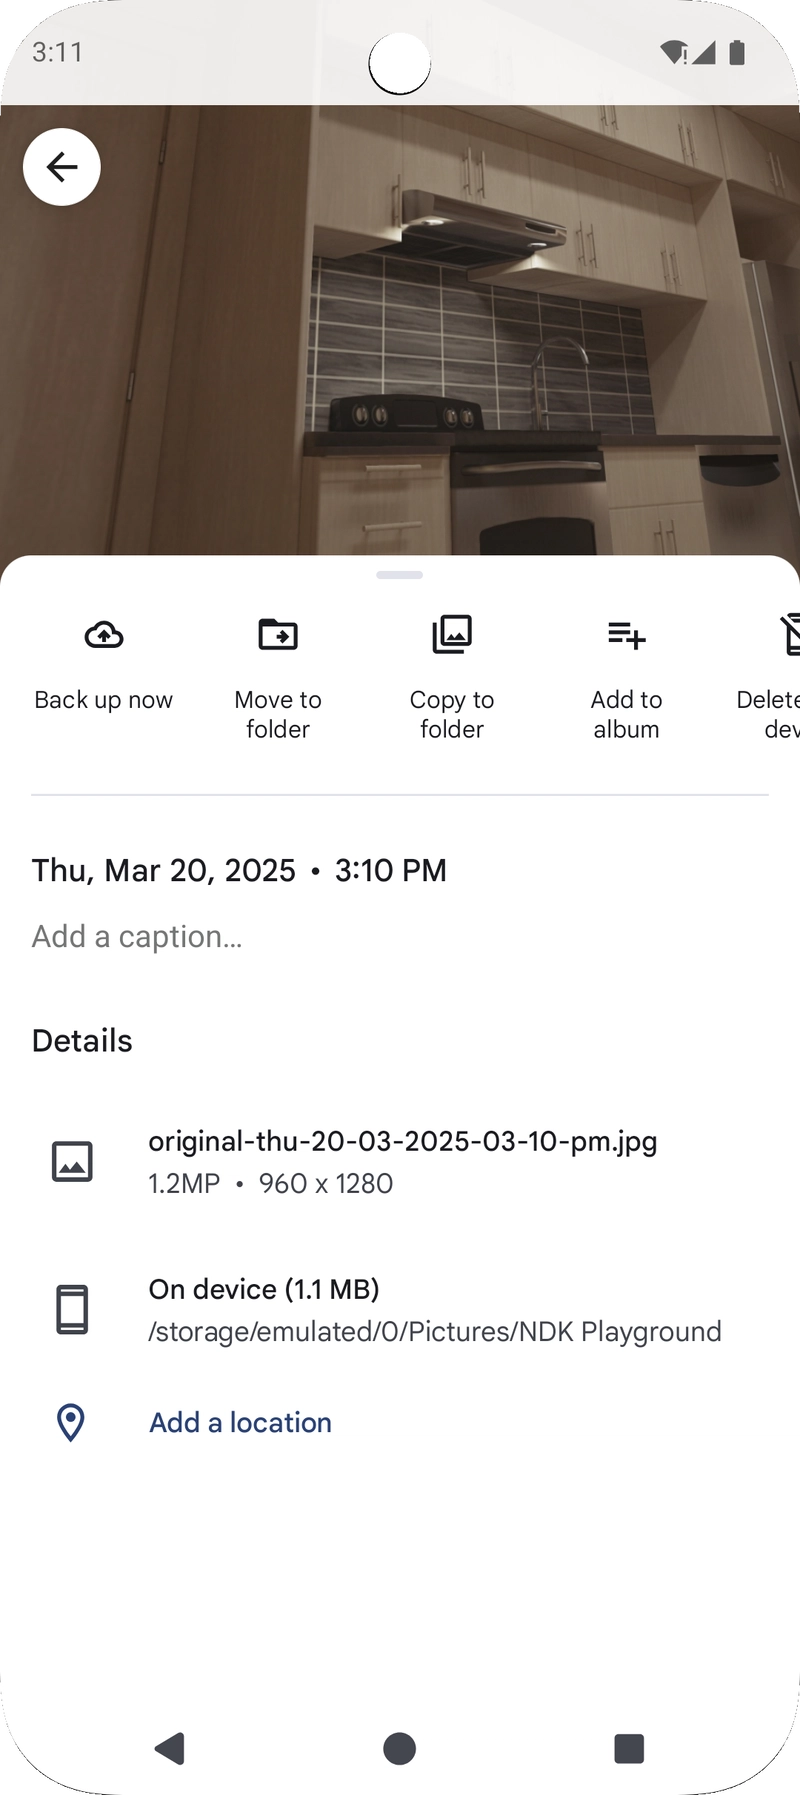
See that we are now locking the access into internal scope then calling our bitmap function as simply just by calling BitmapUtils.instance. You can found the project repository below, the project is already migrated to using Dependency Injection and there is a new ImageProcessor class to separate the our kotlin image compression logic
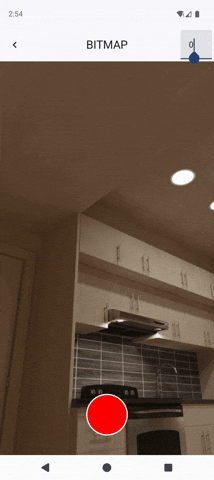
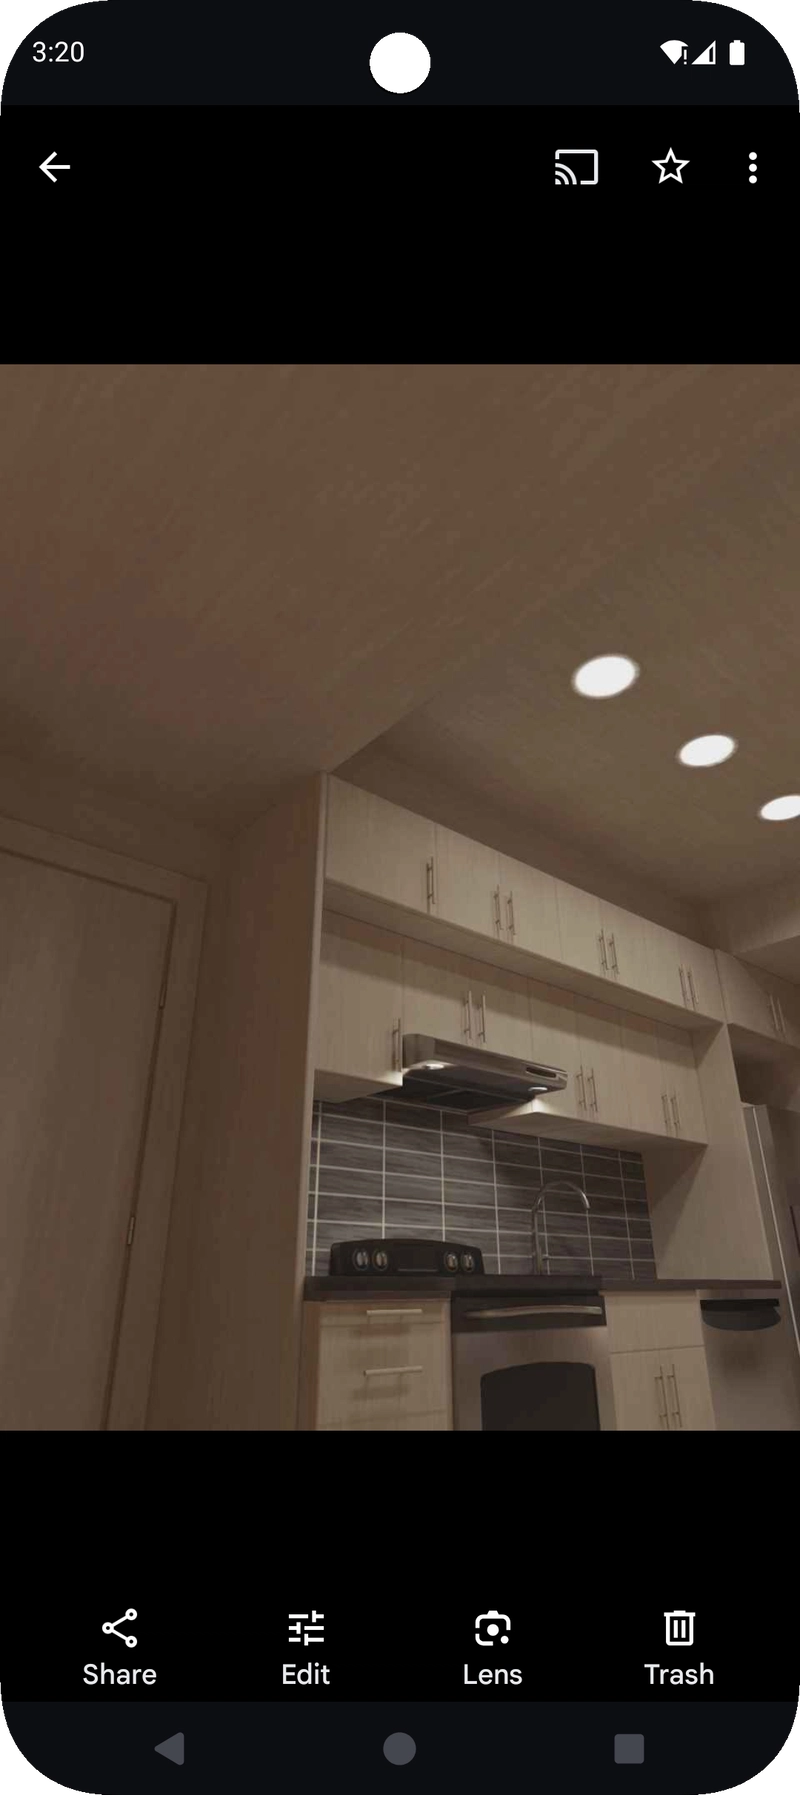
For the quality parameter, the maximum value is 100 the highest value is set, the image compression will almost didn't do anything. Meaning, if we want to see a contrast effect between the original image and the compressed we can use lowest quality
On the video above, i already made a TextField so than we can set the quality as we want.
Let's play with the quality parameter.
Quality Comparison Table
| Quality 0 | Quality 40 | Original Size |
|---|---|---|
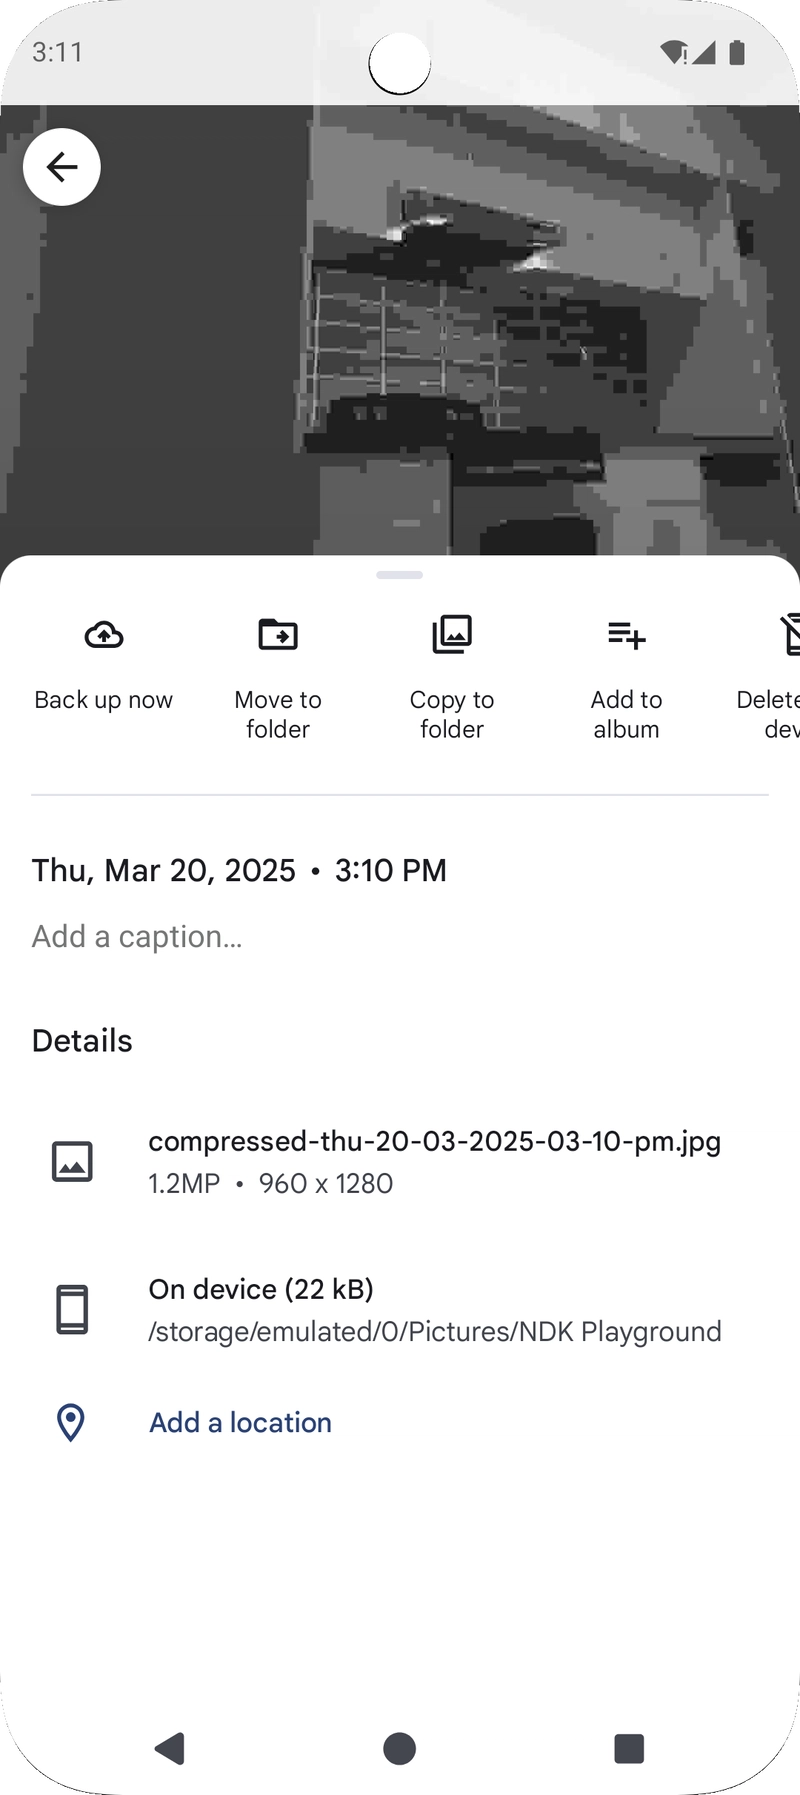 |
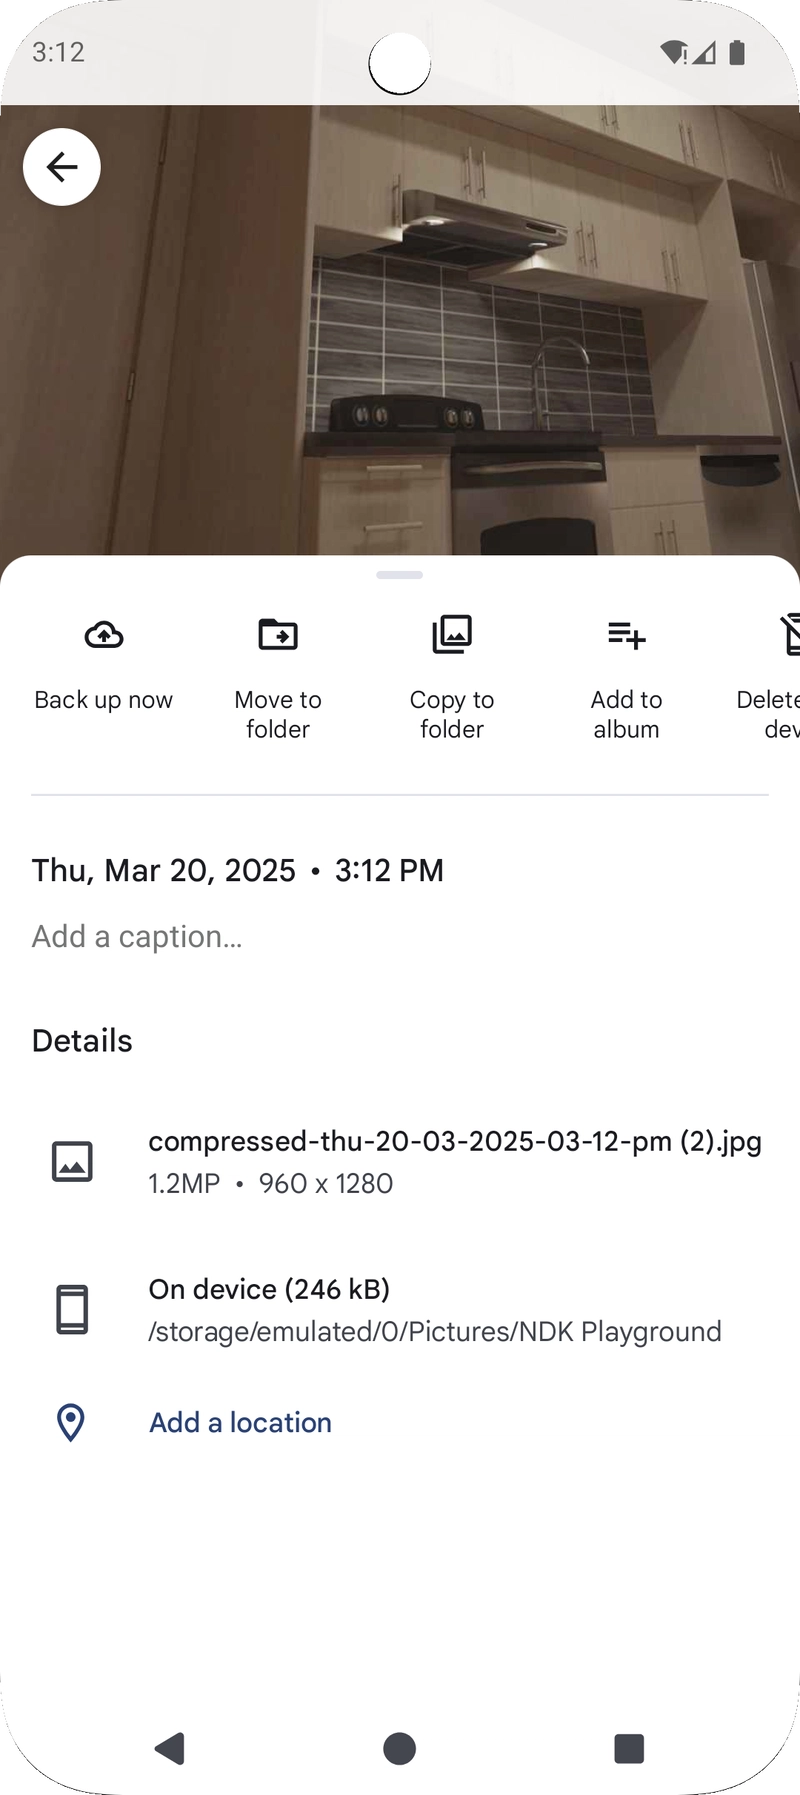 |
 |
Looking at the quality 40 below
From the above screenshoot data, the image still in good condition altought we put the quality below < 50. So what is the quality here ? Does it represented as percent ?
The answer is NO
The quality parameter in AndroidBitmap_compress does not directly correspond to file size percentage reduction. Instead, it represents the compression level for lossy formats (such as JPEG and WebP Lossy)
What Does the quality Parameter Mean?
-
The value ranges from 0 to 100:
- 0 → Maximum compression (smallest file size, lowest quality)
- 100 → No compression (largest file size, highest quality)
-
It does NOT guarantee exact file size reduction.
- Example: If an image is 100KB, setting quality = 50 does not mean it will become 50KB.
- The actual file size depends on the image content, resolution, and format.
How Quality Affects Compression ?
We can say that using some of the number between the below range will produce certain compression.
| Quality (%) | Effect on Image | Effect on File Size |
|---|---|---|
100 |
No compression, max quality | Largest file size (almost original) |
90 |
High quality, minor loss | Slightly reduced file size |
75 |
Medium compression, minor artifacts | Noticeable reduction (~30-50%) |
50 |
High compression, visible quality loss | Strong reduction (~50-70%) |
25 |
Very compressed, blocky artifacts | Significant size reduction (~70-90%) |
0 |
Maximum compression, poor quality | Smallest file size, heavy artifacts |
Final Thoughts
For most cases, a quality setting of 70-80% offers a great balance between file size and image clarity, but the optimal value will always depend on your specific use case. If performance is critical, leveraging NDK-based compression can provide significant speed and memory advantages.
If you’re working with large images or performance-intensive applications, it’s always a good idea to experiment with different quality values and measure their impact on file size and visual fidelity.
Optimize wisely, and happy coding!
Source code: ndk-playground

Top comments (0)