Valentin, my son, is super interested in everything tech. He likes to build, and play with technology. He has even started a podcast, as he could not find one for teenagers interested in tech.
Last week, he came back very excited from school. He had a technology class where they experimented with Arduino on Tinkercad. He had a lot of fun with it, although they were on wiring virtual devices in the class. So his idea was that we would tinker together during the weekend as a father-son activity. I had never used Arduino, and it sounded like a great idea to learn a few things together.
Getting Started: Our Shopping List
We went on Amazon to buy a few things:
- an Arduino Uno board
- a LED Display Module
- a bunch of wires, and resistors
- various sensors
and the next day, we were ready to start building. In the meantime, I learned that you'd code Arduino in C++. I did not do that for some time, we would need to some help.
Valentin has used ChatGPT, Anthropic Claude, and even Mistral's LeChat for sometime now. AI is part of his toolbox, and his is eager to learn new tool. Coincidentally, AWS released Amazon Q Developer CLI the same week. It is free to use, and offers agentic capabilities that I found interesting for Valentin to test. Indeed, instead of copy/pasting code between the AI tool and the code editor, Q in the CLI can modify the files directly, and took more actions to solve problems. Besides, I wanted Valentin to learn some of the Linux commands basics, so being in the terminal would be a good opportunity.
Setting Up Our Development Environment
The Raspberry Pi Foundation
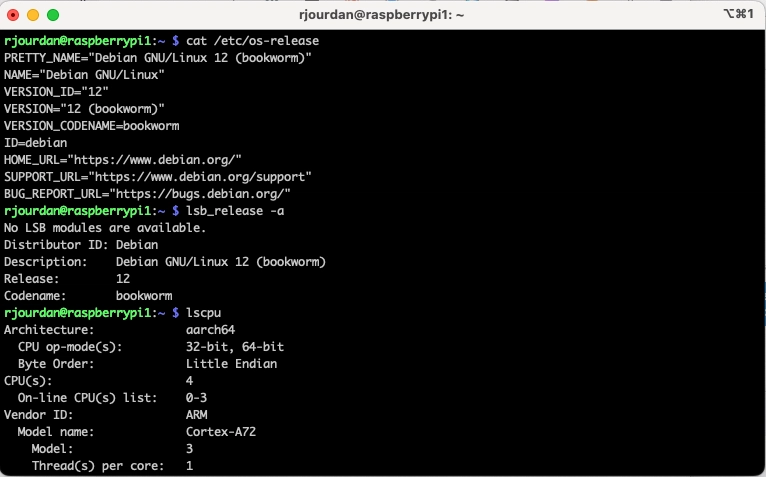
I am fan of Raspberry Pi, and own a couple of them. This is an inexpensive device, and has a nice "tinker vibe" attached to it. The Raspberry Pi Imager makes it super easy to stage and configure. We went with it, and installed the latest version of Raspberry OS 64 bits on a 4B device I had already.
Installing Amazon Q in the CLI
Once ready, we tried to install Q CLI following the official documentation. We could not make it work with the Zip archive, nor the .deb package (it looks like at the time of writing it is only supported on amd64 architectures). We were not successful with the .AppImage either. Scrolling a bit more down, we found the "Alternative Linux Builds" section, we downloaded the ARM64 archive, and unzipped it.
wget https://desktop-release.codewhisperer.us-east-1.amazonaws.com/latest/q-aarch64-linux-musl.zip
unzip q-aarch64-linux-musl.zip
That created a folder named "q". We started the installation, and configuration. You have two options to log on Amazon Q: a free account with AWS BuilderID, or a paid subscription (for more details, check the pricing page). We went with the free tier. This opened a page in the browser, and we follow the process to create a free BuilderID account.

Q was now working in CLI by just typing Q. In fact, q chat starts the agent.
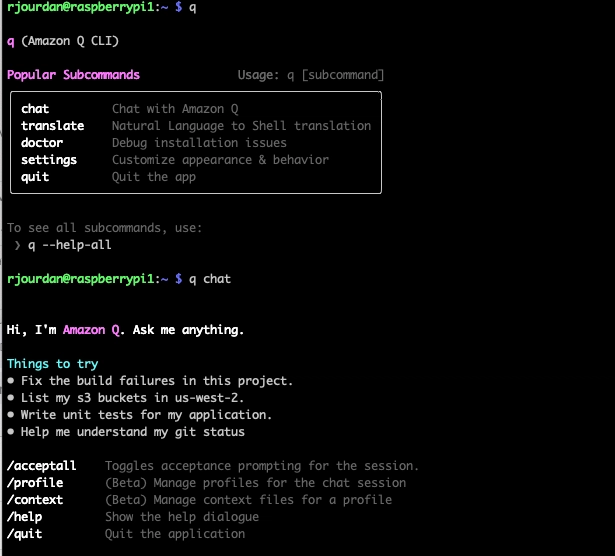
For some reasons, the installation was not completed correctly, as q doctor will show some errors. But the chat worked, and we could start working on our project.
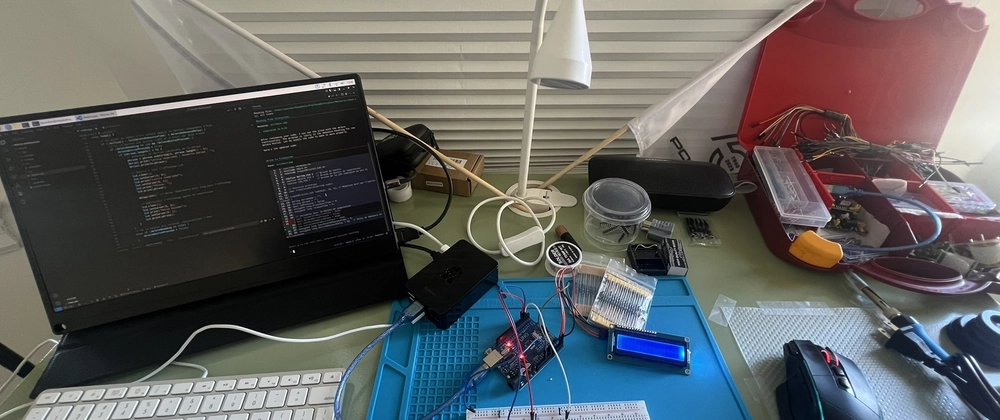
First Attempts with Arduino IDE
We went ahead and installed the Arduino IDE. Unfortunately, only version 1.x is available on ARM devices like the Pi. We tried it and started a first project. We divided the screen in touch parts: one for the IDE, and one for Q CLI. Valentin was quickly able to generate code to write letters using Morse code with buttons, thanks to his little helper.
However, the experience was not great. Arduino v1.8.19 was slow, a bit unstable, and browsing libraries was just a nightmare. The changes made by Q would not show in the IDE, so Valentin would have to reload the file in the IDE. We tried selecting "Use external Editor" in the Arduino IDE's settings, still not great.

Leveling Up: VS Code and PlatformIO
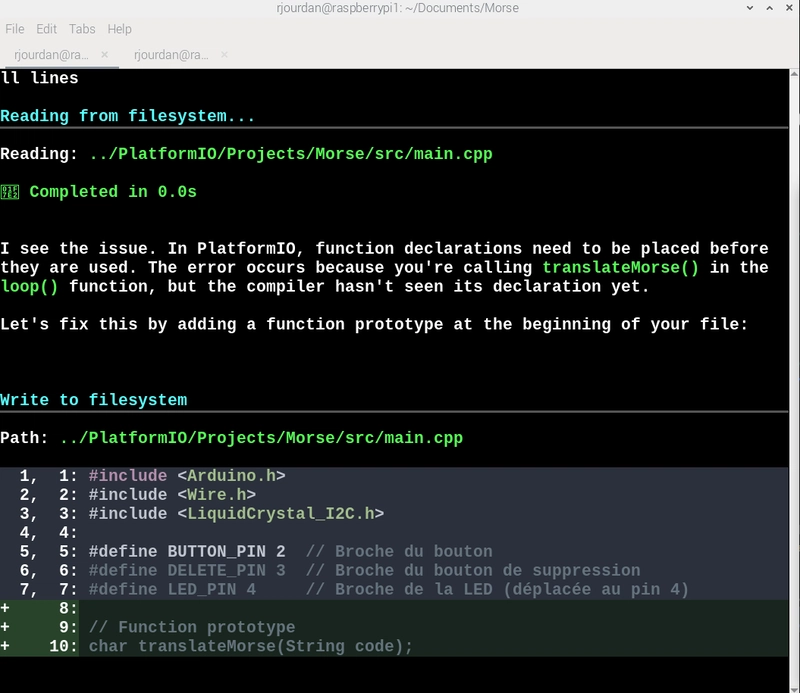
We searched for other IDEs that would be simple to use, allow easy import of Arduino libraries, and upload the code on the board. I wanted something of the like of Atom editor, but it was not supported on Raspberry Pi (and deprecated now). We found that PlatformIO could be an option. It is a plugin in VSCode that can manage many type of boards. We went ahead, installed VScode, then the PlatformIO extension. We opened a terminal in VScode with Q chat, and voila! Valentin could finally continue to play with a more stable solution. He had a simple way to code, compile, and push code on the Arduino.
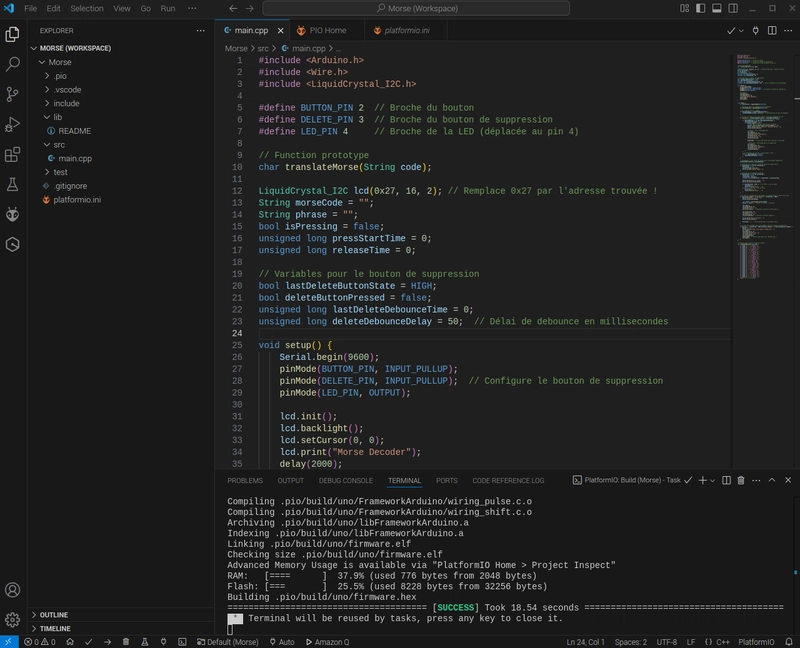
In fact, there was a small change to make as PlatformIO organized the code differently, and Q came to the rescue to help with this situation.
The Value of "Tinker Coding"
I let Valentin continue his experimentation, and came back one hour later. He was proud of showing me what he achieved.
Some may wonder whether it is a good thing to leave a kid "vibe coding" with AI like this. As I observed Valentin using Q in the CLI, I feel confident it is a real opportunity for him to learn, and overcome some frustrations. In fact, it is not that different from me 30 years ago, copying long pages of code from books, and magazines. At that time, I did not really understand the code, or what I was doing. Once it was working, I was modifying the code, changing a few things here and there. This is how I learned Basics. Valentin did exactly the same. He did not just relied on the AI tool to code stuff for him, he played around. He modified the code, got a few errors, searched for answers. Through this experience, he learned a few linux commands, and some C++. More importantly, he had fun, was super focused, and got a working project. This is what I'd call "Tinker Coding".

Top comments (0)