Hello and welcome to part 2!
In the previous part, we setup our backend server, created our models and routes and connected to our MongoDB database. In today's part, we will:
- Setup React + Tailwind CSS
- Setup the folder structure for our frontend
- Create the Header, Sidebar & Widgets components
Prerequisites:
- CSS Flexbox
- TailwindCSS (Basic)
- React (Basic)
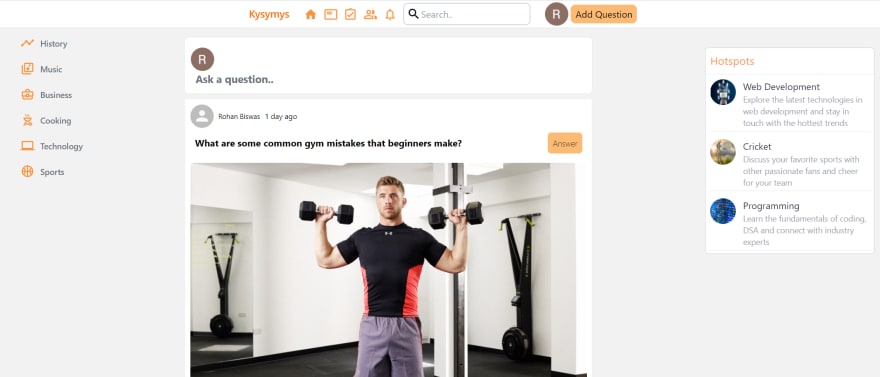
This is what the 'Home' page on our final version of the app looks like:
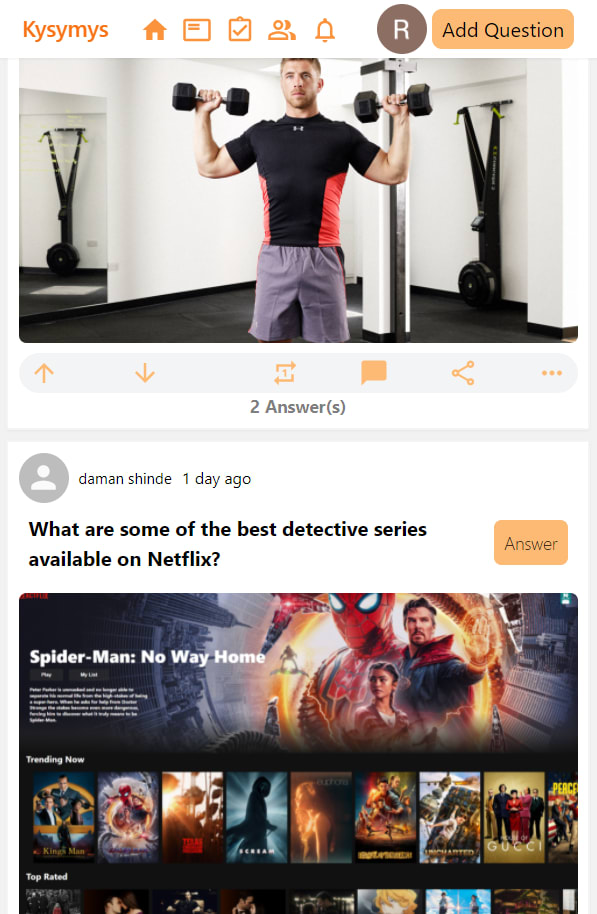
It is mobile responsive and we can divide the page into 4 sections:
- Header
- Sidebar
- Feed
- Widgets
Setup
To setup the frontend project, navigate to the 'client' folder and follow this short & concise doc to setup the boilerplate for a basic React App with Tailwind CSS . This will take about 1-2 minutes.
Once done, navigate to the 'src' folder and go ahead and delete the files we won't be needing, only keep the following files in the 'src':
- App.js
- index.js
- index.css
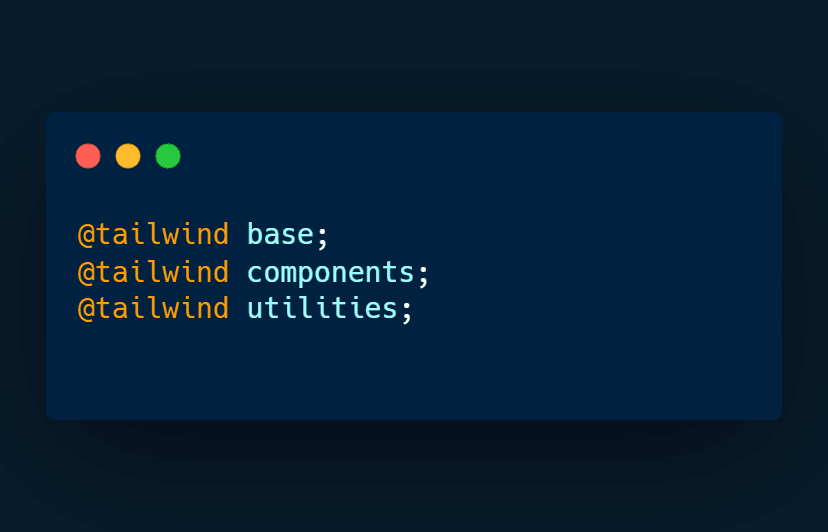
Make sure to delete the code in all three files and we shall start from scratch! This is what these 3 files should look like:
- App.js
- index.js
- index.css
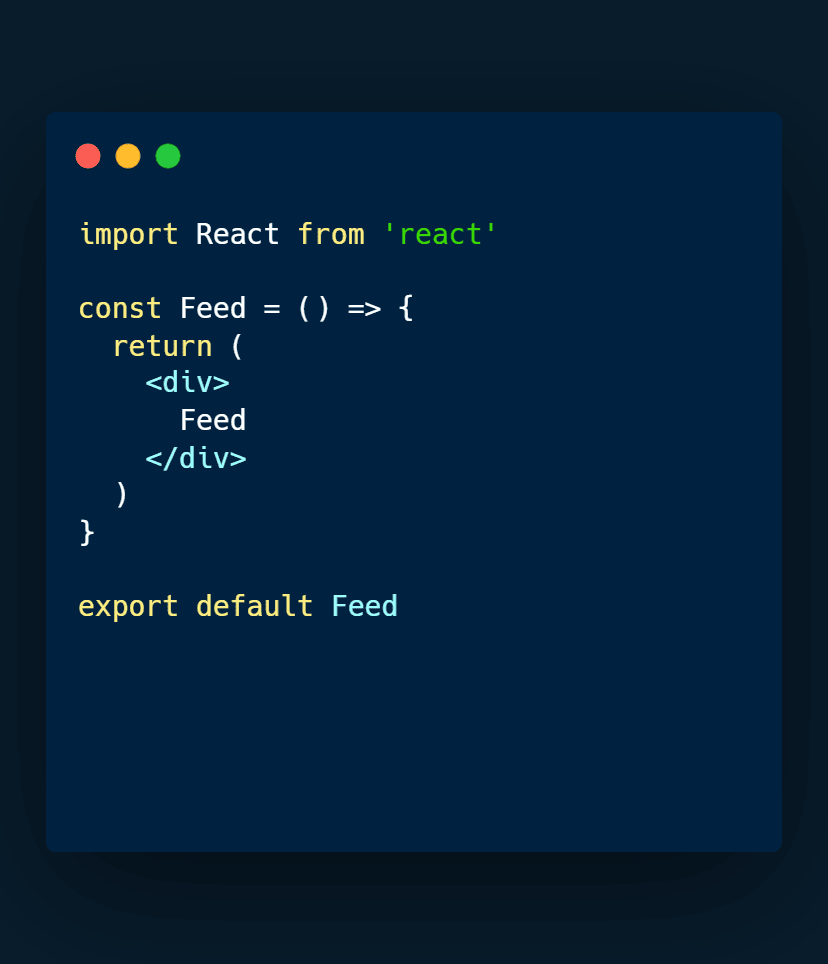
Now, go ahead and create two folders in the 'src' directory, namely 'components' and 'pages'. In the components folder, create 4 new files, namely 'Header.jsx', 'Sidebar.jsx', 'Widgets.jsx' and 'Feed.jsx' and for the time-being, initialize them as such:
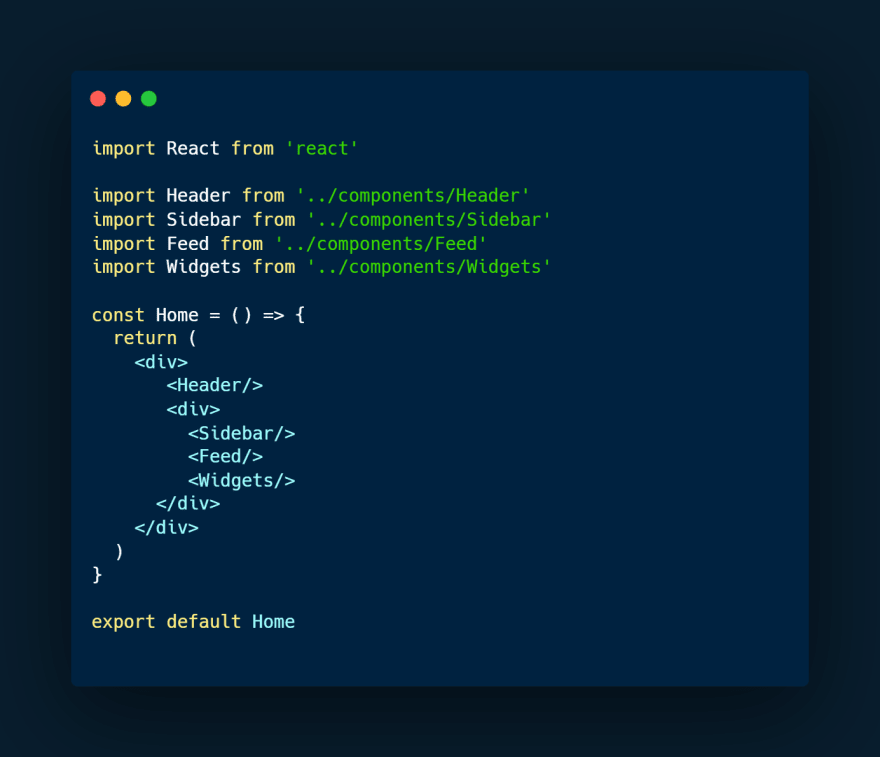
Do the same for Sidebar, Header and Widgets components and import them in the new 'Home.jsx' file in the 'pages' directory:
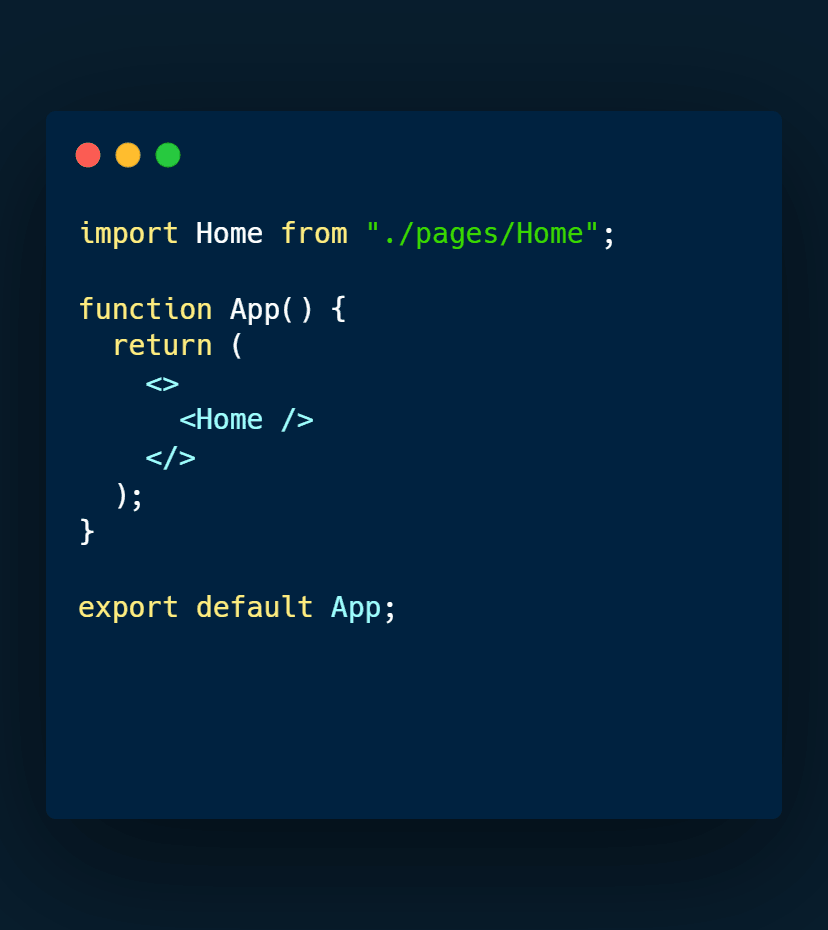
Go ahead and export the 'Home' component in the App.js in 'src' and render them as such:
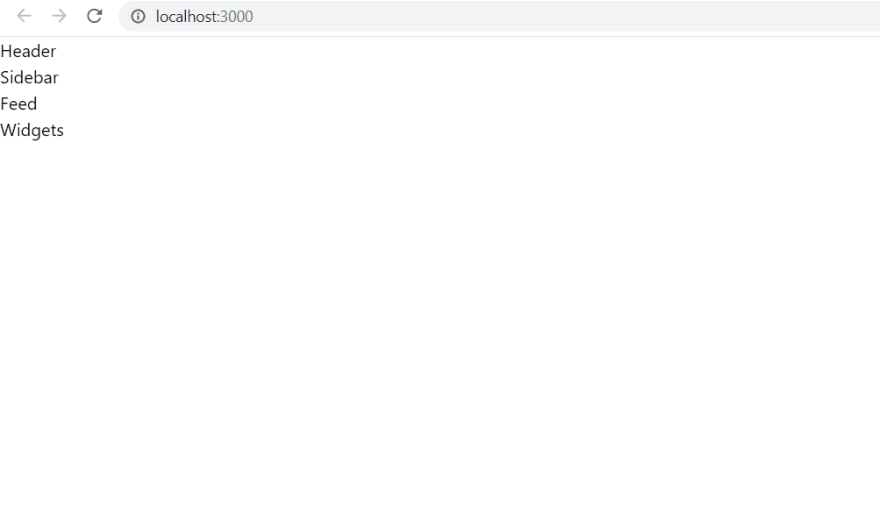
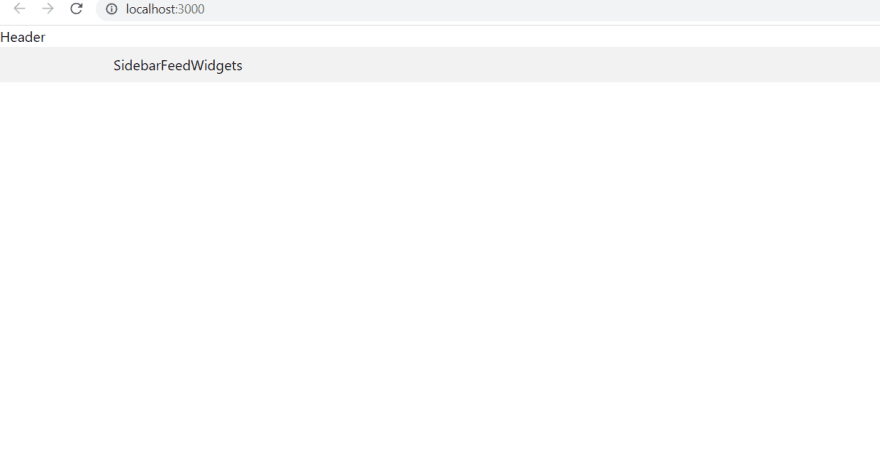
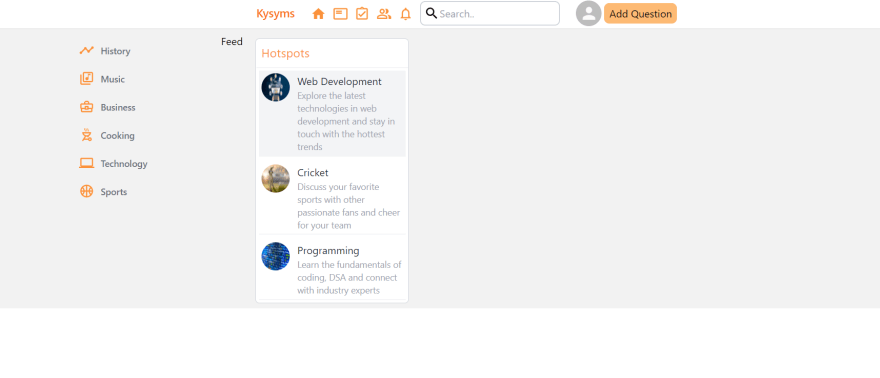
Run 'npm start' in the terminal once you are in the 'client' directory and this is what our site looks like for now:
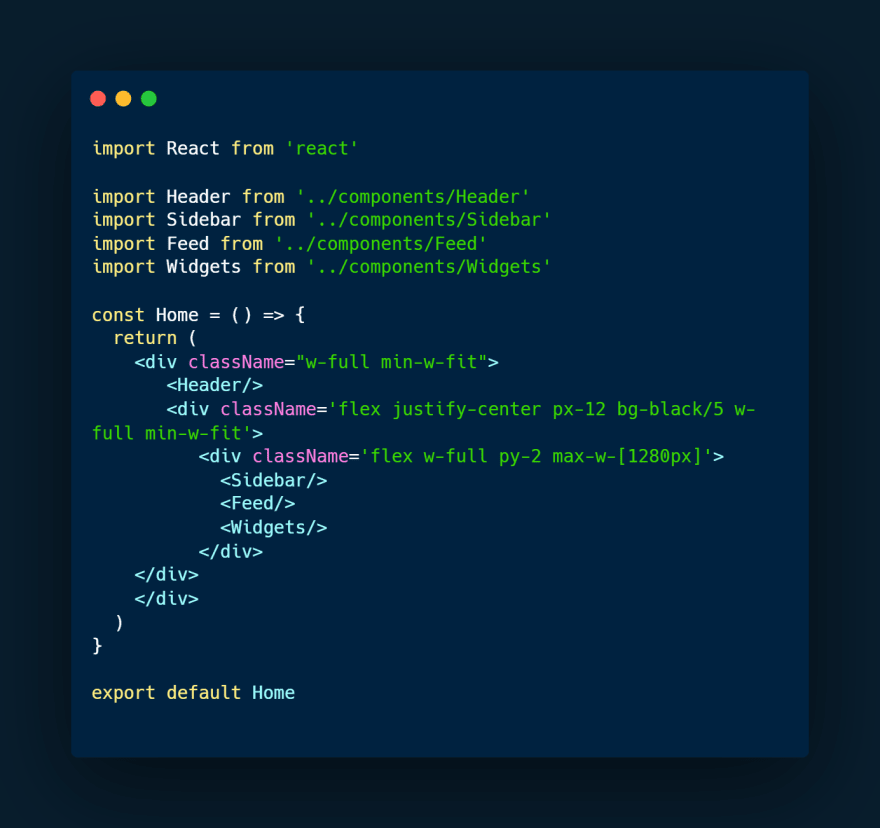
Let's apply some Tailwind utility classes to our 'Home' to align the items properly and setup our layout as follows:
Now, let's go ahead and style the individual components one by one. We will go over the Header component in detail, applying Tailwind utility classes and discuss adding custom Tailwind classes. We will discuss the Sidebar & Widgets components in brief. Later, you can go ahead and apply your own styles and make the application your own. Let's get started with the Header!
Header
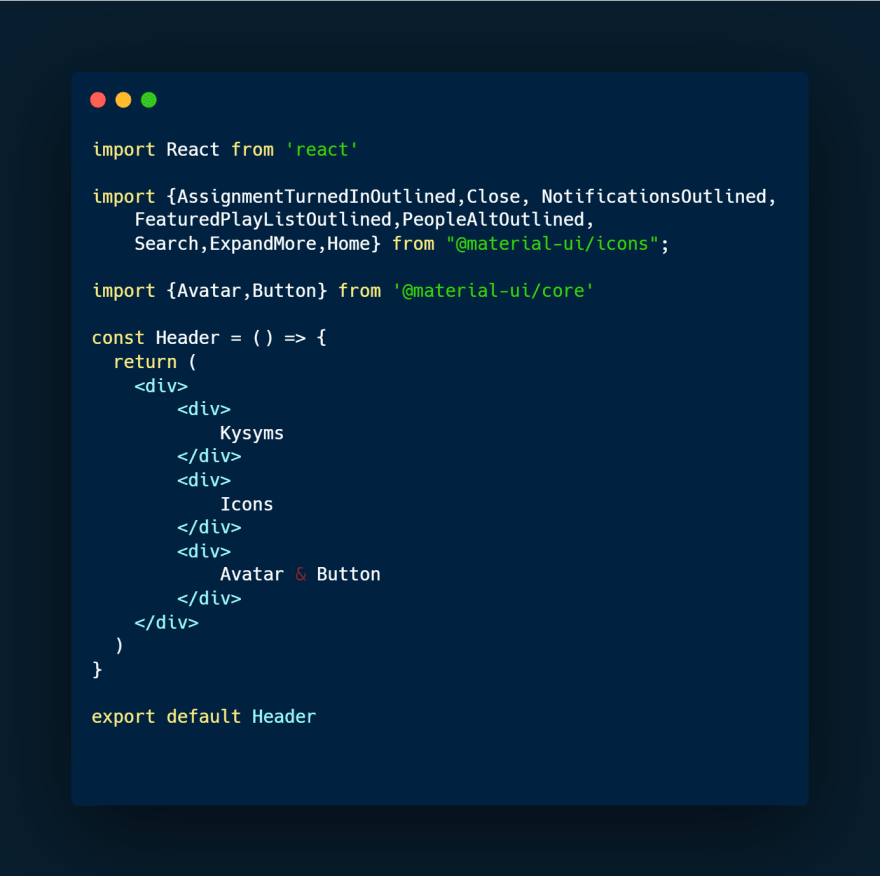
Before we start coding the header, we need to install two packages: @material-ui/core and @material-ui/icons which we will use for the icons and components like Button, Input, Avatar in our application. Alternatively, you can use '@headless-ui/react' and '@heroicons/react' for this purpose.
Our Header will be divided into 3 sections:
- Left (Our logo)
- Center (Icons & Searchbar)
- Right (Avatar & Add Post button)
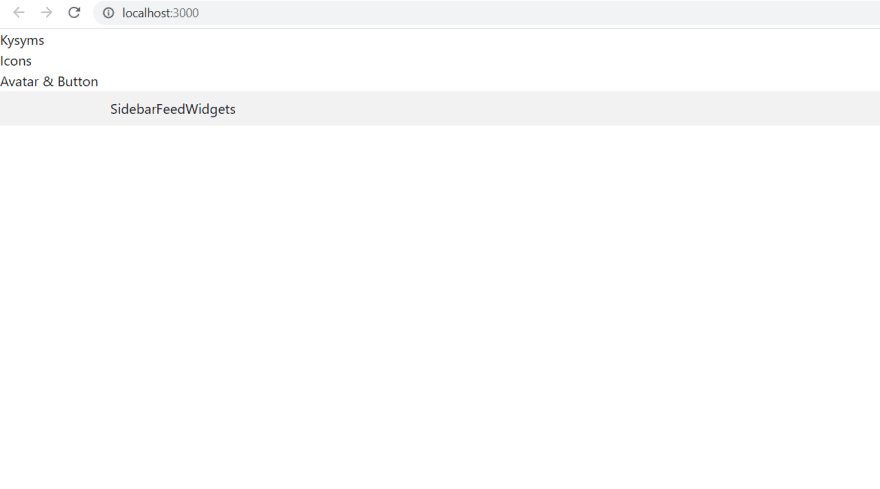
We need to apply 'flex' to our Header to align the items in a row and in the meantime let's apply some styling to our logo, feel free to replace this with an image of your app logo.
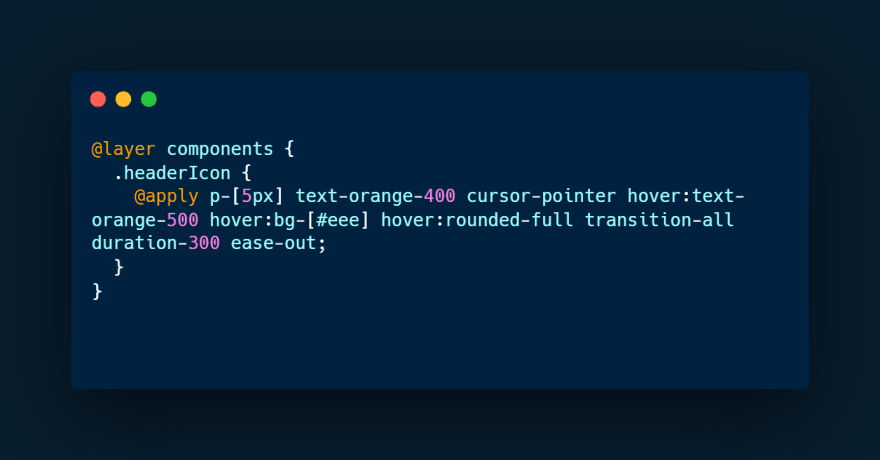
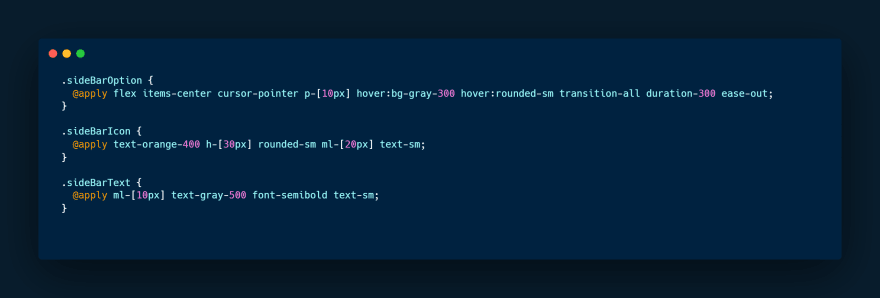
Next, we are gonna create our first custom TailwindCSS class to style our header icons, head over to index.css and add the following:
Let's add the Avatar and 'Add Question' button and style it up to finish our Header design.
In the same way, let's style our Sidebar and Widgets!
Sidebar
In the 'components' folder, create a SidebarItems.jsx file and import it into the Sidebar.jsx fil and style it as such with some more custom TailwindCSS classes!
Widgets
Similarly, for the Widgets component, let's create a WidgetContent.jsx file and style it with custom TailwindCSS classes and import it in the Widgets.jsx!
Final Touches
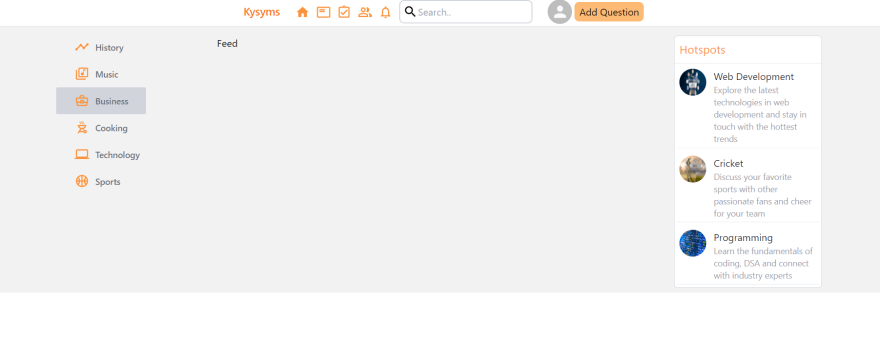
As of now, the Feed seems to be of around the same width as Sidebar and Widgets components. However, we want the Sidebar and Widgets to each take up 20% of the screen on large screens and the Feed to take up 60% of the screen. In smaller screens, we want the Sidebar and Widgets to be hidden and the Feed to take up the entire space. Keeping that in mind, we apply the following styles:
In the next part of the series, we will implement Firebase Google Auth and Login and then make requests to our backend to Add and Fetch posts from our database and create the Feed!
Homework(Suggestions to practice)
Replace the logo in the 'Header' with your own custom logo.
Replace the multiple divs in the SidebarItems component by mapping over an array to make the code cleaner. (Plus points if you fetch this data from some API)
Do the same for the Widgets Component!
Use headlessui + heroicons instead of Material UI
Resources
TailwindCSS
Icons
Code Repository
See you in part 3!















Latest comments (0)