Prerequisites
- Google Cloud Platform account
- Billing account
- Basic knowledge of
Git
Introduction
GCP offers a wide range of tools (like App Engine, Cloud Functions, Datastore, etc) that make it easier deploying serverless applications.
In this article, I'll talk about setting up a React application to be deployed on Google Cloud platform using App Engine and about storing my code on Google Cloud Source Repositories.
Create the React project
First, I create a new React project
npx create-react-app looney-tunes
cd looney-tunes
npm start
Create the new project on GCP
Now I setup the project on Google Cloud Platform
Install gcloud
I have to install gcloud CLI to interact with the project from my machine.
For Mac OS, download the .tar.gz file at https://cloud.google.com/sdk/docs/quickstart-macos and extract it. Then run ./google-cloud-sdk/install.sh.
Once reloaded the terminal, I run gcloud -v to check the installation
Google Cloud SDK 279.0.0
bq 2.0.53
core 2020.01.31
gsutil 4.47
Init gcloud
In the root folder of the React project I run gcloud init to initialize the project for GCP. Following the interactive CLI, I can setup the project
Setup the new remote for the repository and push
It's time to create my repository for this initial code. I search cloud repositories via the search bar
and then I click GO TO CLOUD SOURCE REPOSITORIES
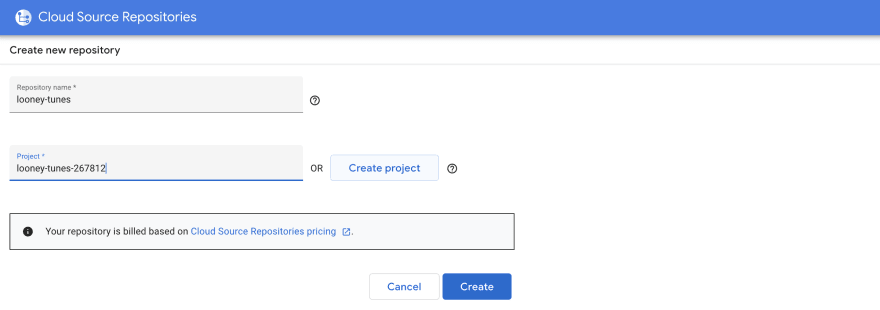
Click Add repository on the right-top corner. Then select Create new repository. Now I choose a name for my repository )project's name) and I select the GCP project
At this point, make sure Push code from a local Git repository is selected. I use the SSH authentication to push my code. From the root folder of the React project, I run
git remote add google ssh://rossanodan@gmail.com@source.developers.google.com:2022/p/looney-tunes-267812/r/looney-tunes
git push --all google
Error. Probably due to the missing API Key. I create a new API Key and I add it to my Cloud Source Repositories https://source.cloud.google.com/user/ssh_keys.
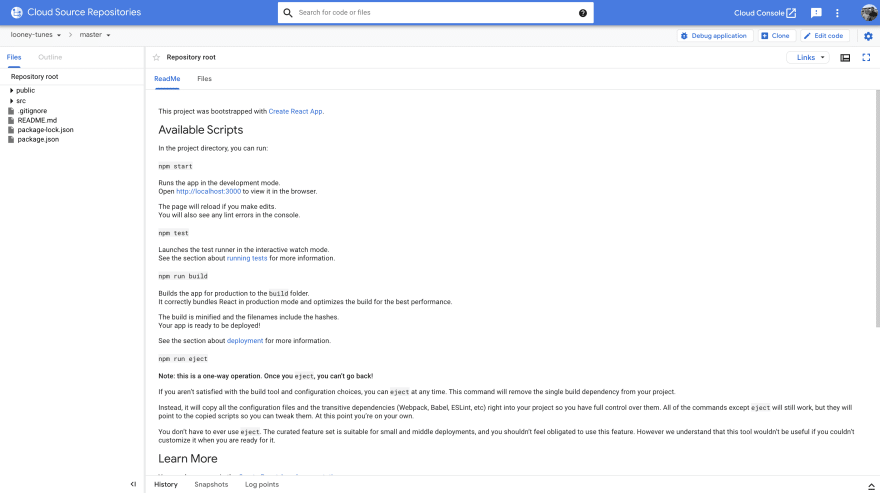
Once done, I run git push --all google once again to push my code.
Create the app.yaml file
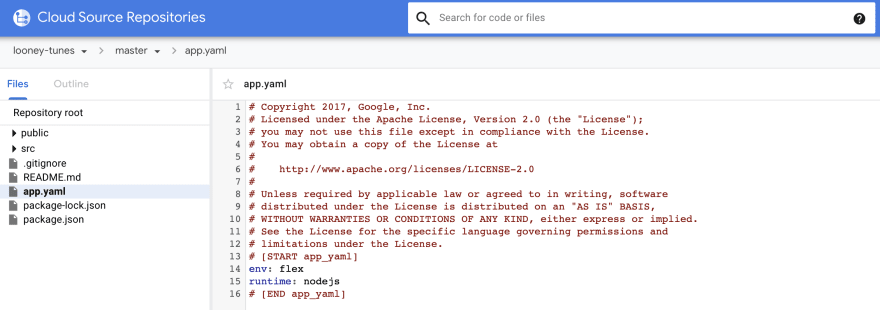
To make Google Cloud Platform able to deploy the project, I add a new file in the root folder of the project: app.yaml
# Copyright 2017, Google, Inc.
# Licensed under the Apache License, Version 2.0 (the "License");
# you may not use this file except in compliance with the License.
# You may obtain a copy of the License at
#
#    http://www.apache.org/licenses/LICENSE-2.0
#
# Unless required by applicable law or agreed to in writing, software
# distributed under the License is distributed on an "AS IS" BASIS,
# WITHOUT WARRANTIES OR CONDITIONS OF ANY KIND, either express or implied.
# See the License for the specific language governing permissions and
# limitations under the License.
# [START app_yaml]
env: flex
runtime: nodejs
# [END app_yaml]
I save and push
Deploy
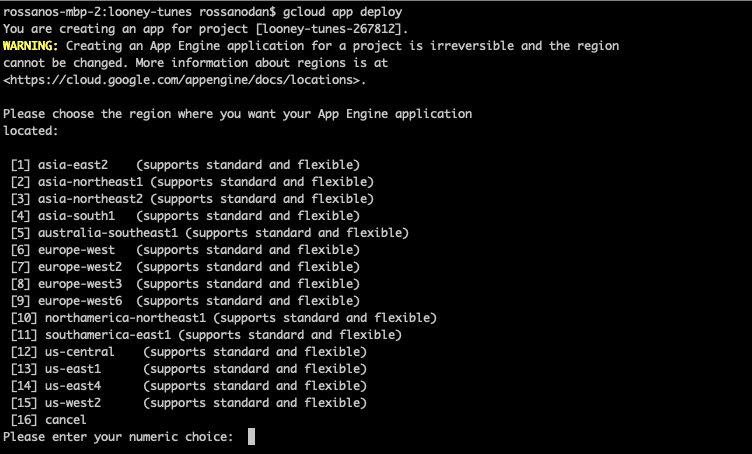
Everything is ready! In the root folder of the project, I run gcloud app deploy. I select the region of the project (in my case, europe-west2)
The console prompts the following message
Services to deploy:

descriptor:      [/Users/rossanodan/Desktop/Development/looney-tunes/app.yaml]
source:          [/Users/rossanodan/Desktop/Development/looney-tunes]
target project:  [looney-tunes-267812]
target service:  [default]
target version:  [20200210t131032]
target url:      [https://looney-tunes-267812.appspot.com]
This is a preview of what is going to be deployed and published. I enter Y.
Conclusion
Once the project is deployed, I run gcloud app browse that opens https://looney-tunes-267812.appspot.com/.


Top comments (1)
Why is Cloud Source repo necessary? Is it possible to deploy without it?