
Developing directly on Amazon EC2 instance can improve workflow efficiency and eliminate the need for constant file transfers. This article will explain how to integrate an EC2 instance with VS Code using the Remote - SSH extension.
Prerequisites
- AWS EC2 instance running
- SSH access to your EC2 instance
- VS Code installed on your local machine
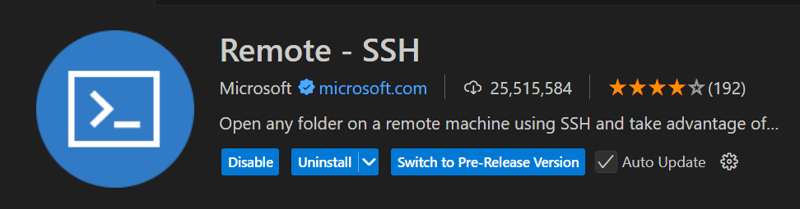
1. Install VS Code Extension
2. Connect to EC2 via SSH in VS Code
Press
shift + ctrl + Pat the same time, and selectRemote SSH: Connect to Host.

Click
+ Add New SSH Host..., type the following and pressenter.
ec2-user@XX.XX.XX.XX

- Select the top one,
.ssh\configto open the config file and add the following:
Host ec2-server
  HostName XX.XX.XX.XX
  User ec2-user
  IdentityFile ~/ec2
  ForwardAgent yes
- Open the Remote Explore tab on the left sidebar.
- Under SSH Targets, locate
ec2-server. - Click the connect arrow (→).
- Select the correct OS for the remote machine.
- If
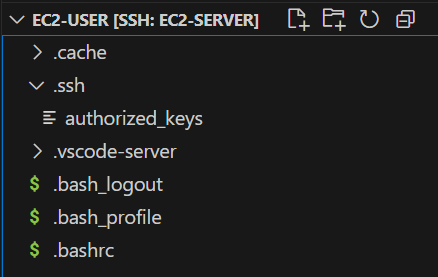
SSH: ec2-serverappears at the bottom left and the terminal shows something like:
[ec2-user@ip-xx-xx-xx-xx ~]$
You have successfully connected to the remote EC2 instance.
3. Transfer Project Folder
- Simply drag and drop your project folder to the root directory of the EC2 instance.
By following these steps, you should be able to integrate the EC2 instance with VS Code. This setup improves development efficiency and allows seamless remote coding in a cloud environment.

Top comments (0)