
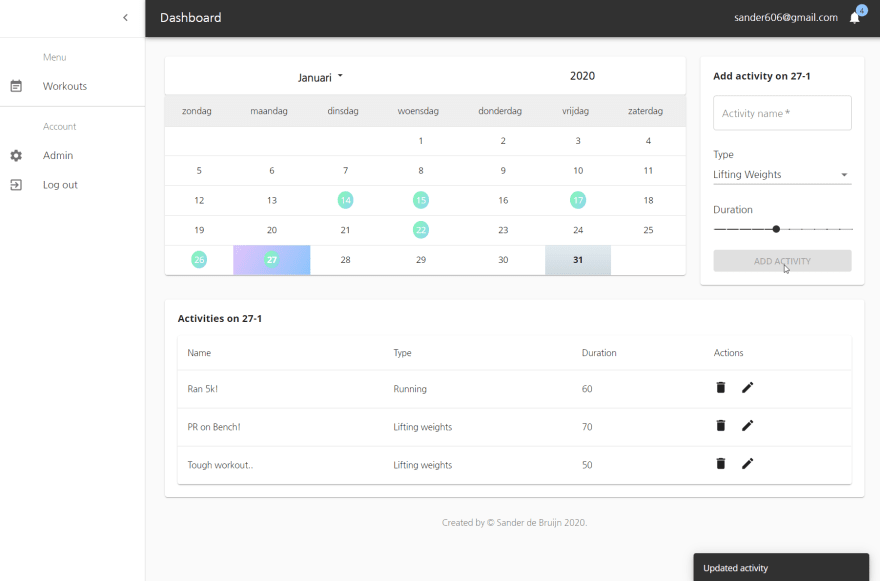
While building a web application to track my physical activities I have learned many things which I will share with you in this tutorial.
Live demo:
https://master.d3963aoi020v9l.amplifyapp.com/
This tutorial is targeted for beginners in React who already have experience using ES6 and create-react-app. We will be using:
100% React Hooks, Router and Context API
Firebase Authentication and noSQL database
Material UI components
This tutorial is divided up in to the following sections:
Setting up our project
User authentication with Firebase
Creating a custom Calendar component
Adding, updating and deleting workouts with noSQL database
Deployment
1. Project setup
We will start with creating the new project folder and installing all needed dependencies. I’m using Visual Studio Code, with the shortcut CTRL + ~ you can toggle the command line inside Visual Studio Code. Run the following command:
npx-create-react-app activity-tracker
This will create a new folder with our new react app.
Then delete all the files in /src except App.js, App.css, Index.js, Index.css
Inside App.js: delete the logo import, remove everything inside the return and add
Hello World!
in the return.Inside Index.js: delete the serviceworker import and unregister line. Now run npm run start to check if the app displays Hello World!
Material UI
To speed up our development we will use pre-build components from Material-UI framework which you can find here: https://material-ui.com/
Run the following commands:
npm install @material-ui/core
npm install @material-ui/icons
Folders
Next up we will create our folders, which will be: components, pages and config. Open up command prompt and use the following commands:
cd src
mkdir components pages config
This way we have our app running in the command line of Visual Code and can run command with command prompt separately.
Router
To navigate inside our App we will use react-router. We are creating a single-page-application which is basically one big page that does not need to be refreshed, we will just show and load only the components we want the user to see.
Install react-router by running the command:
npm install react-router-dom
Then inside App.js we will import react-router and add a switch to navigate between paths. We will create a path for home “/” and a path for signing up “/sign-up”:
Now you should see “Signin” in your browser and if you’ll browse to /sign-up you should see “Signup”. Great, our router is working!
In part 2 we will actually start building our application and adding authentication.
Checkout the final result: https://master.d2e0orovu8bxyk.amplifyapp.com/**
**Source code: https://github.com/sanderdebr/workout-tracker

Top comments (1)
Love this app-building exercise man keep it up.