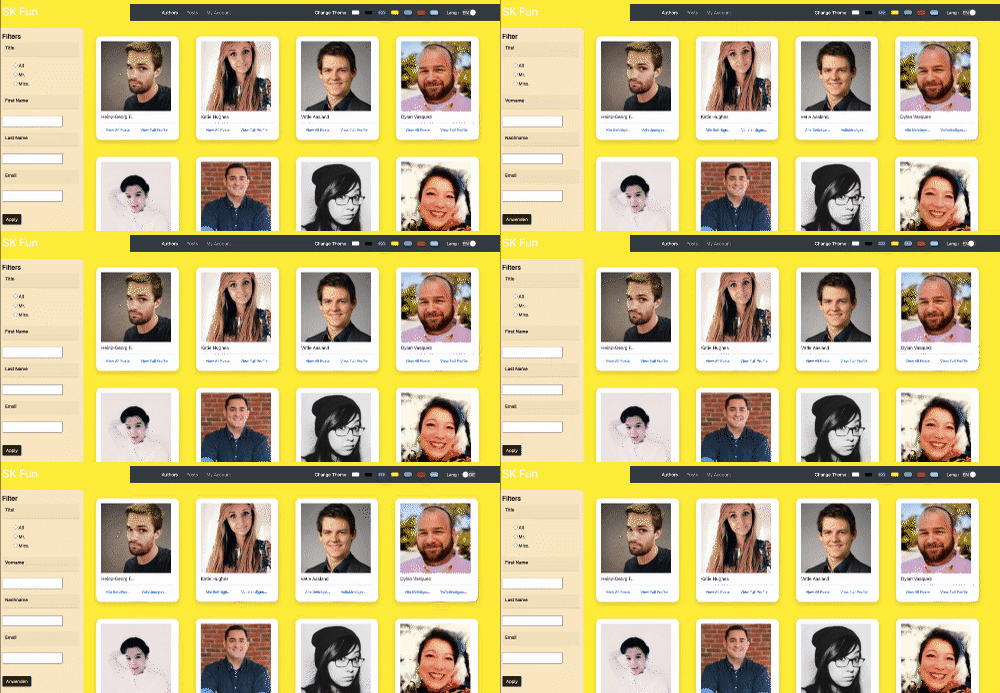
This is Part-4. This blog post will explain internationalization.
Quick links for our Part Series:
PART #1 - Introduction and Installation of ReactJS (This Post)
PART #2 - ReactJS split the UI by components Components
PART #3 - React Query for remote data fetching instead of Redux thunk
PART #4 - Internationalization with i18next (this post)
PART #5 - Basics to Advanced Usage of styled-components
Keep in mind that if you get stuck on any step, refer to the Github repo
To find the completed project, Demo link
React have extremely easy alternatives to implement this functionality, and today, we are going to meet one of them, the i18next plugin.
Generate project with CreateReactApp:
I often (to not say always 😁) use Create React App to initiate my React projects.
In order to generate our project run :
npx create-react-app i18napp --template typescript
If you already have a project or have just created yours, install the dependencies that we will need for i18next to work properly:
yarn add react-i18next i18next i18next-http-backend i18next-browser-languagedetector
Okay, now we already have the packages we need. Let's get your hands on the code!!!
Configuring i18next
import i18n from "i18next";
import { initReactI18next } from "react-i18next";

import Backend from "i18next-http-backend";

i18n
  .use(Backend)
  .use(initReactI18next)
  .init({
    lng: "en",
    fallbackLng: "en",
    debug: false,
    ns: "translation",
    defaultNS: "translation",
    interpolation: {
      escapeValue: false,
    },
    react: {
      useSuspense: false,
      wait: false,
    },
  });

export default i18n;
After that, we should import it into our index.js, which will look like this:
import React from 'react';
import ReactDOM from 'react-dom';
import './index.css';
import App from './App';
import * as serviceWorker from './serviceWorker';
import './i18n';

ReactDOM.render (
  <React.StrictMode>
    <Suspense fallback={<div>Loading...</div>}>
        <App />
    </Suspense>
  </React.StrictMode>,
  document.getElementById('root')
);
All set, react i18next is enabled and ready to use. Now the next step is to incorporate our translations.
In this project, we will incorporate English and German.
For this, in our /public folder we will add the /locales folder that will have two subfolders, /en and /pt, both with a translation.json file that will contain the object with the translations
Importing the translation hook
To import the i18next hook we use the following code:
import React, { memo } from 'react';
import { Link } from 'react-router-dom';
import styled from 'styled-components';
import { useTranslation } from "react-i18next";

const AuthorListView = memo(({ user }) => {
  const { picture, firstName, lastName, id } = user;
  const { t: translation  } = useTranslation();
  return (
    <CardContainer>
      <CardCoverImage src={picture} ></CardCoverImage>
      <CardHeading>{truncate(`${firstName} ${lastName}`)}</CardHeading>
      <CardFooterContainer>
        <CardLink>
          <Link className='nav-link' to={`/profile/${id}`}>
            { truncate(translation("viewAllPosts")) }
          </Link>
        </CardLink>
        <CardLink>
        <Link className='nav-link' to={`/profile/${id}`}>
        { truncate(translation("viewFullProfile")) }
          </Link>
        </CardLink>
      </CardFooterContainer>
    </CardContainer>
  );
});

export default AuthorListView;


Top comments (0)