
Amazon CodeWhisperer is a powerful tool that streamlines your development workflow when working with Amazon Web Services (AWS). With a range of features and tools, it simplifies the process of building, deploying, and managing AWS applications directly from your integrated development environment (IDE).
I'll walk you through the installation process of Amazon CodeWhisperer in Visual Studio Code, allowing you to seamlessly integrate AWS services into your development projects.
- Open the Visual Studio Code application and go to the Extensions on the left upper side.

- Access Extensions: Type "Amazon" into the search bar and you will see a list of available extensions related to Amazon Web Services including Amazon Toolkit.
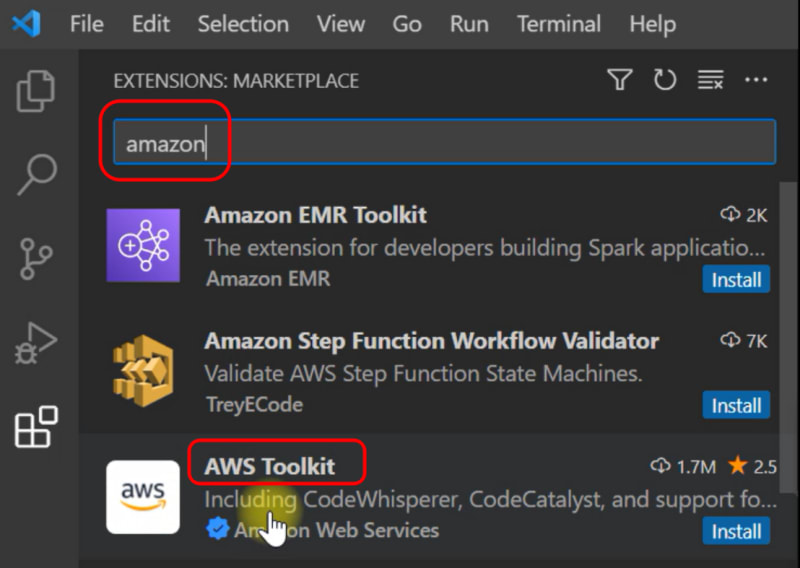
- Select AWS Toolkit and click install.

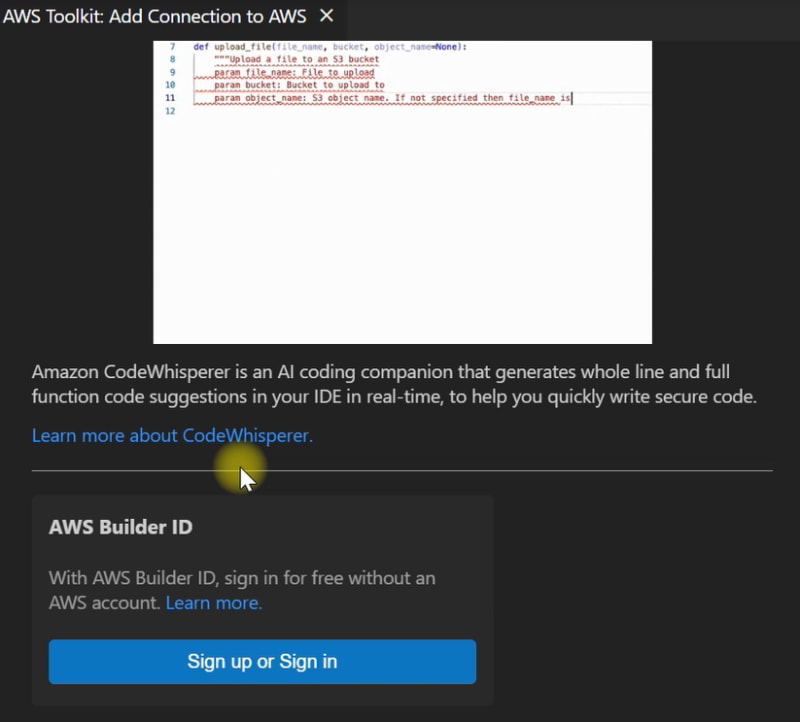
- After the installation is complete click on one of the future options provided to add the connection.

- Scroll down until you see the sign in and sign up button. Click on it and proceed to the browser.
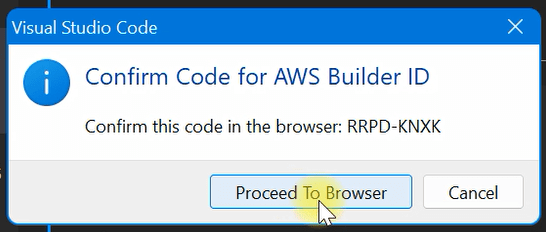
- Confirm the authorization code.
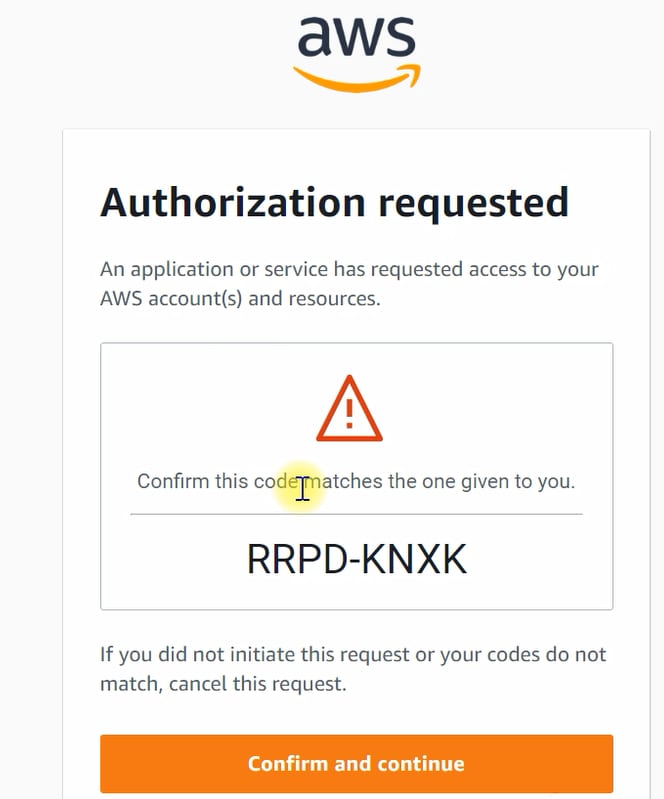
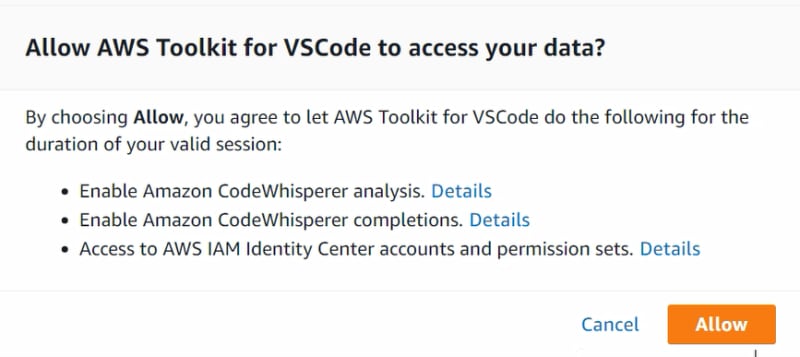
- Allow for data access.
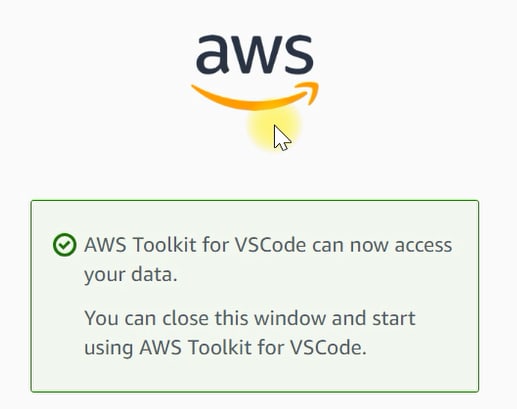
Now, you have successfully installed Amazon CodeWhisperer in Visual Studio Code, making AWS integration easier and more efficient for your development projects. You can now take advantage of the various features and tools it offers to work seamlessly with AWS services directly from your IDE. Happy coding!

Top comments (0)