
INTRODUCTION
SharePoint is a powerful collaboration platform that allows teams to manage documents, workflows, and permissions efficiently. In this guide, I’ll create a SharePoint site for 9 members, set up 3 document folders, and configure granular permissions so that:
Each folder is accessible by 3 unique members.
Each folder contains 3 files, with each file accessible by 1 unique member (subset of the folder’s 3 members).

This ensures secure, role-based access to sensitive data. Let’s begin!
Step 1: Create a SharePoint Site
Prerequisites
- Microsoft 365 admin or SharePoint admin privileges.
- A clear purpose for the site (e.g., department collaboration, project management).
STEPS TO CREATE A SITE
Navigate to SharePoint Admin Center:
- Go to Microsoft 365 Admin Center → Show all → SharePoint.
Create a New Site:
Under Sites → Active sites, click Create → Team site or Communication site.


- Team site: For collaboration (includes a Microsoft 365 group).
- Communication site: For broadcasting information (no group).
Fill in details:
- Site name: e.g., "Finance Department Hub".
- Site description: "Briefly explain the site’s purpose."
- Privacy settings: Choose Public (open to all) or Private (restricted access).


Add Members:


Step 2: Create Document Folders
Navigate to Documents Library:
- Go to your site → Click Documents on the left menu.
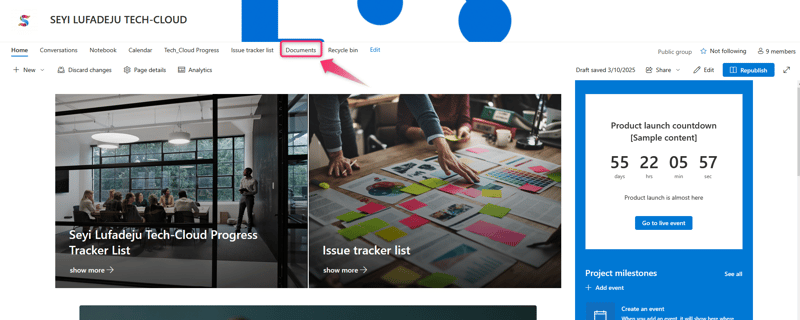
Create Folders:
- Click New → Folder → Name Folder (Document Library)


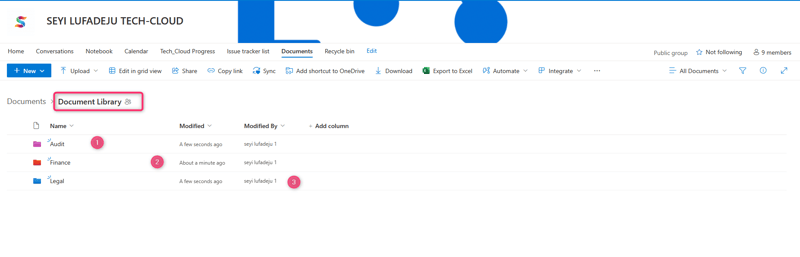
Create 3 New Folder inside (Document Library)
Name the folders Finance, Legal, and Audit.
Step 3: Assign Folder Permissions
For each folder:
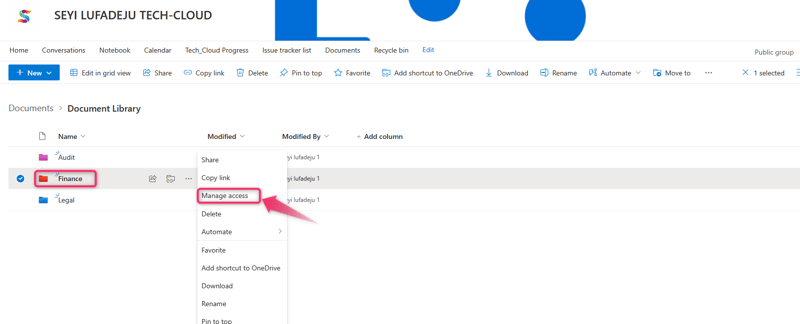
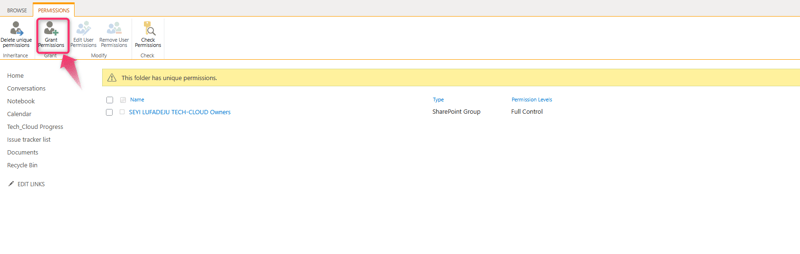
- Stop Inheriting Permissions:
- Hover over the folder → Click ⋮ (More) → Manage access.
- Click Advanced settings
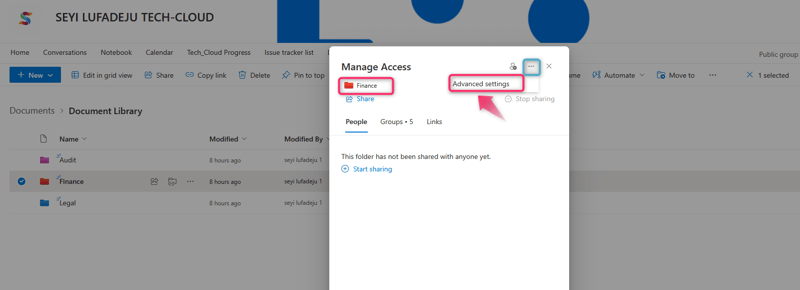
- Select Stop inheriting permissions → Confirm.

- Remove User Permissions

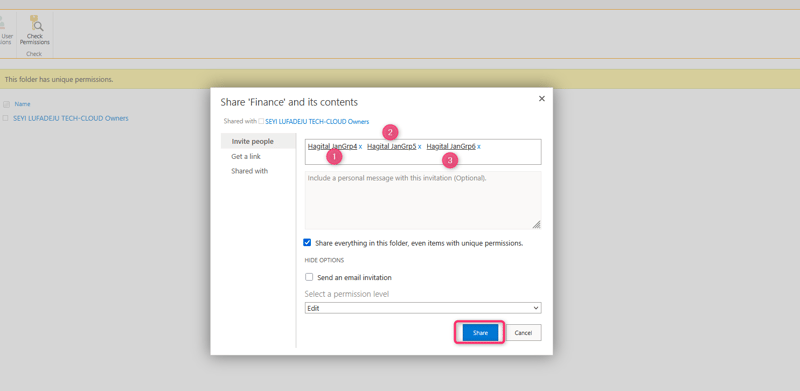
- Grant Access to 3 Members:
- Click Grant access → Enter 3 member emails or username.
Set permissions to Edit (to allow file uploads).
Uncheck Send an email invitation (optional).
Click Save.

Repeat for Folders B and C with their respective 3 members.
Step 4: Create Files Inside Folders
For each folder (e.g., Audit):
- Create Files:
- Open the folder → Click New → File (e.g., Word, Excel).
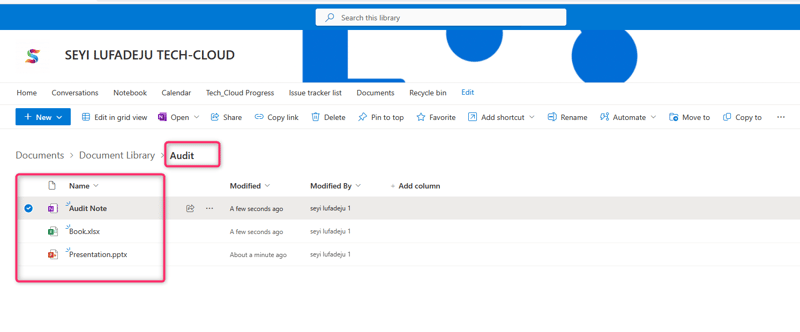
- Set Unique File Permissions: Assign each file to one member
- Hover over Audit Note → ⋮ (More) → Manage access.

- Click Advanced settings → Stop inheriting permissions.
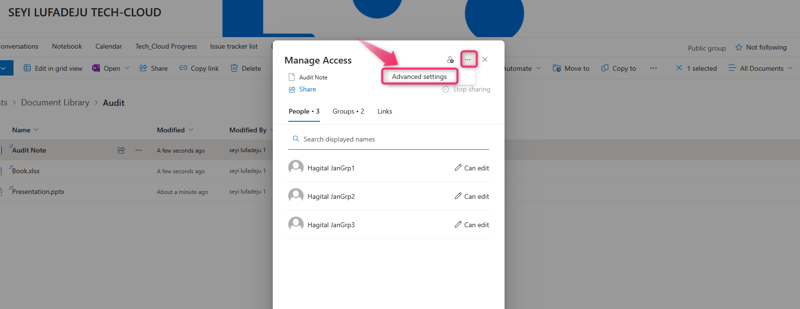

- Remove all existing users except Hagital JanGrp1


Repeat for Excel File (Inside Audit folder) with one member (Hagital JanGrp2)
Repeat for Powerpoint File (Inside Audit folder) with one member (Hagital JanGrp3)
Repeat the above steps for members in Finance folder and Legal Folder
Conclusion
I’ve successfully created a SharePoint site with custom permissions to ensure secure collaboration:
- 3 folders with 3 members each.
- 3 files per folder, each restricted to 1 member.
Best Practices:
- Audit permissions periodically via Site Settings > Permissions.
- Use SharePoint groups for easier management in larger teams.
- Train members on accessing their designated content.
This structure minimizes data exposure while fostering teamwork. SharePoint’s flexibility ensures your organization’s data remains both accessible and secure.

Top comments (2)
Nice work!
Well done Seyi for this