
This series will walk you through the processes of setting up your own food ordering application and by extension any e-commerce app using modern development tools like Strapi, Gridsome and Snipcart.
Strapi
Strapi is one of the most popular headless content management systems at the moment. What makes Strapi a great choice for me is the fact that it is:
- Open-sourced
- Node.js based
- 100% JavaScript
- Developer centric and
- Fully customizable amongst other things.
The Strapi team have been doing incredible work and adding more features that improve the products developer experience. In the first part of this series, we will walk through the process of setting up a Strapi application and creating products to further demonstrate Strapi's capabilities and ease of use.
Gridsome
Gridsome is a free & open source Vue.js-powered framework for building websites & web applications that are fast by default. If you're familiar with Gatsby, which is also a static site generator for React, Gridsome can be considered the Vue-based alternative. That said, Gridsome is still very unique in its own ways.
This is all thanks to its GraphQL data layer that helps pull and centralize information from external data sources (APIs, local file, CMS's). From the GraphQL data layer, the data is made available to the Vue components where you can utilize them. Finally, it gets generated into static HTML and rendered at build time by Gridsome.
Snipcart
Snipcart is a simple e-commerce solution that makes it possible for developers to add fully customizable checkout experiences to any website. What's more? Snipcart is 100% HTML and JavaScript with a great developer experience. We'll see more of its features towards the end of this series when we add checkout features to allow user's place orders for meals.
About that, Snipcart offers pre-configured payment processors like Stripe and PayPal by default while also making it possible for you to configure your custom processor of choice. That's a thoughtful feature in my opinion and I appreciate that.
What we'll build
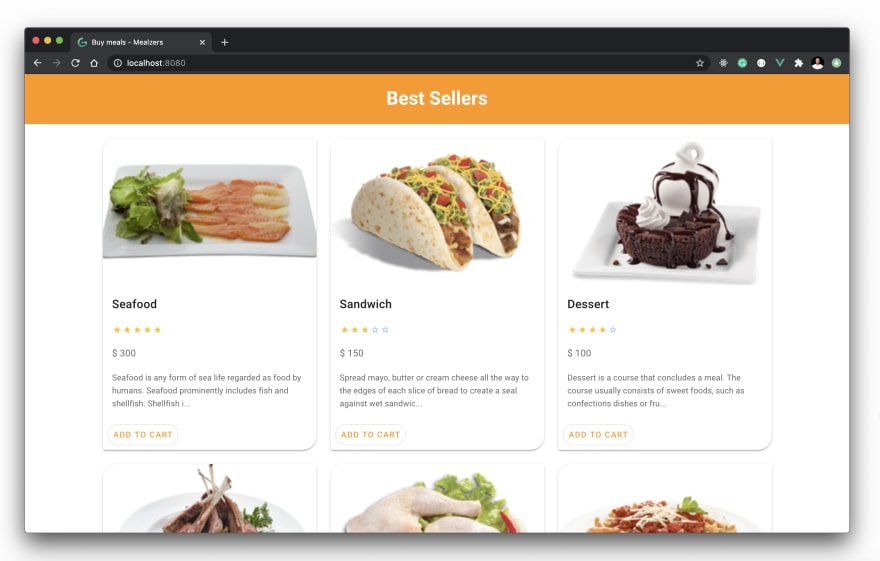
If it is not already obvious, for this series, we'll build a Fullstack food ordering application using Strapi and Gridsome. We'll use Strapi on the backend to create our store products. Afterwards, we'll consume the products on the frontend using Gridsome and finally, we'll implement cart and checkout functionalities with Snipcart. Here's a demo and screenshots of the end product in action:
Demo:

Screenshots:


Contents
- Part 1 - Generating a Strapi app and creating products
- Part 2 - Setting up a Gridsome project
- Part 3 - Consuming products with Gridsome and GraphQL
- Part 4 - Creating single product views with Gridsome templates
- Part 5 - Implementing cart and checkout with Snipcart
- Part 6 - Deploying the apps
Let's get started with the first part!
Generating a Strapi app and creating products
Scaffolding a new Strapi application is a breeze. All that is required is Node. Once you have it installed (v12+) then you can run the command below in your terminal to create a new Strapi app:
yarn create strapi-app mealzers --quickstart
OR
npx create strapi-app mealzers--quickstart
This command will immediately install Strapi’s dependencies and generate a Strapi application for you. The newly created application will be available on the browser by default. Simply navigate to http://localhost:1337/admin to view it and complete the admin form.
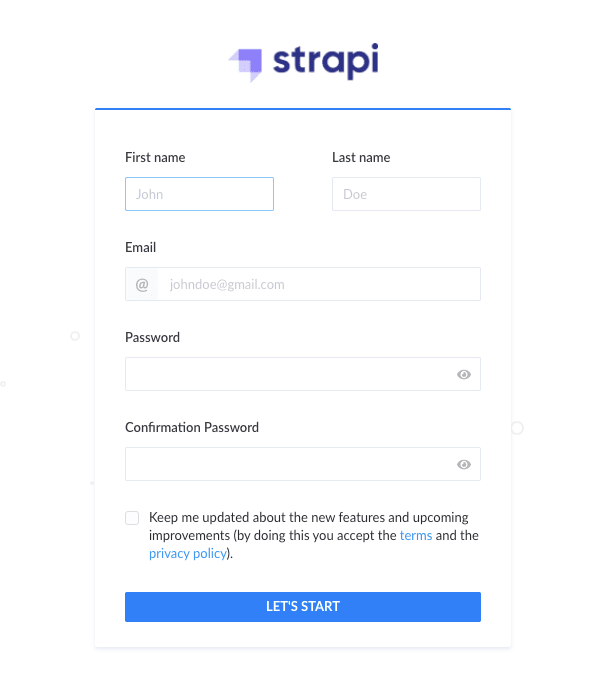
Provide your details on the form and click the blue LET'S START button to proceed into the Strapi admin dashboard where the bulk of the work will be done:

And that is how you create a Strapi application. You can also open the application up on your favourite code editor and have a look at some of the default files generated if you're into that. In the meantime, let's go ahead and start creating products for our restaurant.
Create products
The next thing we should do is to create the products we'll display in our application. To do that, follow these steps listed below:
- Click the visible blue button that says
CREATE YOUR FIRST CONTENT-TYPEand typeproductin the display name field and click Continue to proceed:

Creating product fields
Next, you will be required to create fields that will be added to your product collection. Hence, for each product, we will have these fields —
- title - The name of the meal (Text)
- price - The price of the meal (Number, float)
- description - Short description of the meal (Text)
- rating - How the product is rated (Number, integer)
- instructions - How to prepare the meal and (Text)
- image - An image of the meal (Media, single media)
From the next screen shown below, let's walk through the process of creating the title field on the product collection and repeat the same process for all the other fields:
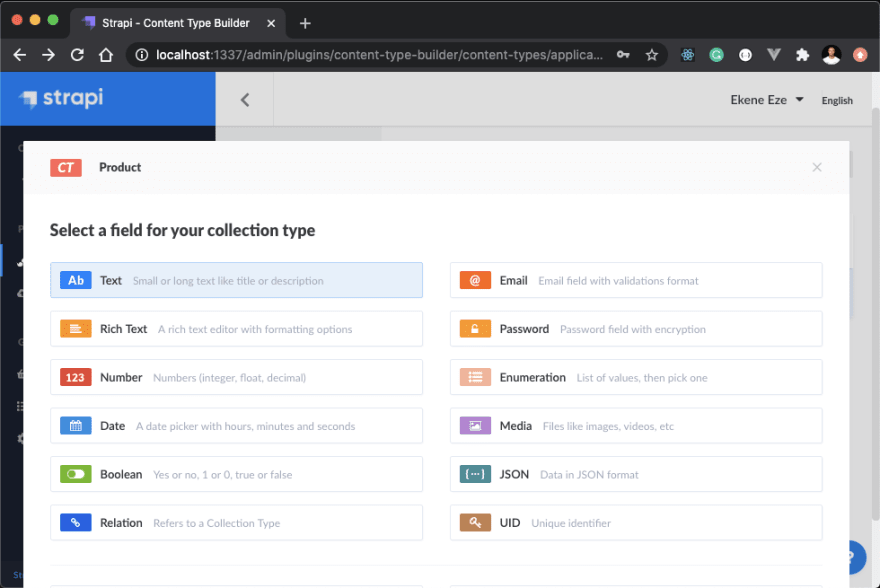
For the title field, select Text

Switch to the ADVANCED SETTINGS tab on the upper right corner of the screen and check the boxes below:

This is basically telling Strapi to make this field unique and required for every new product we create. When you're done, click Finish.

From here, you can click the + ADD ANOTHER FIELD TO THIS COLLECTION TYPE button and repeat the process for the remainder of the fields. You can decide which fields you want to mark required or unique as you see fit. When you're done with the rest of the fields, click the green save button, the Strapi server will restart and you should be presented with this screen:
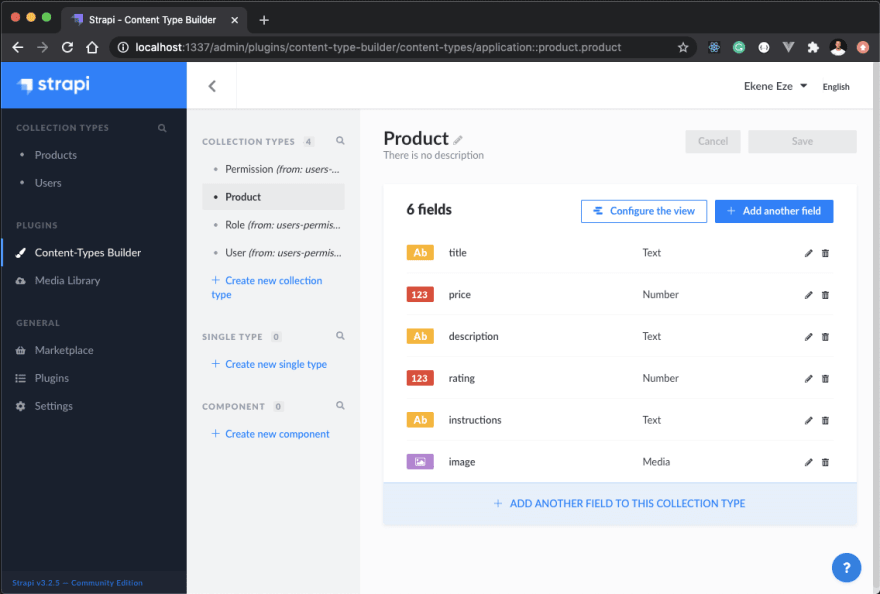
Note: If you don't see this screen after the server restarts, simply refresh your browser and you should be good.
Adding products
Now that we've created all the fields that are required for our product collection, let's start adding products to the collection. Click on the Products section on the left side panel, then click on the Add New Product on the upper right corner.

The product fields are intuitive and simple to understand. Provide values for all the fields we've specified, and that's it. You can add as many products as you want to have in your online restaurant.
I have created an array containing all the products that I'm using in this project. Here's one product:
[
   {
      "id":1,
      "title":"Grilled Beef",
      "price":30,
      "description": "Beef is the culinary name for meat from cattle, particularly skeletal muscle. Humans have been eating beef since prehistoric times. Beef is a source of high-quality protein and essential nutrients. Check below for preparation instructions",
      "rating": 4,
      "instructions": "Lorem ipsum dolor sit amet, consectetur adipiscing elit, sed do eiusmod tempor incididunt ut labore et dolore magna aliqua. Ut enim ad minim veniam, quis nostrud exercitation ullamco laboris nisi ut aliquip ex ea commodo consequat. Lorem ipsum dolor sit amet, consectetur adipiscing elit, sed do eiusmod tempor incididunt ut labore et dolore magna aliqua. Ut enim ad minim veniam, quis nostrud exercitation ullamco laboris nisi ut aliquip ex ea commodo consequat.",
      "image": "https://www.themealdb.com/images/category/beef.png"
   },

]
If you would like to create the same products like mine, you can find the gist here, and quickly copy the contents over to your Strapi application.
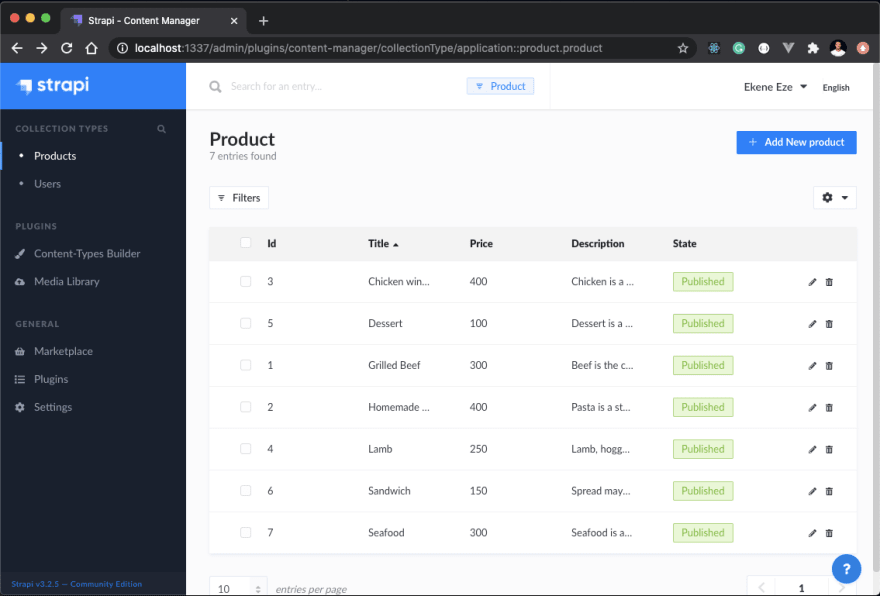
When you're done adding products, you should get a product summary screen like this:
Fetch products
Now to fetch the list of all the products we've just created, you can easily navigate to localhost:1337/products on the browser:
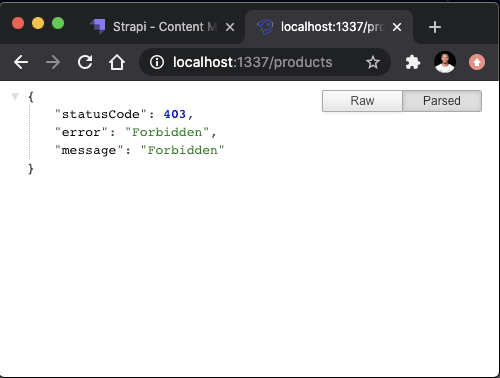
Oops! we get status code 403. Basically, this means that you don't have the permission to access this endpoint. And that is expected because there's one last thing we need to do.
Setting Roles and Permissions
Strapi offers a roles and permissions feature under the settings tab where you can specify how users can access your endpoints. This will be fairly straightforward in our project. We won't be covering authentication so we'll make the endpoint completely public. To do so, click on settings on the left side panel > Users and Permission plugin > Roles > Public > Permissions and tick the boxes below:

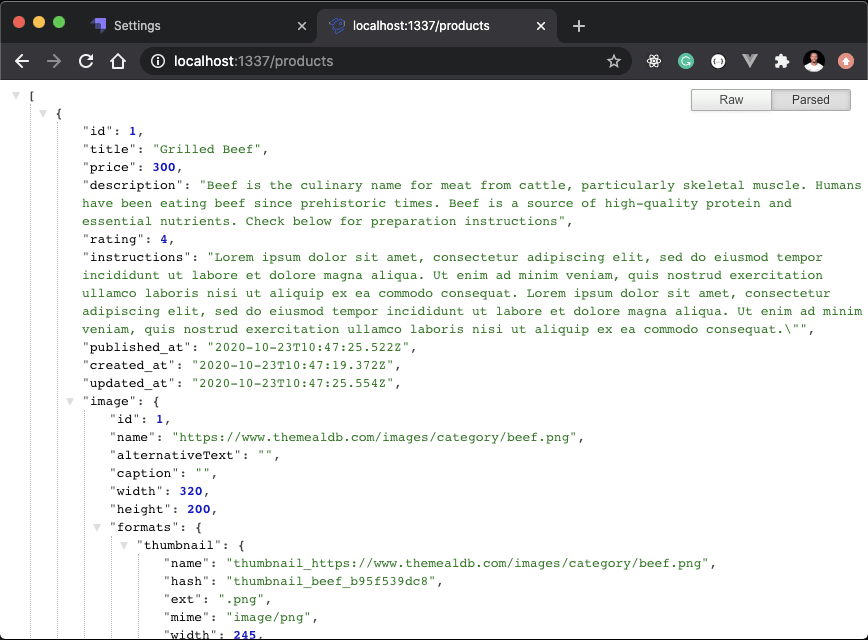
Now when we navigate to localhost:1337/products on the browser again, we can see a list of all our products:
Conclusion
Congratulations, we've come to the end of this part. Before you go let's do a quick recap. In this part, we went over the tools we'll be using to build out our food ordering application. We also walked through the process of setting up a new Strapi application. Afterwards, we created some products that we will display on the frontend later on in this series. Thank you very much for sticking with me and see you on the next part.

Top comments (0)