For the past few years now, Apple has been conducting the WWDC Scholarship Program (now, WWDC Swift Student Challenge), which is a global challenge for students all across the globe, to showcase their love for coding by creating awesome projects related to any topic of their choice.
Until a couple years ago, the winners of this challenge would receive free tickets for the annual event and get to fly to California to attend the Worldwide Developer Conference in person at San Jose Convention Center! 🤩
However since 2020, due to Covid, Apple has made the whole event online and the winners would receive exclusive WWDC outerwear, a customized pin set and one year of membership in the Apple Developer Program.
Many students still participate in this challenge every year, and this year I decided to give it a try myself!
This year the challenge was to build an interactive Swift Playground Book that can be experienced in less than 3 minutes.
So, the first question that came to my mind was ...
How do I build a Swift Playground Book?
You can build PlaygroundBooks in the Swift Playgrounds app (available for iPad and Mac) and also in Xcode.
Swift Playgrounds App
First, go to the App Store, and look up Swift Playgrounds. The first result is usually the Swift Playgrounds app.

Download the app and open it.
It should look something like this.
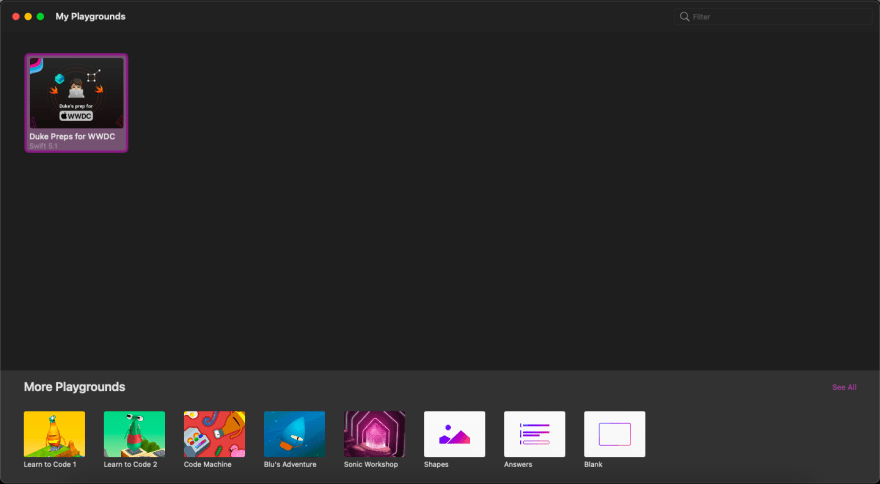
It shows a list of your previously imported books. I already had my playground book imported, but for you, this screen may be blank.
If you click on the 'See All' button at the bottom right, it should show you a page with a lot of templates that you can use to build your project on.

For this tutorial, we will use the Xcode Playground template.
Click on it from the list of templates under the Starting Points section.
It will add the Xcode Playground template to your list of imported books.

Click to open it.
This is how a your playground book will look like.

You will only see a blank editor for now.
The typical structure of a PlaygroundBook is as follows.
The PlaygroundBook is divided into Chapters, each of which contains some Pages.
If you look at your screen now, on your left, you will see a list of Pages, grouped into Chapters.
Each playground page is divided into 2 halves.
On the left side, you can add text and code that you want to execute.
The code you type on the left will run on the right side of the page. The right side of the page is called the Live View.
Initially, there is no Live View.
To initialize it, type the following code into the editor. We will be using SwiftUI for building this Playground.
import SwiftUI
import PlaygroundSupport

struct ContentView: View {
    var body: some View {
        Text("Hello World")
    }
}

PlaygroundPage.current.setLiveView(ContentView())
Hit the Run My Code button.
Your screen should look something like this now.

Essentially, what we did just now is that we made a SwiftUI view named ContentView, and then we set it as the live view of our current playground page.
And as you can see, our SwiftUI view (with the text "Hello World") is being displayed on the right of the page! Awesome. 😀
If you know SwiftUI then you will be able to build awesome stuff from here on out. You can also try out the other templates provided in Swift Playgrounds and play around & build something awesome.
If you want to customize your playground book even more, like add a book cover, you should go probably use a Swift PlaygroundBook Author template and modify it using Xcode.
I will be writing an article about Swift PlaygroundBook Author Template in my next post, so if you want to know more about it, do check it out.
Thanks for reading!

Top comments (0)