In the previous session, web created a Git repository and pushed it to GitLab. Today, let's explore Branching, Switching, Merging, and Commit Handling in git.
step 1:
1.open your project folder*(bankaccount)*.
$ It means you need to go to the folder where your project files are store before using Git.
step 2:(Update & Corrected)
1.Git remote repository and local repository connected in the previous session.
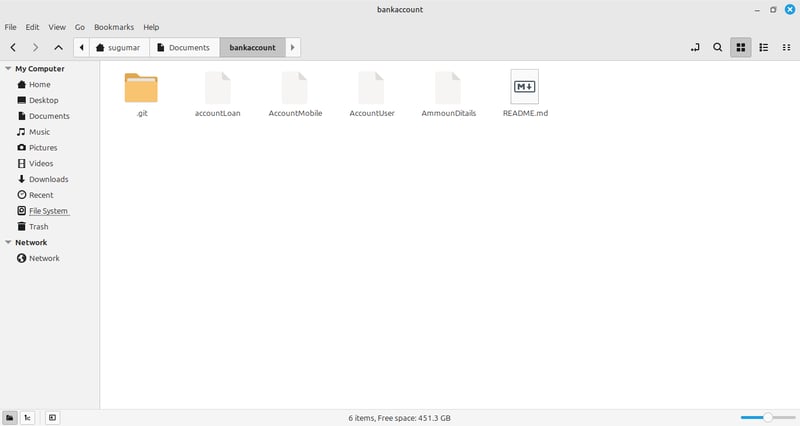
2.Alredy 4 files have been created:
$ accountloan
$ AccounMobile
$ AccounUser
$ AccountDetails
3.Right click and open the projec folder in the terminal to run Git Commands.
step 3: Check your Git History
Before making new changes, let's check our commit history to track previous updates.
. Command to check Git History -> git log
This command will display:
$commit Id
$Author details
$Commit message
$Date & time of the commit
Example Output(share my screenshot)

@ Why is the step important?
$ Helps track previous commits before adding new chenges.
$ Confirms if all necessary files are alredy coimmited.
$ useful for debugging and rollback if needed.
step 4: Working with Git Branches
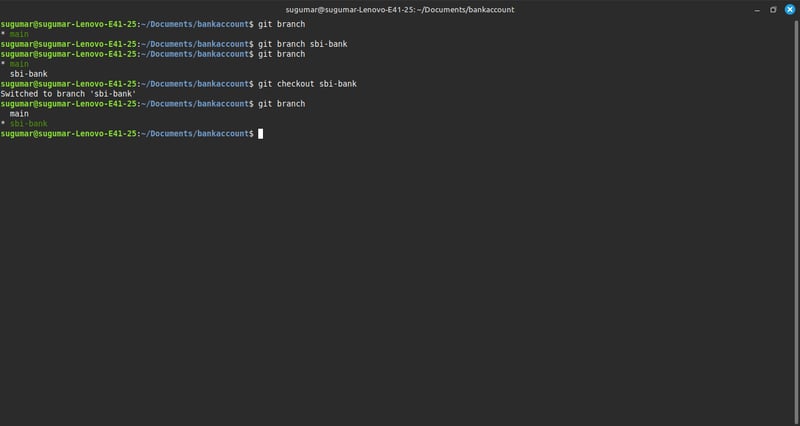
1.Check the currend Branch
-> git branch
$ This will list all branches, and the current branch will be marked with * .
2.Create a New Branch
$ Create a new branch named sbi-bank.
-> git branch sbi-bank
Now,the branch exists,bu you are stil on the main branch.
3.Switch to the new branch
$ To move (checkout) to the sbi-bank branch.
-> git checkout sbi-bank
$ After switching, your terminal will show that you are on sbi-bank.
4.Verify the current Branch
$ To confirm that you switched succesfully,check the branch list again.
-> git branch
$ Now, sbi-bank should have * before it, indicating it's he active branch.
@ Why Change Branches?
Branches help in organizing Work:
$ Main Branch(main): stable version of the project.
$ Feature Branch (sbi-bank): separate space to develop a new feature or fix an issue without affeture or fix an issue without affecting **main.
step 5: Creating and Switching to a new Branch.
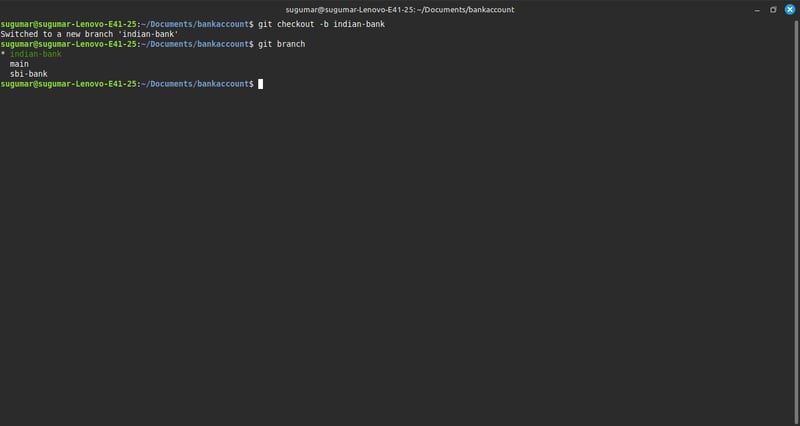
1.Create and Switch to a New Branch in one Command
-> git checkout -b indian-bank
$ checkout -b creates a new branch and immediately switches to it.
$ Now, indian-bank is the active branch.
2. Check Available Branches
** -> git branch**
$ This lists all branches.
$ The * symbol next to indian-bank shows that you are currently on this branch.
@ Why use different Branches?
$ separate workflows: Each branch is an independent workspace.
$ Avoid Conflicts: Work on different features without affecting main.
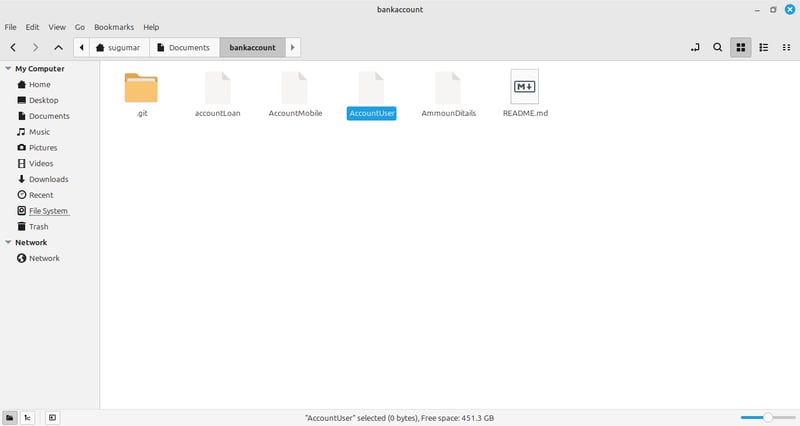
step 6:
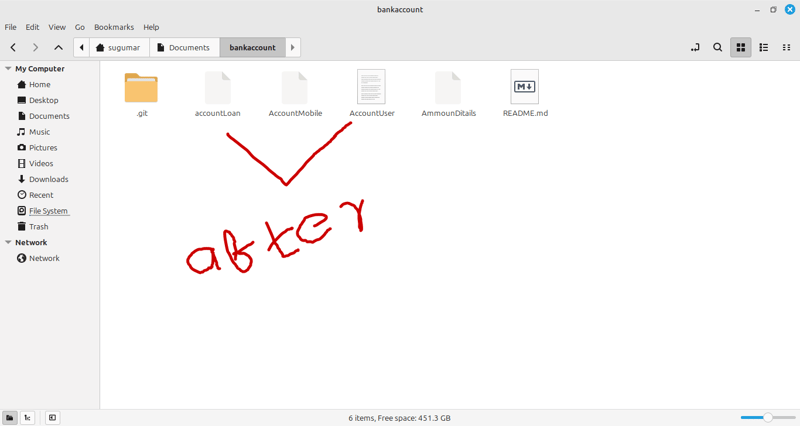
1.open the bankaccount project folder.
2.Located and opened the AccountUser file(Which is empt).
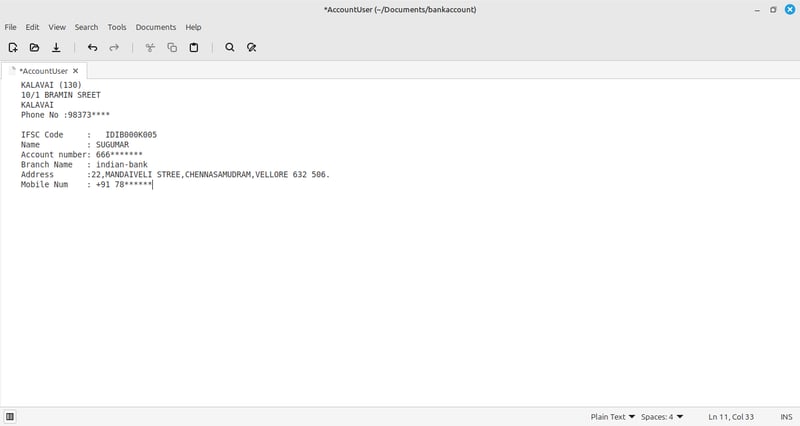
step 7:
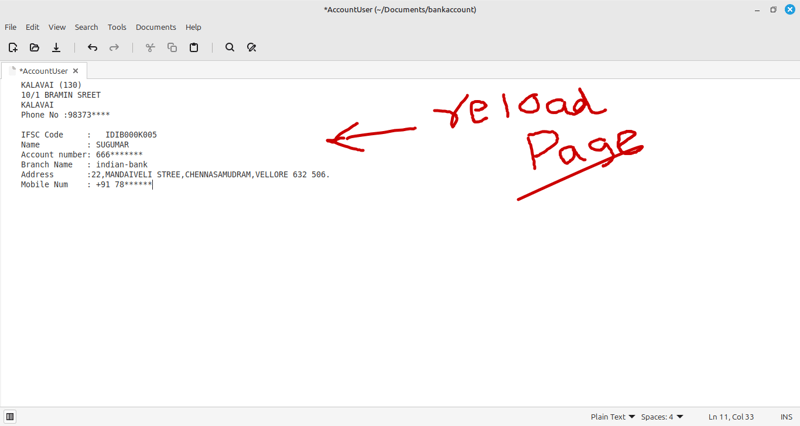
1.AccountUser file type a message.
2.The file now contains account details such as IFSC code, name, account number, branch, address, and mobile number.
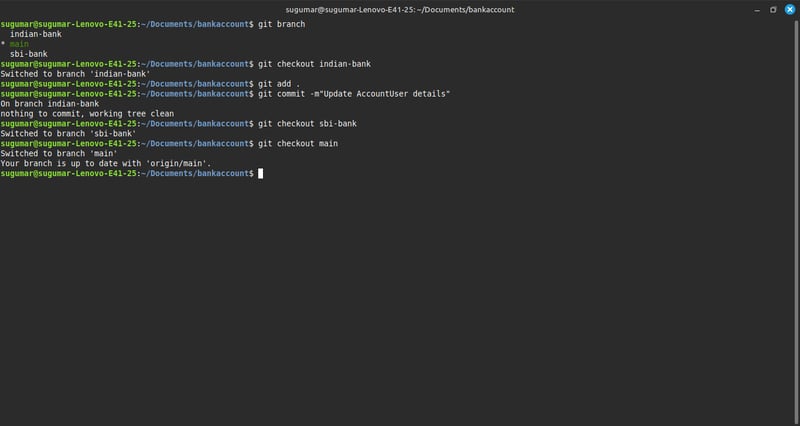
step 8:
- Checking Available Branches
-> git branch
This command lists all the branches in the repository.
The * symbol next to indian-bank indicates that it is the currently active branch.
The branches available are:
$ main
$ indian-bank
$ sbi-bank
2. Switching to indian-bank Branch
-> git checkout indian-bank
$ This command switches to the indian-bank branch.
$ The message "Switched to branch 'indian-bank'" confirms the switch.
3. Staging and Committing Changes
** -> git add .**
-> git commit -m "Update AccountUser details"
$ git add . stages all modified and new files for commit.
$ git commit -m "Update AccountUser details" commits the staged files with the message "Update AccountUser details".
$ The message "On branch indian-bank. Nothing to commit, working tree clean" means there were no new changes to commit.
4. Switching to sbi-bank Branch
** -> git checkout sbi-bank**
$ This command switches to the sbi-bank branch.
$ The message "Switched to branch 'sbi-bank'" confirms the switch.
5. Switching to main Branch
*-> git checkout *
$ This command switches to the main branch.
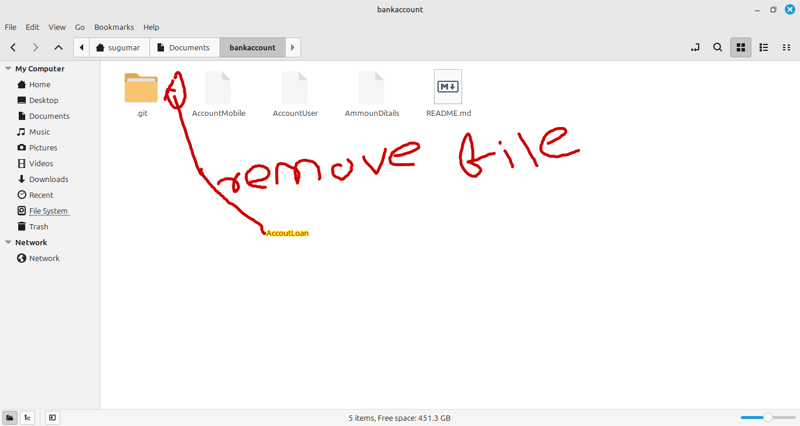
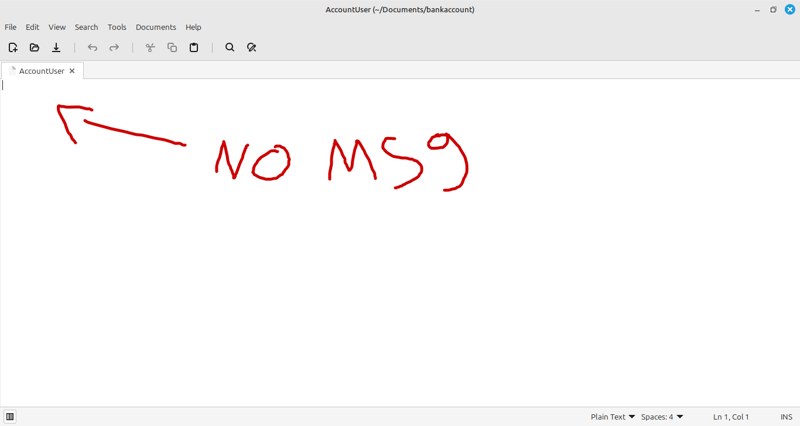
reload the AccountUser file
empty the file
step 9: What Happens When you Merge in Git?
Git Merge is a process that combines changes from one branch into another.
Merging Branchws in Git
You have three branches:
$ main
$ indian-bank
$ sbi-bank
Merging indian-bankinto## main
1.switch to main branch
-> git checkout main
2. Merch indian-bank into main
**-> git merge indian-bank
Examble output(screenshout):

Example:
You have made updates in the indian-bank branch. Now, you want to merge these changes into the main branch.
What Happens After Merging?
1. Changes from One Branch Move to Another
$ The updates made in indian-bank will be copied into main.
2. Conflicts May Occur
$ If the same file is modified in both main and indian-bank, Git will show a conflict.
$ You need to resolve the conflict manually and commit the changes.
3. Git History Combines
$ After merging, the commit history of indian-bank is added to main.

Top comments (0)