Configure Account on Azure Portal
- On the home page of the Azure portal, click on Create a resource

- On the next page search for Service Bus and open the service
- Click on Create button to create new Service Bus resource

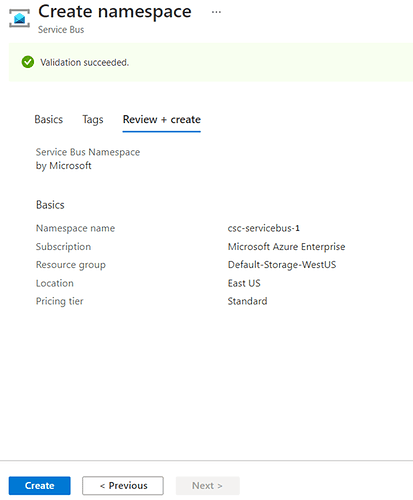
- Fill in the required details and click on Review + create
 Note: For details on pricing follow the link.
 - On the next screen click on Create button
- Once the resource is created, we need to create the app.
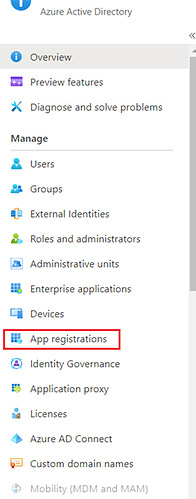
Navigate to Azure Active Directory and click on App registrations
- Click on Add to create a new app

-
Fill in the details as below and click on Register :

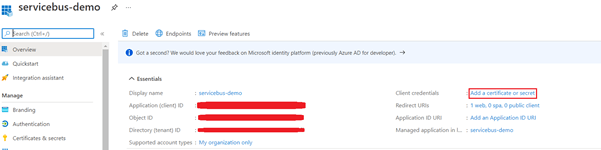
- Copy Client ID, Object ID and Tenant ID for later use. Then Click on Add a certificate or secret
- Click on New client secret then add a Description and select the appropriate option for Expires.
Click on Add button
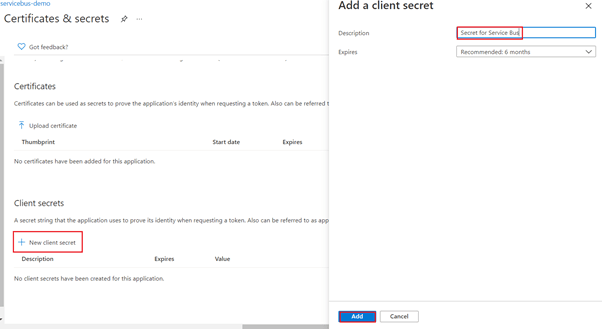
- Copy Value and Secret ID
We will be using Value as our Client secret

- Now we need to configure proper permissions for this app to access the service bus resource.
Click on Overview->View API permissions

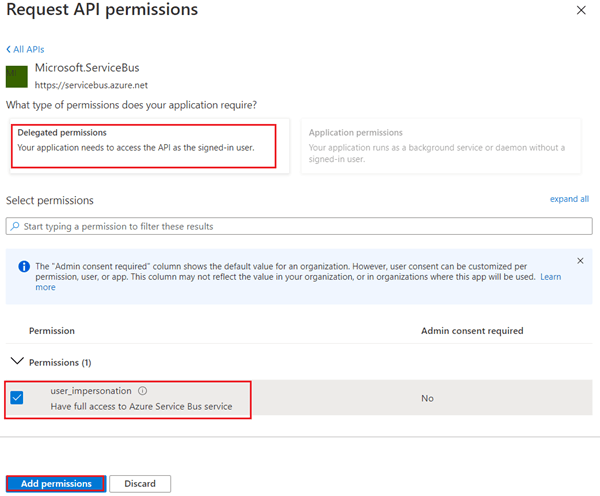
- Click on Add a permission, then APIs my organization uses and search for Microsoft.ServiceBus
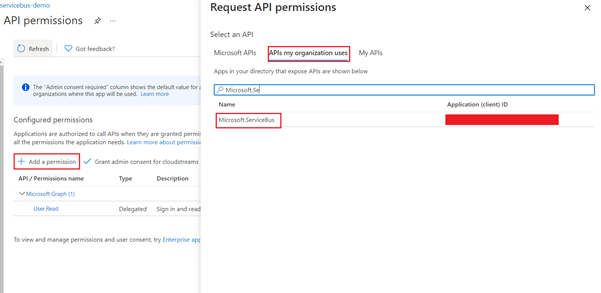 Click on Add permissions button
- Click on Grant admin consent for … Click on Yes.
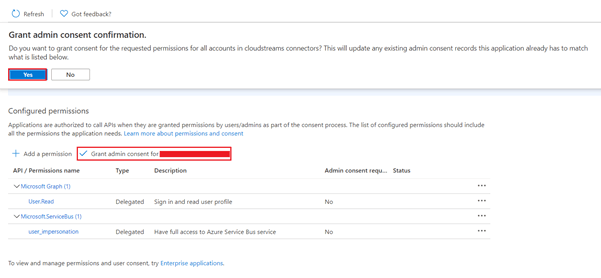 On successfully granting the consent, you will get a success message on the screen

Generate Refresh Token
- Update below URL with your TenantID and ClientID and paste the url on browser
https://login.microsoftonline.com/<TenantID>/oauth2/authorize?response_type=code&prompt=login&redirect_uri=https://www.google.com/&client_id=<ClientID>Follow on screen authentication process and once authentication is complete you will get response back on the browser address bar. The response will look like this:https://www.google.com/?code=\<AuthCode>&session_state=\<SessionState>AuthCode is set of alphanumeric character of length ~750 chars. Copy the auth code for future use. - Create postman collection as below:

URL: `https://login.microsoftonline.com/<TenantID>/oauth2/token`

client_id: <Client ID>

grant_type: authorization_code

code: <Auth code copied in above step>

redirect_uri: https://www.google.com/

resource: https://servicebus.azure.net

client_secret: <Client secret>
In response you will get Access token and Refresh Token. Access token will be valid for 30 minutes, but Refresh Token can be used later to regenerate access token.
Add account on wmio
- To Add a new account, navigate to your project on wmio, click on connectors tab and search for Microsoft Azure Service Bus, select Custom OAuth and click on Next.
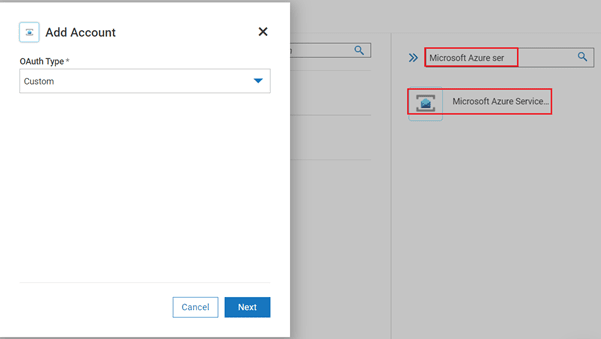
- Fill in all the required fields:

Server Url: `https://<resource_name>.servicebus.windows.net`
Refresh Url: `https://login.microsoftonline.com/<TenantID>/oauth2/token`
Once the connection is created, we can test an operation by creating a workflow or flow service.
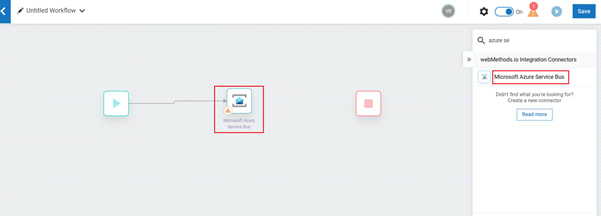
Simple Example
- In this example we will send a simple message to a service bus queue already available in Azure portal (Alternatively, we can create a queue/topic using predefined operations)
Search for Azure servicebus connector and drag & drop to the editor.
- Open settings for the connector and fill in the details as below, click Next.

- Add path and body as below
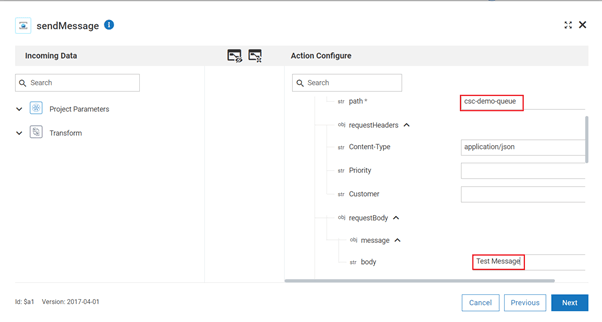
- Click on next, then done and save the workflow. Click on the Run button.

Response:


Top comments (0)