Summary
This article describes the step-by-step process of registering an application with ServiceNow tenant & generating the Access token as well as configuring the account in webMethods.io Integration.
Prerequisites
• User needs to have a working ServiceNow tenant.
• User needs to have working webMethods.io Integration tenant.
Contents
• Create & configure an App in ServiceNow tenant.
• Generating the Access_token & Refresh_token using the rest client.
• Configuring the ServiceNow account in webMethods.io Integration.
Steps
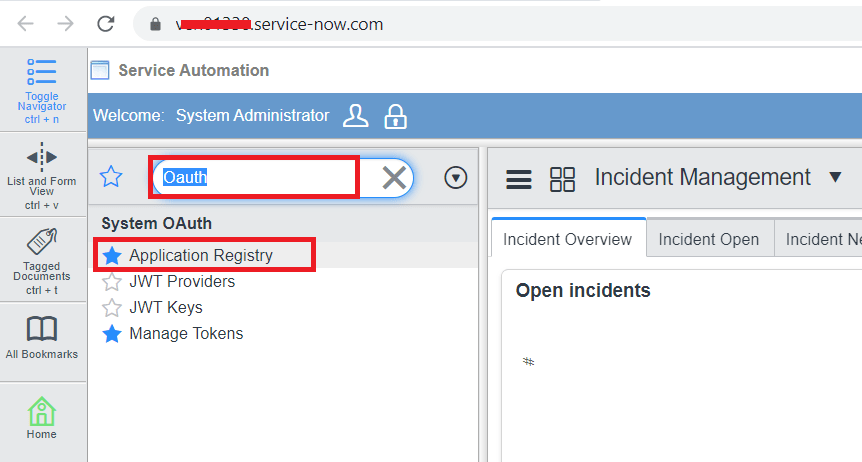
- Login in to ServiceNow Portel.
- Search for the “OAuth” in the search bar & choose the “Application Registry” option under the System OAuth.
- Register a new App, click “New” button.

- Choose Create an OAuth API endpoint for external clients option.

-
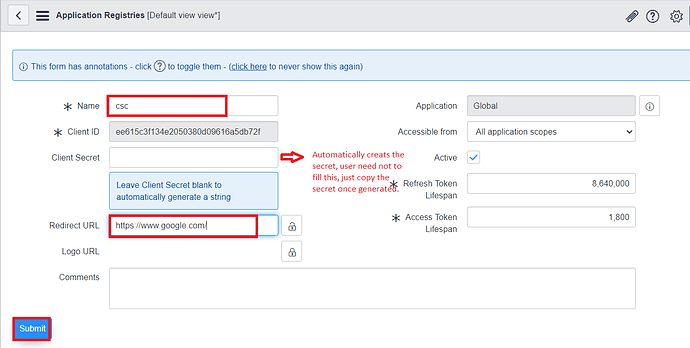
Fill the details like Name , redirect_url & other mandatory information as mentioned in the screenshot then click Submit.
- OAuth application is ready to use, we need to generate the authorization_code. To generate the code, user need to send the request call on the browser with below URL. https://.service-now.com/oauth_auth.do?response_type=code&redirect_uri=&client_id=&state=active
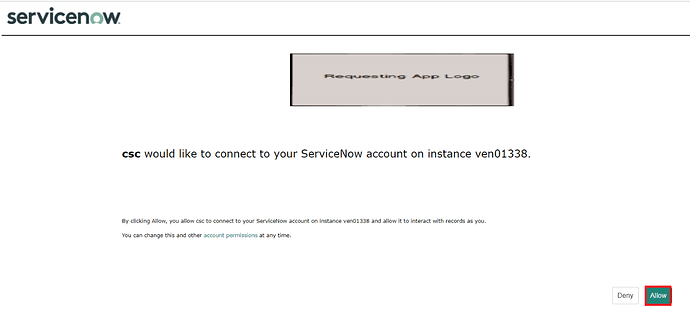
- After hiting the above url in the browser, user will get the prompt as mentioned in the screen shot, user needs to allow this by clicking on the ALlow.
- Code will appear in the browser search bar, copy the entire URL & take the code.


-
Now, will use the POSTMAN client, to generate the access token. As mentioned in the below steps: -
POST https://.service-now.com/oauth_token.do
Body: x-www-form-urlencoded
grant_type: authorization_code
code:
redirect_uri: App redirect_uri.
client_id: generated at the time of app creation.
client_secret: generated at the time of app creation.

- We will login to the webMethods.io tenant for making the connection of ServiceNow & chose the project.
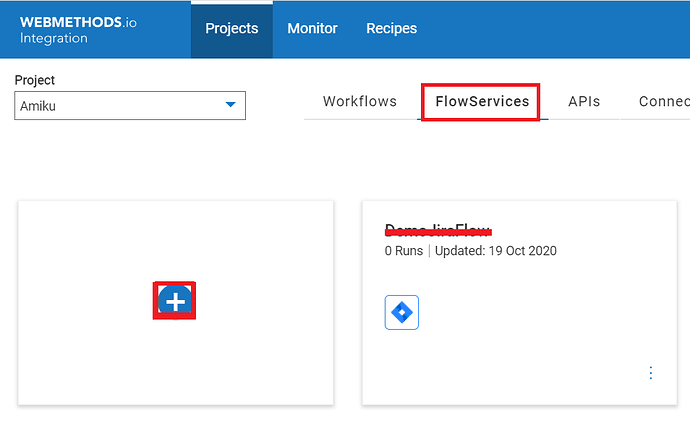
- Choose the flowservice option & click + to make new flow.
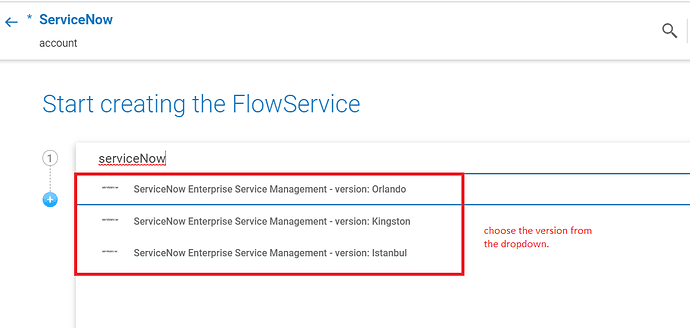
- Choose the ServiceNow application version from the drop down.
- Choose the predefined operation from the drop down.

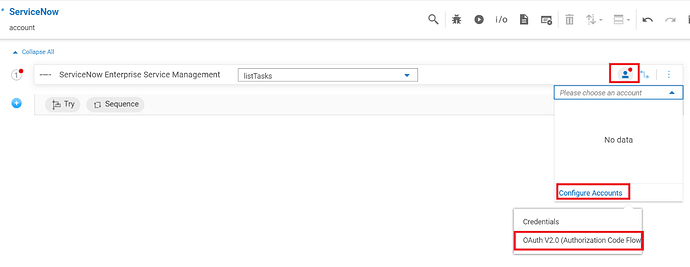
- Click the Account configuration icon & choose the Configure Accounts Option then choose OAuth V2.0.
- Fill the details mentioned on the page from the postman client & click Add.

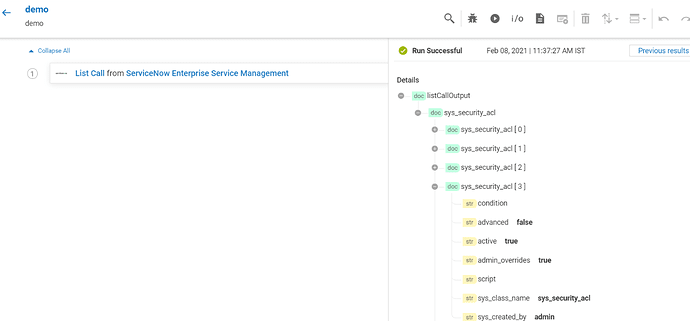
- After successful connection, to run the integration click run button as mentioned below.

- Below are the results for the successful integration.

Top comments (2)
Nice blog and informative content,
Thanks for sharing with us,
We are providing Best SERVICENOW Training in Hyderabad,
SERVICENOW Online Training in Hyderabad
SERVICENOW Training in Hyderabad
SERVICENOW Course in Hyderabad
This is an excellent tutorial on integrating ServiceNow with webMethods.io Integration using OAuth 2.0 authentication. The step-by-step process is clear and beginner-friendly, covering everything from app registration to access token generation. A must-read for anyone exploring ServiceNow development and seamless API integrations. Keep up the great work!