A Compute Gallery, also known as gallery images or image definitions, is a service Azure provides that enables you to build and manage a collection of virtual machine (VM) images. It offers a central location to store, arrange, and distribute customized VM images, making deploying standardized and pre-configured virtual machines simpler. By creating standardized images with pre-configured settings, apps, and customizations using Compute Galleries, you can simplify VM deployments. This makes the process of creating new virtual machines (VMs) easier, ensures consistency across deployments, and makes it easier for teams and organizations to share images.
A Compute Gallery consists of the following key components:
- Image Definitions: A VM image definition designates a particular version of the picture. It contains information like the publisher, SKU, and version number. To create new VM instances, image definitions act as templates.
- Shared Image Gallery, Image Versioning: Allow to capture updates and changes to new version of image over time.
- Replication: the option help to replicate images across multiple Azure regions within a Compute Gallery. Replication helps enhance availability and reduces latency by making images available closer to the Azure regions where you need to deploy virtual machines.
- Access Control and Sharing: Compute Galleries provide access control mechanisms to manage who can view, create, and use the images within the gallery. You can define fine-grained permissions to allow or restrict access to specific users or Azure Active Directory (AAD) groups.
To create an Azure Compute Gallery
*Prerequisite *
Get a Azure account with azure subscription
Sign in to the Azure portal: Go to the Azure portal [portal.azure.com] and sign in with your Azure account credentials.
To create the compute gallery follow these steps:
Navigate to “Compute galleries” section by searching for it in the search bar at the top of the home page for it to appear on the Azure service list.

Click on "create" in the Compute Galleries page, click on the "create" button to start creating a new gallery.

Provide basic details: In the "Basics" tab, you need to provide the following information:
- Subscription: Select the Azure subscription you want to use for the gallery.
- Resource group: Choose an existing resource group or create a new one to hold the gallery.
-
Gallery name: Enter a unique name for your gallery.
Region: Select the Azure region where you want the gallery to be located.
 Click on sharing method and select Role based access control (RBAC) option
Review and Create: Review the configuration details you have provided in the previous steps. If everything looks correct, click on the "Create" button to start the creation of the Azure Compute Gallery.
Click on sharing method and select Role based access control (RBAC) option
Review and Create: Review the configuration details you have provided in the previous steps. If everything looks correct, click on the "Create" button to start the creation of the Azure Compute Gallery.
 Wait for deployment: The creation process may take some time to complete. You can monitor the deployment progress on the Azure portal's notifications or in the "Notifications" section.
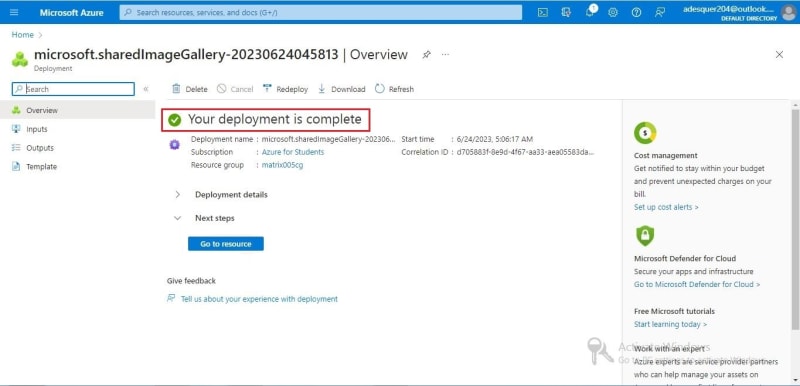 Click on “Go to resources” to view the compute gallery overview


Top comments (0)