I'm writing this post because every time I switched on my windows machine and felt the urge to code, something was missing.
I'm used to macOS and Linux systems like Arch, Ubuntu, so things like a proper terminal, a package manager, bash, zsh, brew, docker, ... are the universal tools I need.
On Windows, I needed to deal with PowerShell, strange syntax compared to POSIX, no good package managers, weird git installations, and many more.
Web development felt like a huge bummer.
Maybe you are thinking now: "So why are you on Windows anyway if you don't like it?".
It is easy to answer that question. I'm also a gamer 🎮 , and despite all the improvements, Windows is still the king for gaming.
So I'm used to switching between environments, but there are moments when you don't want to change because you are just too lazy 😴.
WSL to the rescue ⛑
When you have never heard of WSL, don't worry. WSL or Windows Subsystem for Linux is a compatibility layer for running Linux binaries natively on Windows 10.
So, in short, you have a lightweight Ubuntu within your Windows system that can talk and interact with each other.
If you are developing with Visual Studio Code, for example, we will make use of that functionality to be in a Linux world with all the benefits and still have Windows as our primary operating system. More about that later.
Sounds cool.
Enable WSL
To get started with WSL, you need to enable it first.
Open a PowerShell terminal in administrator mode and type.
Enable-WindowsOptionalFeature -Online -FeatureName Microsoft-Windows-Subsystem-Linux
Afterward, restart your computer if prompted.
For reference, you can visit the official windows docs
Choose a Linux Distribution
Next, we choose a Linux distribution for WSL.
Just open the Microsoft Store and search for Ubuntu.
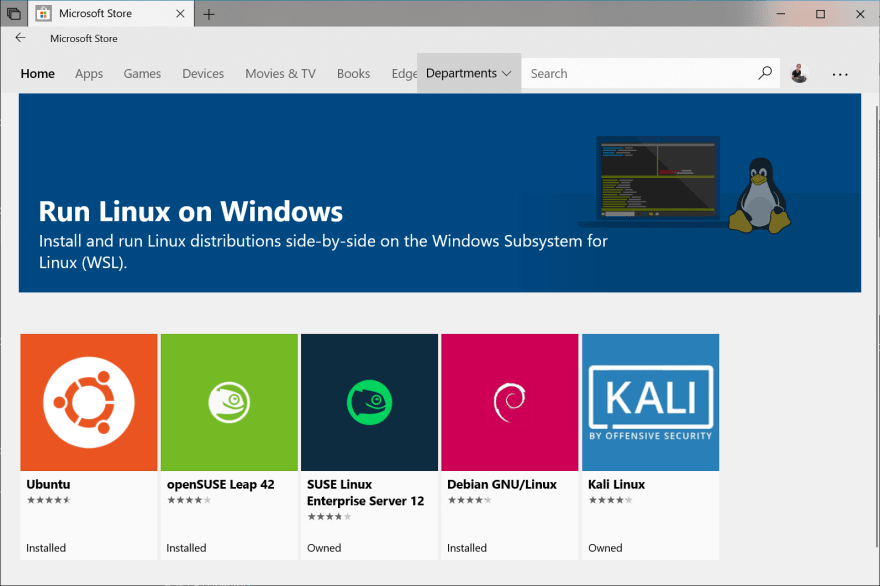
On the distro page, select Get and wait till you can Launch it.

Important: You must launch the distro once before you can get started with WSL.
A terminal should pop up, where you create your first Linux user account.
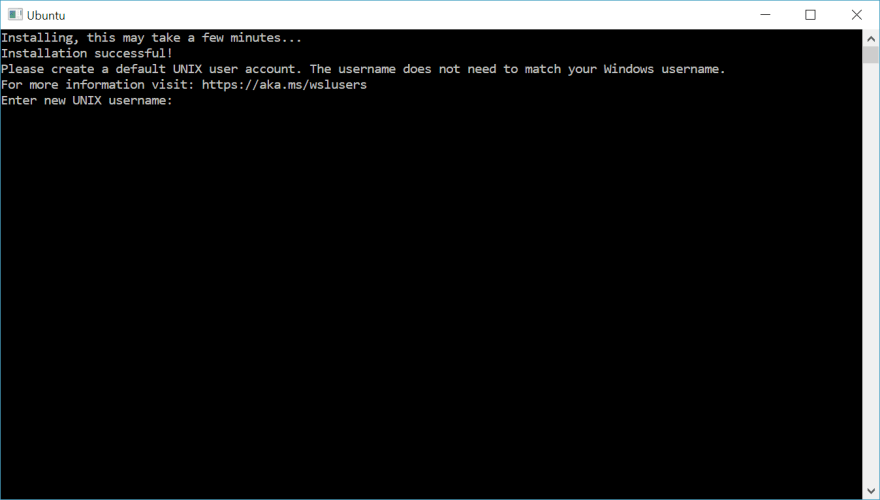
If you elevate a process using sudo, you will need to enter your password, so make sure you choose a password you can easily remember!
Now we are ready to go! 🎉
Enhance WSL with the new Windows Terminal
The built-in terminal of Windows isn't wrong, but if you are used to iTerm, hyper, or any other terminal emulator, it isn't that good.
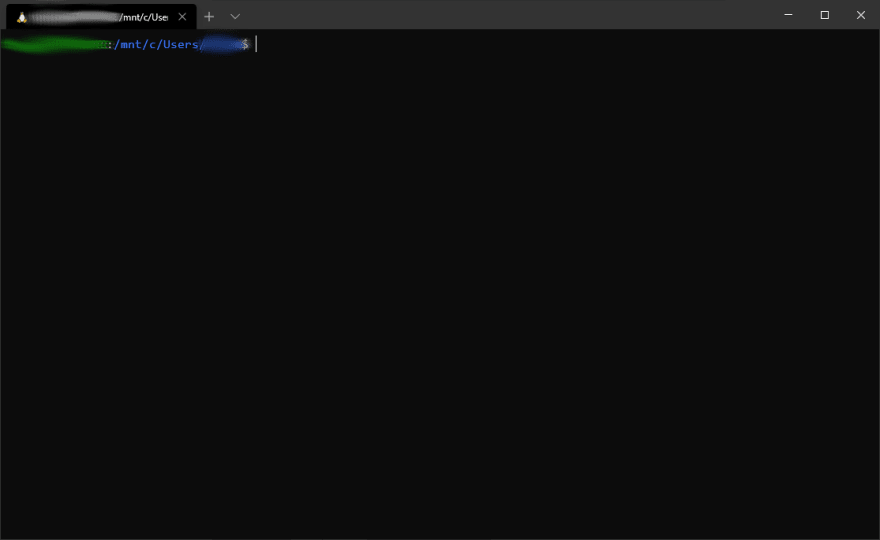
To get the new terminal by Microsoft, search for Windows Terminal in the Microsoft Store
After launching, you should see something like
If you still encounter Powershell as your default terminal, go to the settings of the terminal (arrow down icon in the header) and search for
      {
        "guid": "{2c4de342-38b7-51cf-b940-2309a097f518}",
        "hidden": false,
        "name": "Ubuntu",
        "source": "Windows.Terminal.Wsl"
      },
Copy that guid and paste it into the defaultProfile setting.
Install zsh
This is pretty straight forward. First of all, update your packages with
sudo apt-get update
After that, you can install zsh with
sudo apt-get install zsh
After installing, execute zsh in your terminal and create your preferred settings.
To set zsh as your default shell, just type
chsh -s $(which zsh)
The next time you open a new terminal or tab within your WSL, zsh should be started automatically.
I will not detail this post about how I configured my shell because this is very opinionated and depends on your current needs.
Configure git
You usually don't need to configure much in git except your username and email, but I want to use Windows's built-in credential helper.
Make sure that git is installed in your Ubuntu environment.
sudo apt-get install git
Also, install git for Windows (you need it for the credential helper)
If both are installed successfully, go into your shell and type
git config --global credential.helper "/mnt/c/Program\ Files/Git/mingw64/libexec/git-core/git-credential-manager.exe"
If you have installed
gitfor Windows in another directory, you need to change that path
When you clone a repository, which needs HTTP authentication, the Windows Credential Helper should pop-up.
Enable gpg
Because I'm a fan of gpg signed commits, we should enable that.
You can install gpg in Ubuntu via
sudo apt-get install gpg
The next step is creating a key; I will forward it to the excellent GitHub documentation about gpg.
If everything is set up, you only need to add a small change within your .zshrc profile because otherwise, you cannot enter the password if you sign something.
export GPG_TTY=$(tty)
To test that gpg is working correctly.
echo "test" | gpg --clearsign
should output something like
-----BEGIN PGP SIGNED MESSAGE-----
Hash: SHA512

test
-----BEGIN PGP SIGNATURE-----
....
----------END PGP SIGNATURE-----
The last step is to configure git to use gpg. For that, we need our public key first
gpg --list-keys
This command should print
pub   rsa3072 2020-02-29 [SC] [expires: 2022-02-28]
      YOUR_PUBLIC_KEY
uid           [ultimate] YOUR NAME
sub   rsa3072 2020-02-29 [E] [expires: 2022-02-28]
Copy your public key identifier and type
git config --global user.signingkey YOUR_PUBLIC_KEY
git is signing your commits now via gpg!
Install Visual Studio Code
I use Visual Studio Code as an editor, and luckily with the Remote Extension Pack, it is a real pleasure to work with Windows + WSL.
After installing code and the extension pack, go into your terminal and open a folder via
code .
Visual Studio Code should pop-up and prepare the connection to WSL.
If no errors are popping up, you are good to go.
Code will use WSL everywhere, and you can enjoy your Windows + Linux development experience.
For troubleshooting, I recommend the "Getting Started Guide" of the official WSL extension
Conclusion
I hope this guide helps you set up a serene and productive environment for development on Windows 10.
If you need help or miss something important in this guide, let me know via the comments.
Happy developing! 😊👩💻

Top comments (0)