As you may know, AWS began charging for extended support for older RDS versions on March 1st. Therefore, you should consider upgrading your RDS database version to avoid this fee.
This article will guide you through that process, specifically upgrading your RDS MySQL database from version 5.7 to 8.x.x
Step 1: Log in to the AWS Management Console
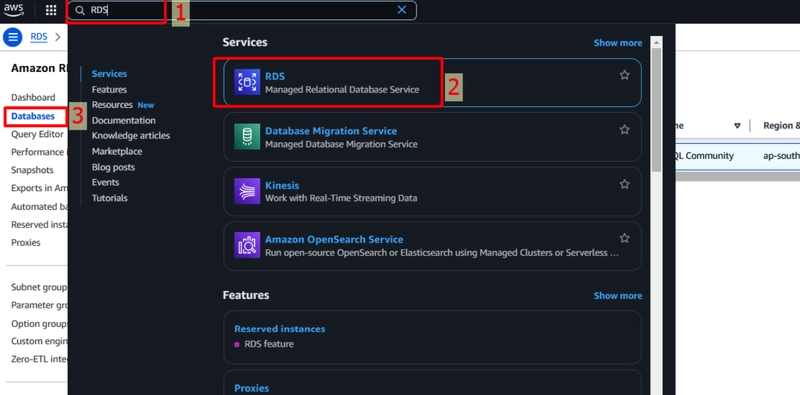
Go to the AWS Management Console and log in using your AWS account. Once logged in, type “RDS” in the service search bar and select Amazon RDS from the list.
Step 2: Select the MySQL Instance to Update
In the Amazon RDS console, you’ll see a list of existing database instances. Choose the MySQL instance that you want to upgrade.

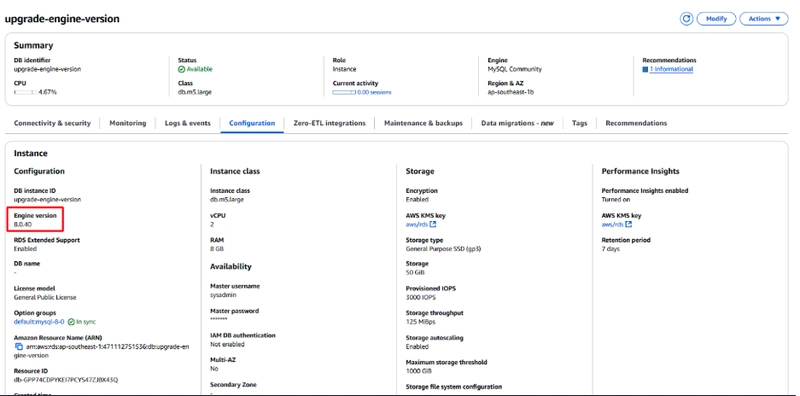
Step 3: Check Current Instance Information
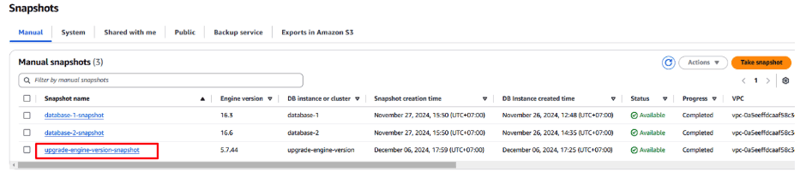
Method 1: After selecting the instance, you can view details such as the current version, configuration, operating status, etc. The image shows a database named upgrade-engine-version with RDS MySQL Engine Version 5.7.44.

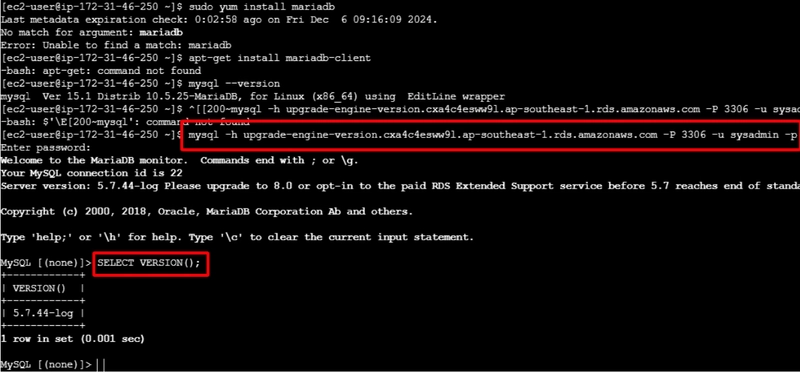
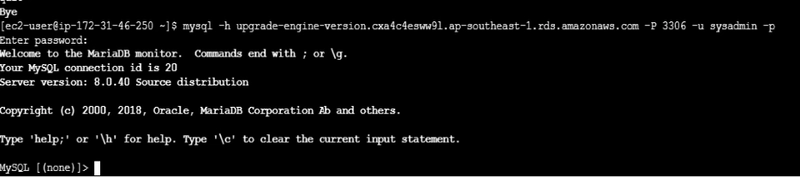
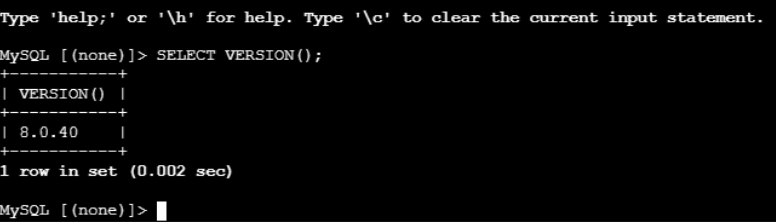
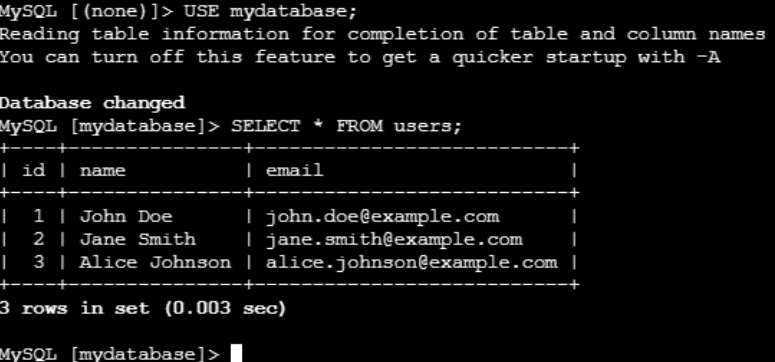
Method 2: You can check the version by logging into another server and connecting to RDS using your username and password, then entering the following command:
SQL Command:
mysql -h <rds-endpoint.rds.amazonaws.com> -P 3306 -u <username> -p
Remember to replace the values with the appropriate ones to connect to the database. Then, enter the following command and enter your password. After successfully connecting to the database, use the following command to check the MySQL version:
SQL command:
SELECT VERSION();
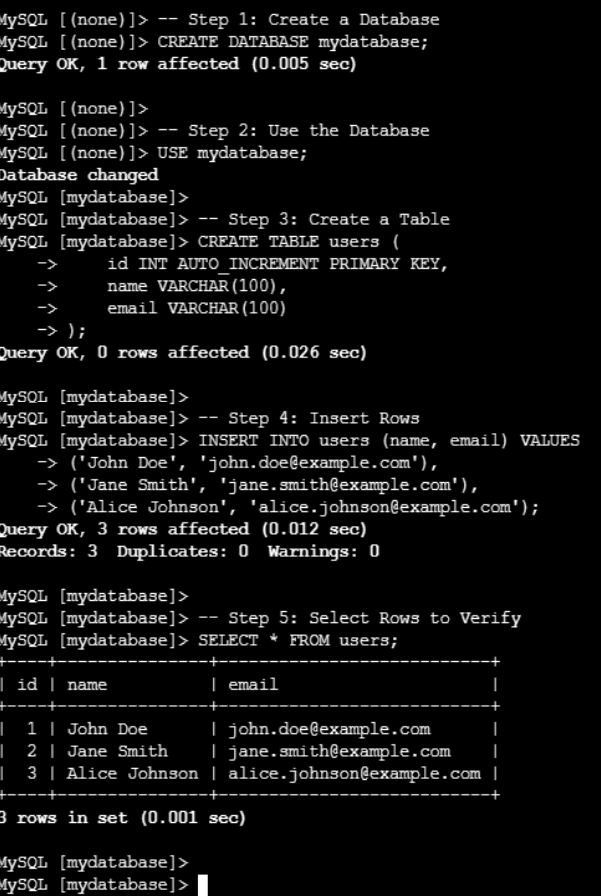
Before proceeding with the upgrade, double-check your data.
Step 4: Create a Snapshot (Data Backup)
Before making any changes, ensure you have created a backup in case you need to restore.
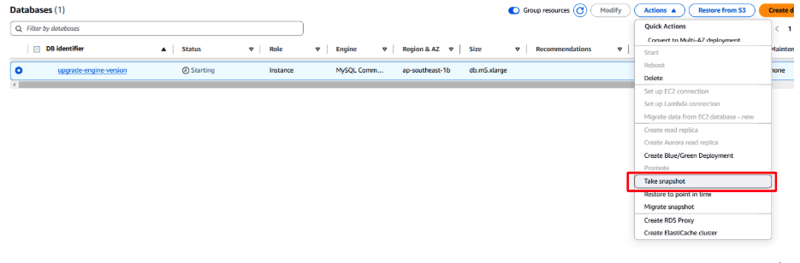
Click on Actions.
Select Take snapshot.
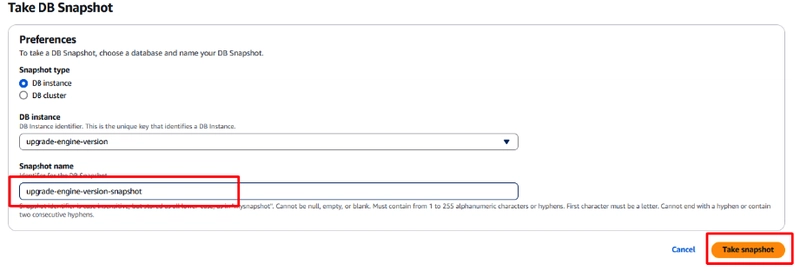
Name the snapshot and confirm.
Step 5: Choose to Change Engine Version
Go back to the instance details page:
Click on Modify.
Find the DB Engine Version section.

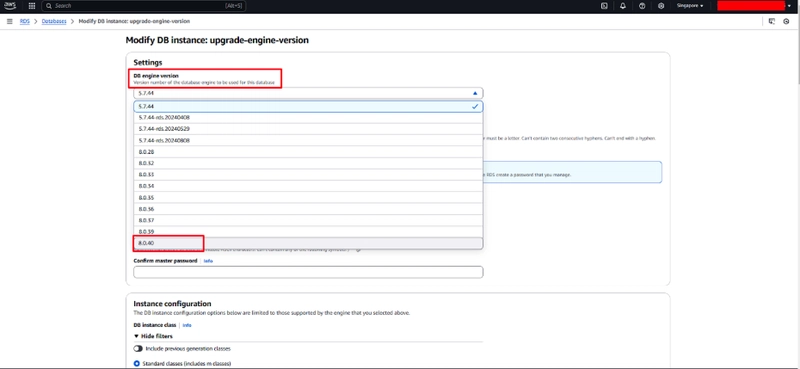
Step 6: Select the Desired MySQL 8.0 Version
In the DB Engine Version section, choose the appropriate MySQL 8.0 version from the list of available versions.
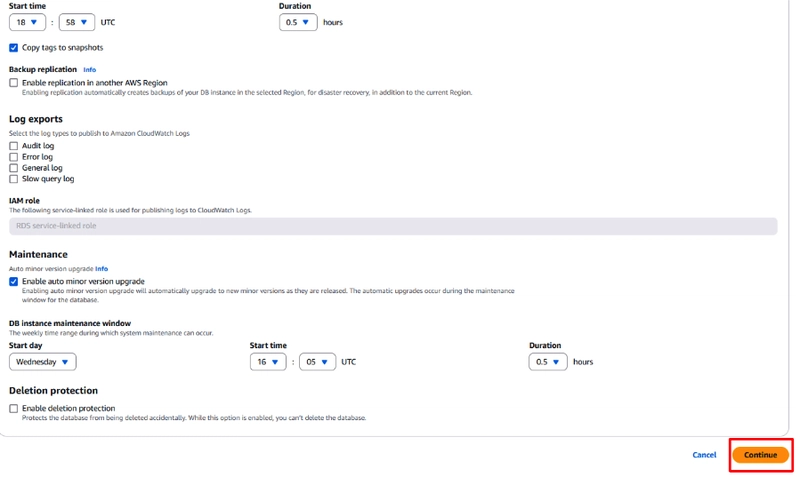
Step 7: Check Other Settings if Needed
Check other settings such as Multi-AZ Deployment, Storage, and Backup to ensure they are still appropriate after the upgrade.
Select Continue to proceed with the changes.
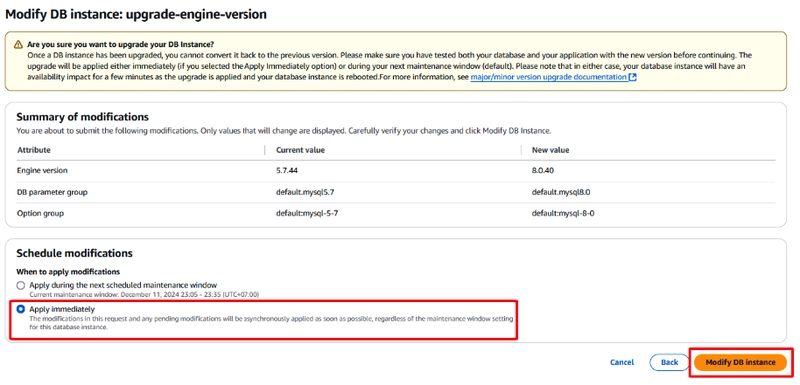
Step 8: Apply Changes
Scroll to the bottom of the page, and you’ll see the Scheduling of Modifications option:
Apply Immediately: Apply changes immediately (may cause service interruption).
Apply During the Next Maintenance Window: Apply changes during the next maintenance window (less disruptive).
The image shows Apply Immediately selected to implement the changes immediately.
Select Modify DB instance.
Step 9: Monitor the Upgrade Process
Return to the main RDS page, where you can monitor the status of the instance.
The status will change from Upgrading to available when the process is complete. The change process will take 15–30 minutes, depending on the database configuration, database size, etc.


Step 10: Recheck Database Connection and Operation
After the upgrade is complete, recheck the connection to the database and ensure that all functions are working correctly.
So, I have guided the detailed steps to be able to upgrade the RDS version running MySQl on AWS fully and in detail. Thank you very much everyone for supporting my article.

Top comments (0)