
Recently I've started doing more and more projects with the ESP32 module. The ESP32 is a low-cost, low-power system on a chip microcontroller with integrated Wi-Fi and dual-mode Bluetooth.
You get various development boards with an ESP32 module, but I always find myself hacking on a few buttons and a display every time I prototype something new. I have always considered the idea of creating a custom pcb with the ESP32 module, some buttons, display etc, but never gotten around to it. While looking for something else I came across the ODROID-GO, a special 10 year anniversary product sold by HardKernel.
It's essentially a game kit that you assemble (very easy, no soldering required) into your own little portable game console which looks a lot like the old Game Boy. It comes with emulator firmware that allows you to load some ROMS on an SD card to play all those all old retro games we love.
Where things get interesting is that it all runs on an ESP32 module. This means that we can load our own code on there which turns the game kit into a development board with some nice features. These features include a 2.4 inch screen, a couple of buttons and it's all powered by a rechargeable battery which makes it great for testing portable prototypes. The original designers have also added an expansion port that allows you to connect more peripherals. We now have a nicely packaged portable development board for the ESP32 module. Yay!!
Software Setup
To allow us to write some code for the Odroid-Go we need to setup some software.
The following software is required to be able to develop new firmware using Arduino
- Arduino
- ESP32 Board Support
- ODROID-GO Arduino Library
Arduino
The Arduino IDE is our base sofware and everything builds on it from here. You can download a installer for your platform from the Arduino Website. This should be a fairly simple install and you will end up with something that looks like this:

ESP32 Board Support
Once your Arduino is up and running you need to add support for the ESP32 modules. This will install tools to allow you to compile your arduino program for any ESP32 development board/Module
First we need to add the following url to our Arduino preferences.
https://dl.espressif.com/dl/package_esp32_index.json
Click on File->Preferences to get the following window:
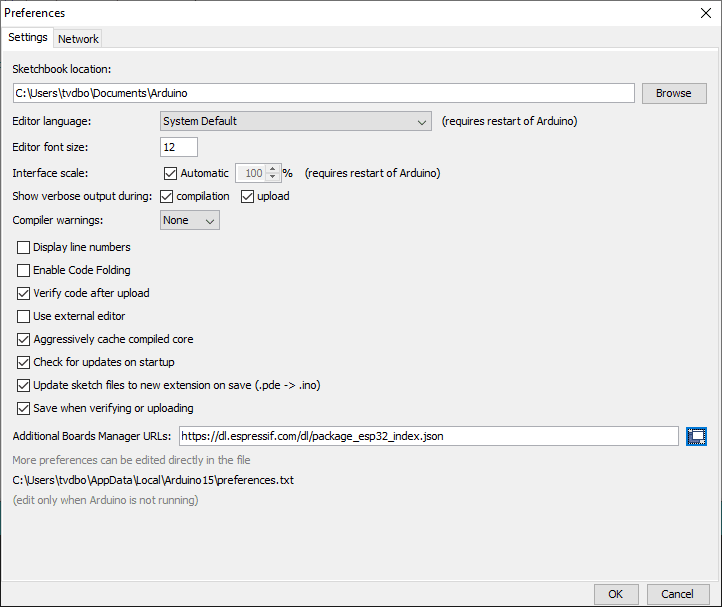
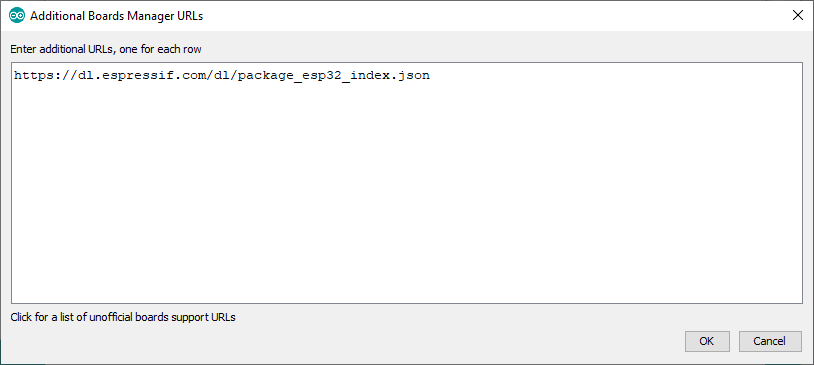
Click on the icon next to the Additional Board Manager URLs to bring up a new window and paste the link above into the textbox
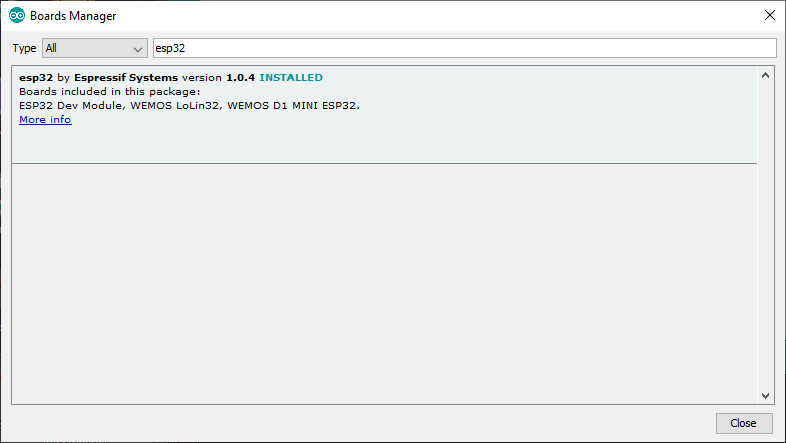
You can now access the Boards Manager under Tools->Board: ...->Boards Manager and search for esp32. Simply select the package and click on install
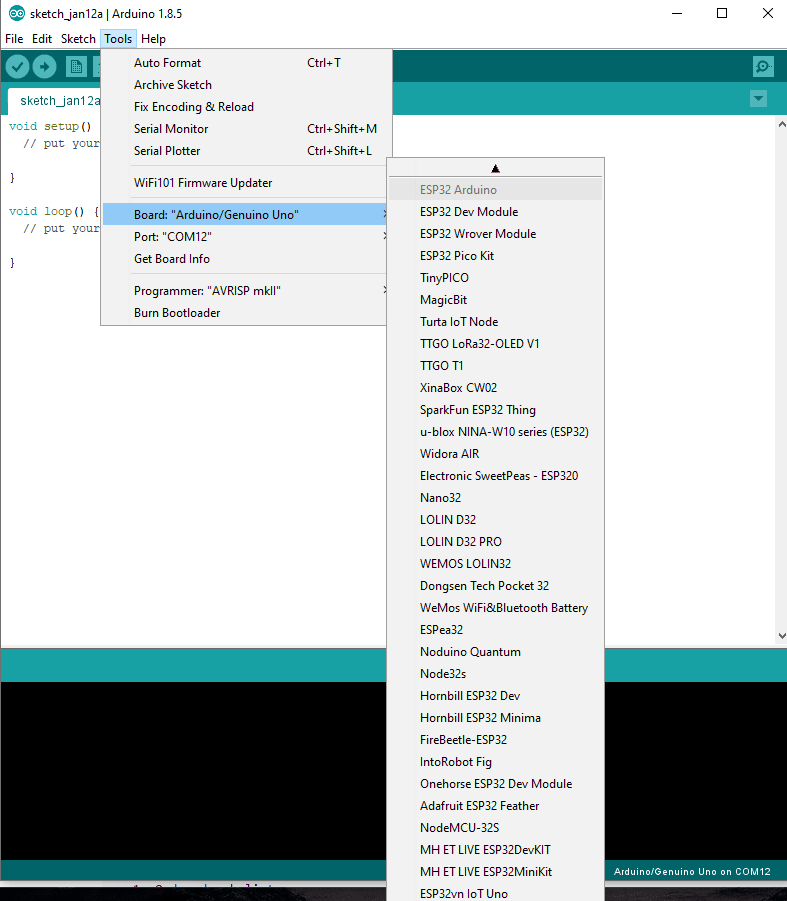
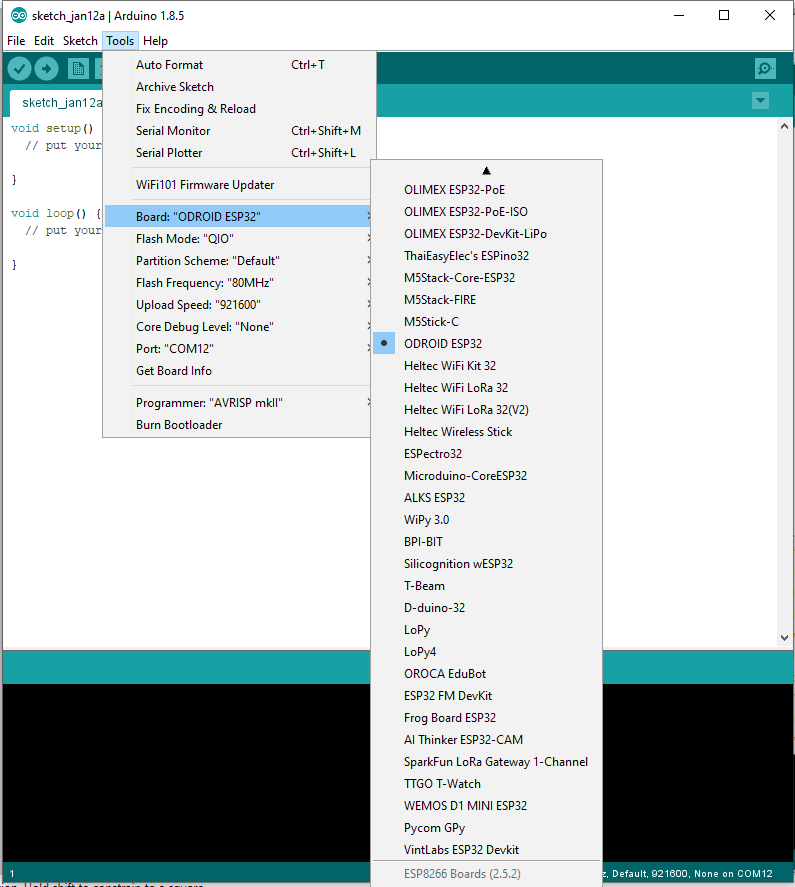
After this has been installed you will now be able to select from a variety of ESP32 development boards
ODROID-GO Arduino Library
The last step is simply to install an arduino library from HardKernel that gives us access to easy functions to use in our Arduino scripts specifically related to the ODROID-GO. This includes options to write to the LCD, detect when buttons have been pressed, etc.
https://github.com/hardkernel/ODROID-GO
The final download is the github repository at the link above. You can either clone the repo or just download a zip of it. You want to place the contents in your Arduino libraries folder. On a windows installation this would mostly be in your Documents->Arduino->libraries folder
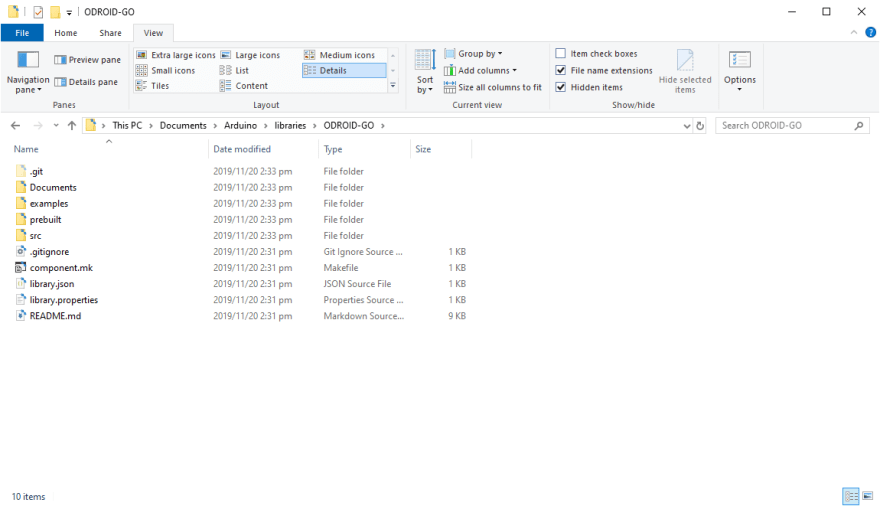
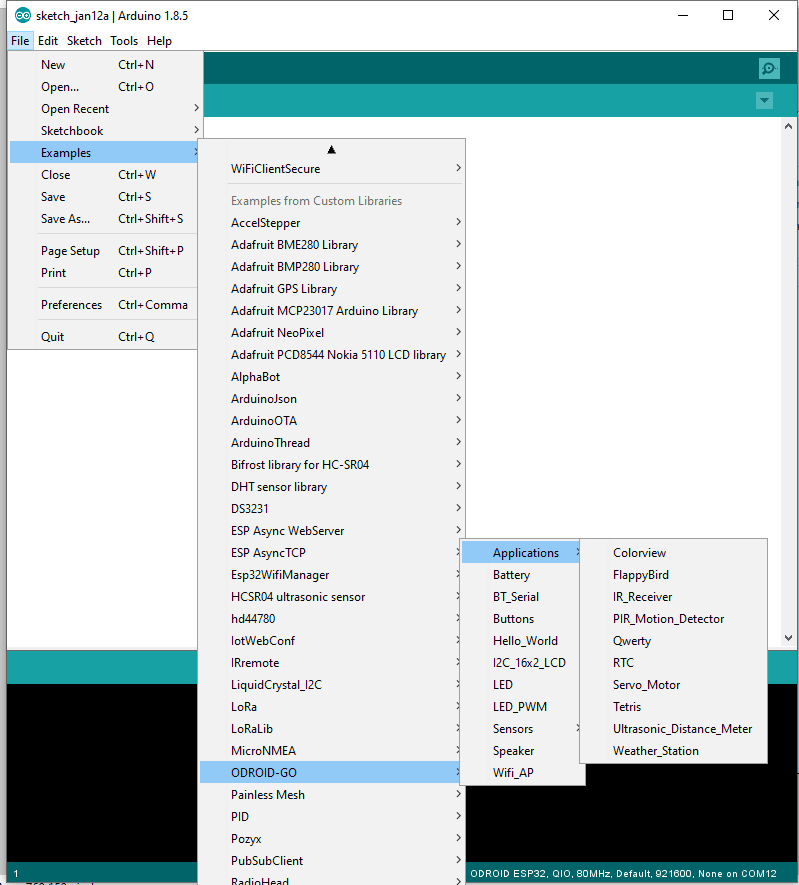
If your Arduino IDE was open during this process then please restart it now. If all goes well then you should have ODROID-GO examples under you File->Examples menus in Arduino
Testing
If all goes well you should now be completely setup to compile code and upload it to the ODROID-GO
You can now plugin in your ODROID-GO into a usb port. Give it a few seconds to install any drivers it might need to (if using Windows).
To test load the Hello_World sketch from the ODROID-GO examples and select the ODROID ESP32 board from the boards menu (Under *Tools->Board..). Make sure the port is pointing to the new serial port that enumerated when you plugged in your ODROID-GO
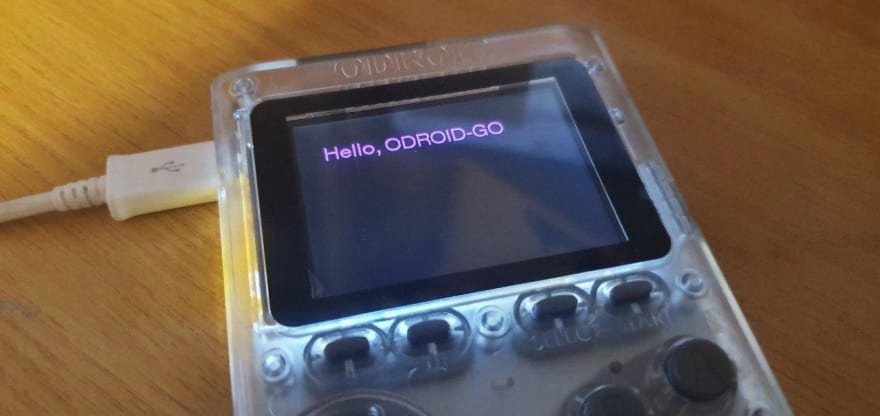
Click on the Compile and Upload Button (The arrow next to the checkmark). The can take a few seconds when you compile for the first time, but subsequent times will be faster (depending on the changes you make).
If all goes well then you should now see the Hello World demo on your ODROID-GO!
Go ahead and try out the various examples and have fun!!

Top comments (0)