What is Amazon S3
Amazon S3 (Amazon Simple Storage Service) is an object storage service that can store and manage different forms of data. S3 stores these data as object within “buckets”. Files that can be stored include videos, audio, images, and text. This data can be accessed and utilized whenever needed. Amazon S3 is easy to set up, implement and has cost-management features; it provides cheaper storage capabilities.
Connecting to S3
To get started with Amazon S3, you will need an Amazon Web Services account. In your browser, log in to AWS if you already have an account, otherwise, create a new user account.
Bucket and Folder setup
A bucket in AWS is a container for storing data objects. in your AWS account, you can have numerous buckets and also store lots of data in each bucket. To create a bucket, a bucket name and an AWS region are required. After which we can upload objects to be stored in the created bucket. Objects to be stored are assigned a unique key identifier for ease of access.
To create a bucket, navigate to the services section of your dashboard and enter “S3” in the search bar:
On the new page that opens up, click on the “Create bucket” button. In the form on the next page, enter the name and region of your bucket, uncheck “block all public access”, and finally, click on the “Create bucket” button at the bottom of the page.
Restricting Access
There are different ways to secure data uploaded on AWS S3. Some of this methods are:
- User access can be restricted to particular IAM users. This can be done by writing IAM user policies. This steps involves writing scripts in a console that define how particular IAM users can access a bucket and also additional permissions for adding, updating or deleting objects from the bucket.
- Writing bucket policies to define access permissions to your bucket and the object stored in it. Only the owner of the bucket can define a policy for it. Policies created apply to all objects in the bucket. Bucket policies allows the owner grant permissions, or allow or block access to a bucket under various conditions.
- Blocking public access for buckets that should not be available to public users.
Uploading Files from PC to Amazon
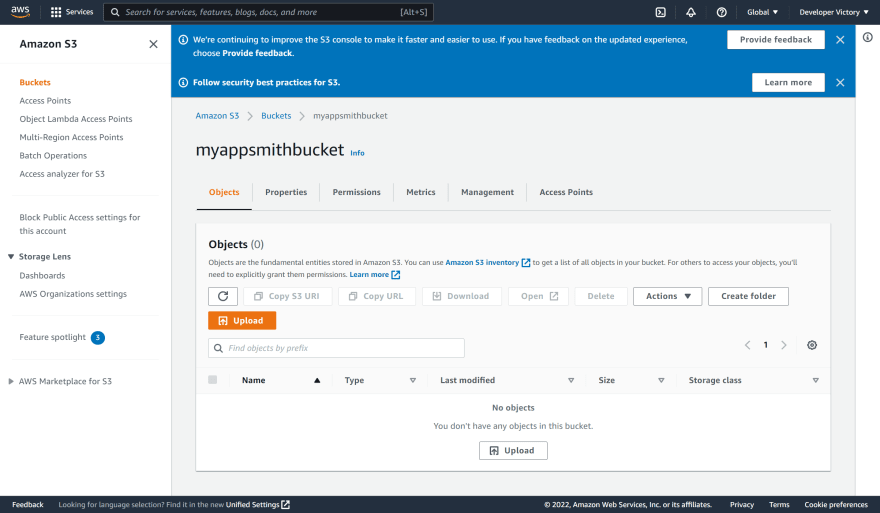
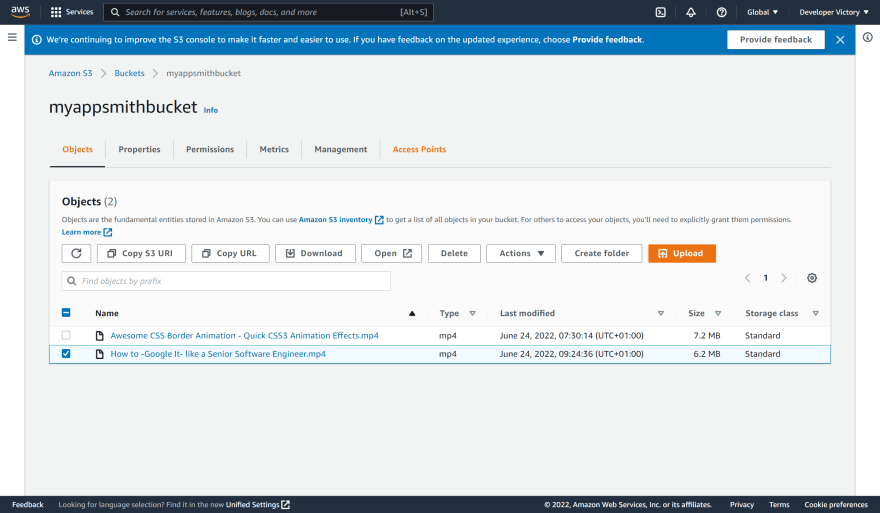
To upload files to your bucket, on the AWS S3 page, click on your created bucket from the list of buckets at the bottom of the page.
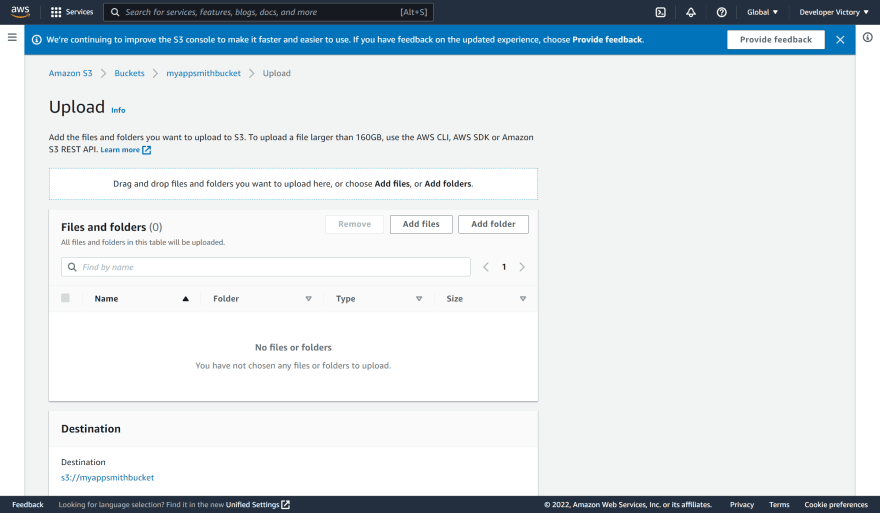
Next, click on the “Upload” button to add videos from your PC to your bucket. On the new page, click on “add File” to upload single files, or click on “add Folder” to add an entire folder to your bucket.
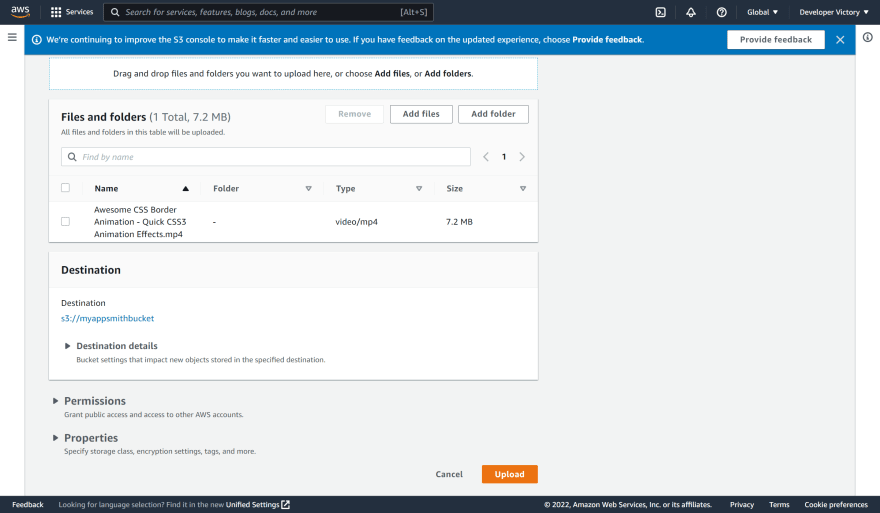
Navigate through your system directory and add the desired file(s). When you add a file(s), the file name and size will be displayed:
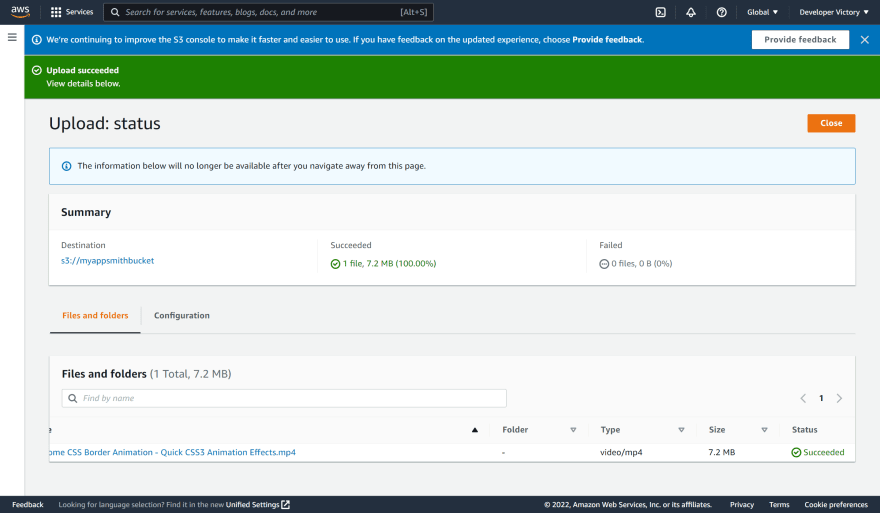
Click on the “Upload” button to add the file to AWS S3. There’s a new page with a progress bar that shows the process of the file getting uploaded. After a successful upload, it shows upload succeeded on the screen:
To view the uploaded video in a the browser, click on the uploaded video and navigate to the “permissions” tab. If you get a bucket owner prompt similar to the below image:
You can switch access control to ACL by clicking on the “bucket owner enforced” link and setting object ownership to ACLs enabled on the new page. With that done, we can now make the video public with ACL. To do this, click on object actions and select “make public with ACL” at the bottom:
Finally, click on the “Make public” button on the next page. With this done, you can access the video with the object URL from the properties section.
Connecting Amazon S3 to YouTube
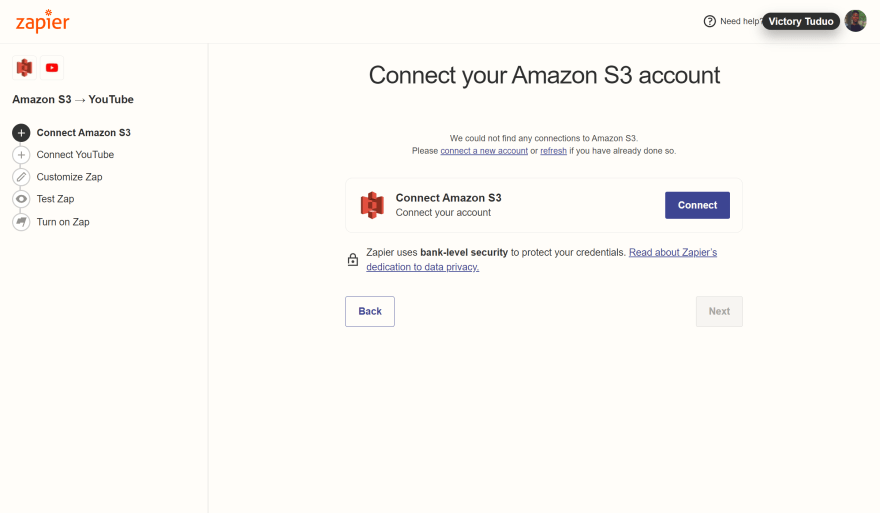
There are different web platforms that offer services to connect AWS S3 to YouTube. An example of such platform is Zapier. To make use of Zapier, create a new user account on the website. Next, connect your Amazon S3 account to Zapier:
Click on the “Connect” button. An access key id and secret key are required to connect the AWS account to Zapier. If you don’t have one, on your dashboard click on “account”, then click on “security credentials”:
On the new page that opens up, select “access key” and click on “Create new access key”. A new key will be created for you. You can either download the key, or copy and store this key somewhere as it would only be displayed once. Copy and paste the access key and secret key in the required fields to connect the AWS account to Zapier. When this is done the account gets linked to Zapier and we can continue to the next step:
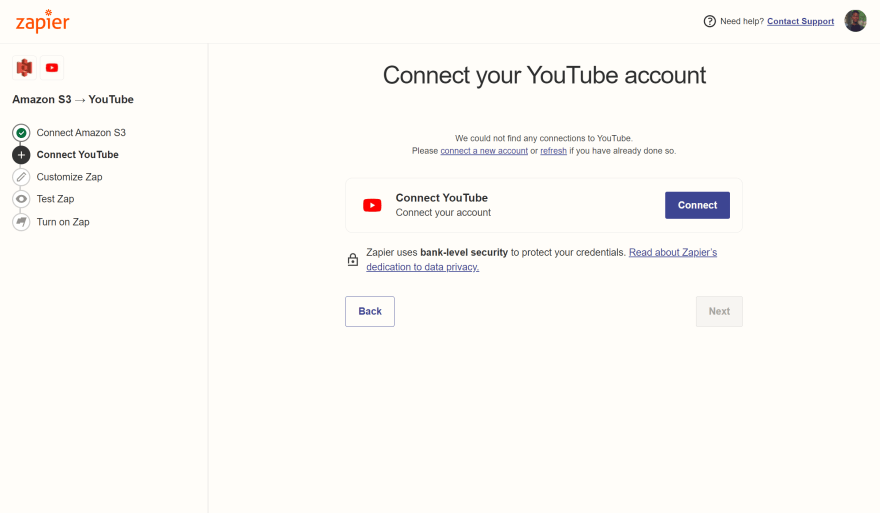
The next step is to connect the YouTube account that will be linked to the AWS S3 bucket with Zapier:
Click on the “Connect” button to sign in and allow Zapier access to your YouTube. Click on the “Next” button when this is done.
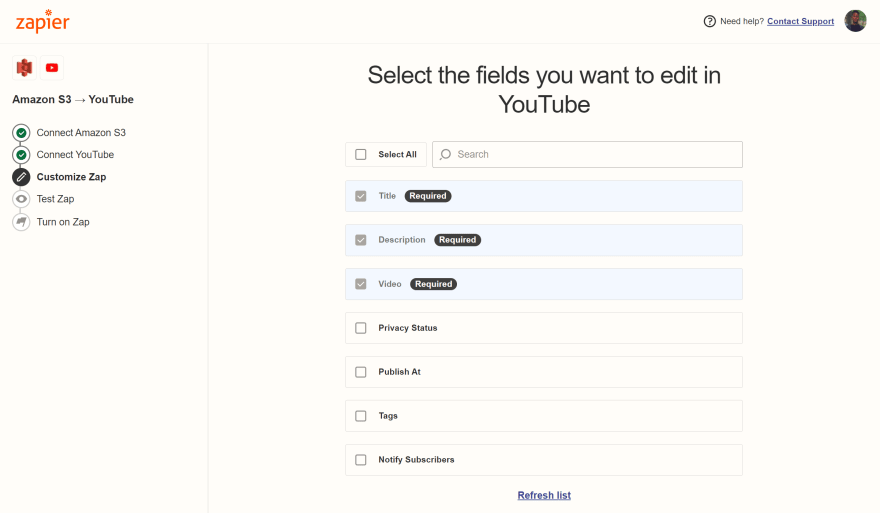
There is a new page where we define the fields we want Zapier to edit:
The required fields are selected by default. Click on the “Next” button to continue. Leave the other fields blank. And finally turn on Zap in the last section.
To handle creating and adding new files from a bucket on S3 to YouTube, we will create a new zap for this. Click on the “Create Zap” button on the navigation menu. Select Amazon S3 from the list of events and click on “Continue”:
Select your account and in the next section, select the bucket you wish to link to YouTube:
Next, set the trigger event to new or updated file and click on “Continue”:
For the action to be executed, select YouTube:
And for the event, select “Upload Video” and choose the YouTube account in the next section. For the “set up action” section we will use the file in the S3 bucket to fill the fields. Set the Privacy Status field to unlisted
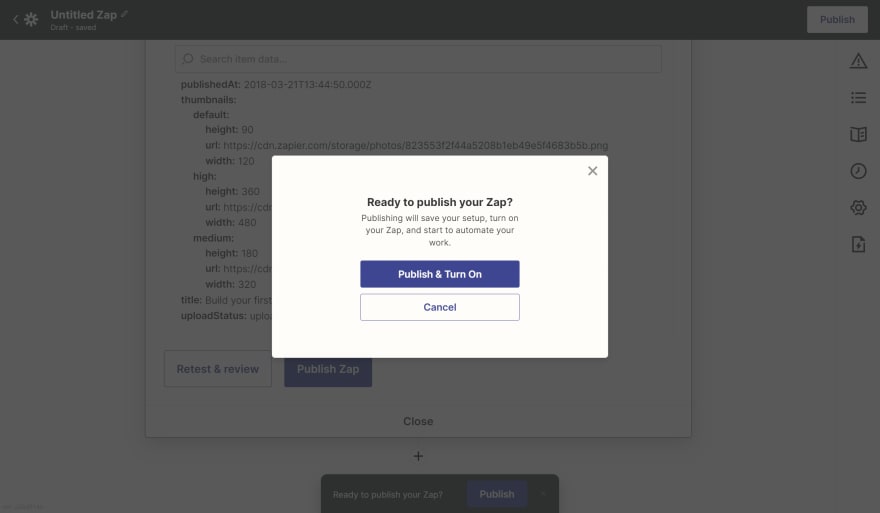
Finally, click on publish zap, and turn on the zap:
When all this steps are completed, if we add a new video the the bucket on S3:
The zap executes and uploads the video to the YouTube channel. We can view the zap detail log to see this:
The uploaded video shows up on the YouTube channel:
Conclusion
In this tutorial, we learned how we can create a bucket on AWS S3, upload videos to the bucket and connect the bucket to YouTube for automatic deployments.










Top comments (0)