
Prerequisites:
- This article assumes you have a development environment setup and are somewhat familiar with the command line.
- You will need a recent version of Node.js installed.
- If you need more information, the official React Tutorial is a great place to start.
What we'll use:
- React
- React Hooks
- Axios
- Environment Variables
- NASA API
Creating the App
- Create a folder called
react-nasa-apiin the directory you want to create the app, e.g:
C:\Code\react-nasa-api
- Open your terminal in that directory and type:
npx create-react-app .
This will create a new React project in the current directory, when finished you should see something like this:

You can see several commands that you can use, spin up the development server by running:
npm start
A new tab should open in your browser displaying the starter app, or you can navigate to http://localhost:3000.

Getting your NASA API Key
Leave the app running, for now let's take a look at the NASA API.
To use the NASA API, you need a key which will be passed as a parameter on each request, this is free and easy to get - open up a new tab and go to api.nasa.gov.

Complete the form with your name and email, you can also link to your application if you like, but it's not required. Once you signup, take a note of your generated API key, you will also receive an email in case you need it again later, so make sure your email address is correct.
Further down the page you can browse all the API's that are currently available:

In this article we will use the APOD (Astronomy Picture of the Day), click to expand for further information, you can see we have:
- HTTP Request -
GET https://api.nasa.gov/planetary/apod - A list of query parameters for this endpoint
- An example query - https://api.nasa.gov/planetary/apod?api_key=DEMO_KEY
We will use the example query endpoint in a little while and replace DEMO_KEY with the key you just generated.
Creating Environment Variables
React projects can consume variables declared in your environment, they are then available through the process.env object, let's create one for our NASA API enpoint and key.
If you haven't already - open your project in your favourite IDE, I use VSCode.
In the root of the project folder, where
package.jsonis, create a file called.env.development.local.
- This is where we'll store our endpoint and API key, because all
.envfiles are included in the.gitignorefile, it won't be commited when pushing to a repository.
- Add the following code to the new
.env.development.localfile:
   REACT_APP_NASA_ENDPOINT=https://api.nasa.gov/
   REACT_APP_NASA_API_KEY=DEMO_KEY
Important: Replace
DEMO_KEYwith the key that you generated earlier and save the file.
- We need to restart the development server:
- Go back to the terminal and quit the process running our development server by hitting
CTRL + C> typeYwhen prompted and hitEnter. - Start the server again by typing
npm start
- Go back to the terminal and quit the process running our development server by hitting
Making the HTTP Request to NASA's API
For this article we will be using axios - it has many features, including interception which we will be doing to append our API key to our APOD request.
Install axios by running
npm install --save axiosin the terminal (make sure you're still in the root of the project directory -/react-nasa-api)In the
srcfolder, create a new file calledHttpClient.jsand type the following then save:
import axios from "axios"

const nasaEndpoint = process.env.REACT_APP_NASA_ENDPOINT
const nasaApiKey = process.env.REACT_APP_NASA_API_KEY

axios.interceptors.request.use(
  config => {
    config.params = config.params ? config.params : {}
    const configUrl = config.url
    if (configUrl.includes(nasaEndpoint)) {
      config.params["api_key"] = nasaApiKey
    }

    return config
  },
  error => {
    return Promise.reject(error)
  }
)

export default {
  getApod() {
    return axios.get(`${nasaEndpoint}planetary/apod`)
  },
}
Displaying APOD Data
Open up App.js, it currently looks like this:
import React from "react"
import logo from "./logo.svg"
import "./App.css"

function App() {
  return (
    <div className="App">
      <header className="App-header">
        <img src={logo} className="App-logo" alt="logo" />
        <p>
          Edit <code>src/App.js</code> and save to reload.
        </p>
        <a
          className="App-link"
          href="https://reactjs.org"
          target="_blank"
          rel="noopener noreferrer"
        >
          Learn React
        </a>
      </header>
    </div>
  )
}

export default App
Replace the content with the following, I'd recommend typing this out but feel free to copy and paste if you wish, save the file when done:
import React, { useState, useEffect } from "react"
import HttpClient from "./HttpClient"

const App = () => {
  const [apod, setApod] = useState({})

  useEffect(() => {
    HttpClient.getApod().then(apodData => {
      setApod(apodData.data)
    })
  }, [])

  return (
    <div style={{ maxWidth: 900, padding: 30 }}>
      <h1>NASA API</h1>
      <h2>Astronomy Picture of the Day</h2>
      {apod && (
        <article>
          <header>
            {apod.title} - <i>{apod.date}</i>
          </header>
          <img src={apod.url} alt="APOD" width="800" height="auto" />
          <p>{apod.explanation}</p>
          <pre
            style={{
              overflowX: "auto",
              whiteSpace: "pre-wrap",
              wordWrap: "break-word",
            }}
          >
            <hr />
            {JSON.stringify(apod, null, 2)}
          </pre>
        </article>
      )}
    </div>
  )
}

export default App
In the code above we use Reacts useState hook that let's us add state to our function component.
We also use the useEffect hook, this let's us fetch our APOD data after render, this is similar to using React class lifecycle methods, if you're familiar with them.
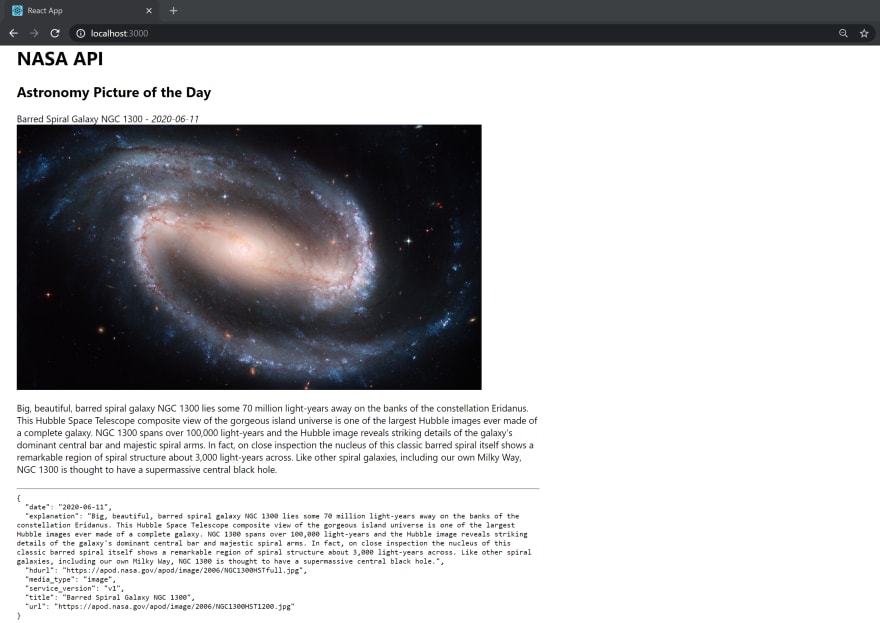
The app should reload at http://localhost:3000 and if all went well you should see the Astronomy Picture of the Day with it's related data, something similar to this:
You can go back to the NASA API site and see what other data you can keep building with, have fun! 🧑🚀
Originally published at https://waynefarnworth.dev

Top comments (0)