What is rails? Rails is a Ruby framework built by multiple developers that makes building an app as easy as microwaving hot pockets. Ruby developers realized that there are a lot of repetitiveness when it comes to building a web application, so they compiled everything and made it easy to access and call upon with just a few lines of code. Why say lots of words when few do the trick?
EVERYTHING DONE HERE WILL BE ON MAC AND VSCode
First things first, you should have these programs already installed on your computer: SQLite
Next if you have ruby already installed, you can use gem install rails to install rails onto your desktop.
Once you have everything installed and setup we will start building our basic web app.
To create a new rails application, go to your desired directory, and in your terminal type:
rails new "name"
You can replace name with anything you want. Let all the files generate into your new "name" folder. Once it is done, you can change directory into your folder and open it using cd "name".
When you open the folder, to the left you will see all the files and folders that rails generated for you, we will only be needing these: config/routes, db folder, app/controllers, app/views, app/models.
Pick two models and their relationship to work on. I will make this app on albums and songs, with a one to many relationship. An album haves many songs, and each song only belongs to one album.
First we generate our models with the name and attributes following it: (remember to always make our models PLURAL)
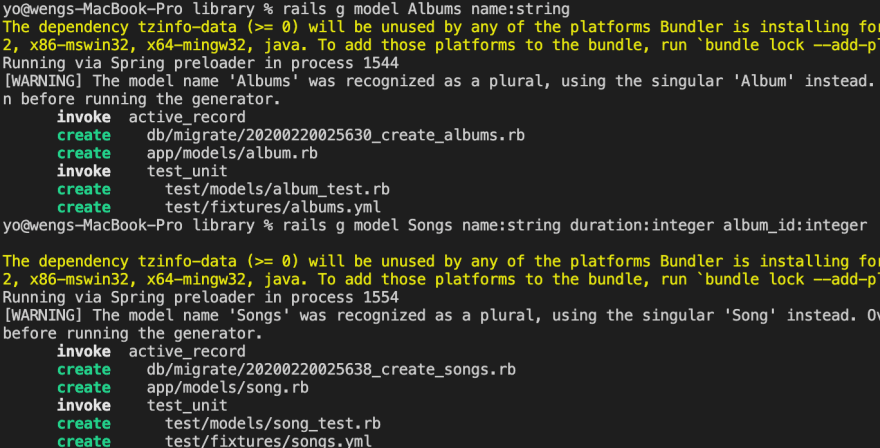
rails g model Albums name:string
rails g model Songs name:string duration:integer album_id:integer
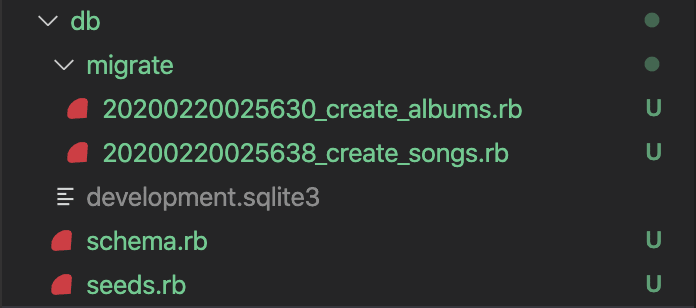
Albums has a name attribute, songs has name, duration, and the album_id. The album_id is very important!! This signifies our relationship, so that later when we call on to the album, we can locate all the songs that belongs to the album. This will create new a folder called migrate in your db folder, and two new files in your app/models folder.
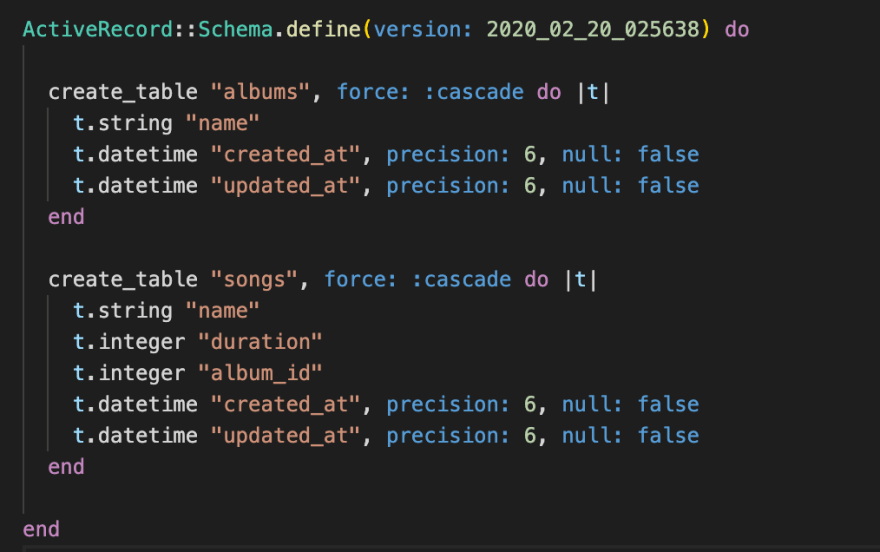
Type rails db:migrate to create our schema.
This also creates our table.
DO NOT TOUCH THIS FILE, LEAVE IT AS IS, IF YOU CHANGE SOMETHING IN THIS FILE, IT WILL CAUSE AN ERROR AND BREAK OUR TABLE. If you want to add or delete an attribute, you can delete schema and the development file and remigrate.
Next we have to establish our relationship, we go into our app/models folder, we'll see Album.rb and Song.rb.
In Album type has_many :songs to show an album can have many songs.
In Song.rb type belongs_to :album to show that a song belongs to only one album.
Next we make our controllers, this will also establish our view folders and files. We only need some of the routes for our Album controller, show, and index. In your terminal type:
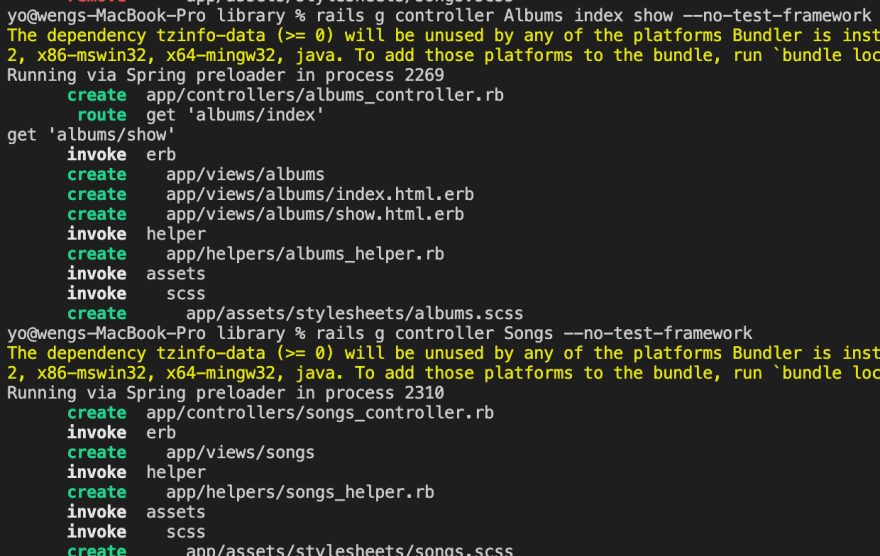
rails g controller Albums show index --no-test-framework
The show and index keys generates our routes and view files. The "--no-test-framework" stops rails from generating extra test files. For our Song controller we dont need any routes right now.
rails g controller Songs --no-test-framework
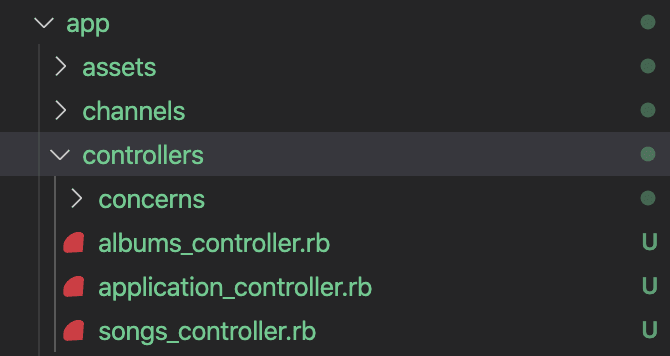
This will create new files in app/controller.
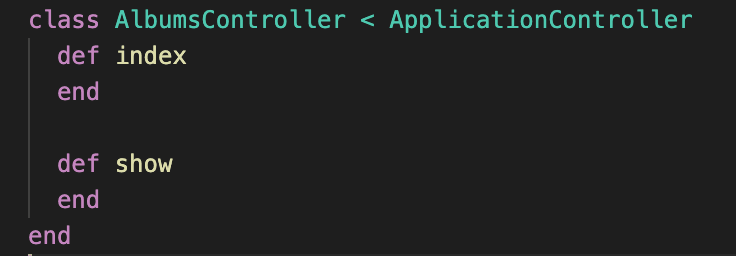
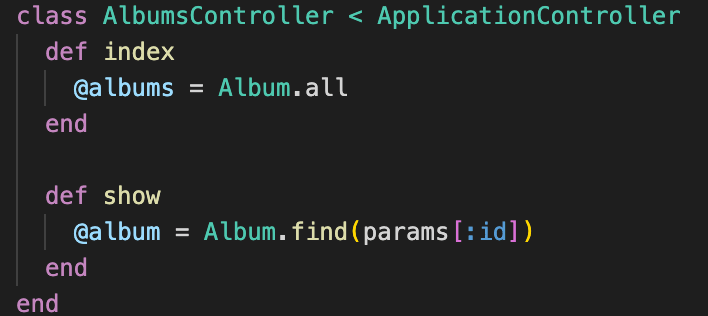
Inside the Album file, it will look like this:
Song file, will look like this:
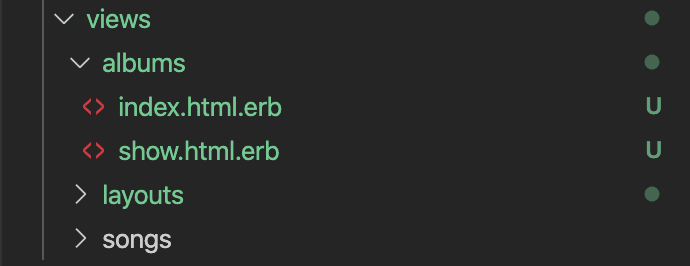
Our app/view folder will have new folders and files.
Next we will head to config/routes file and replace the routes rails generated for us with:
Now we can open our web app by typing in our terminal
rails s
We can access the homepage by going to localhost:3000
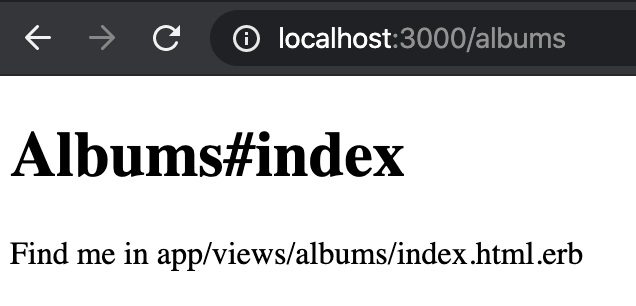
Now if you head into localhost:3000/albums you will see this:
This just means we didn't put anything in our views file for album/index. Press control + c in the terminal to close our app.
First lets write out all our controller actions in album.
Index will show all the albums we have, and show will display all the songs each albums have.
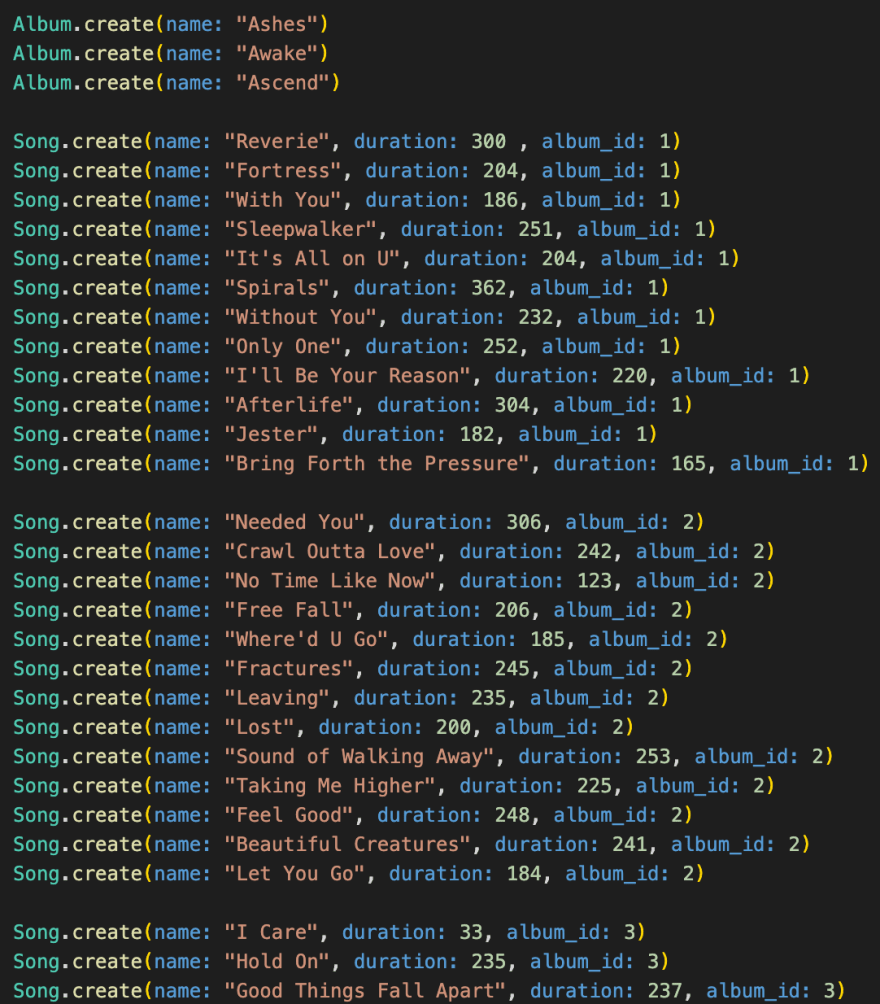
Before we edit our views files, we should write out some seed data so that we can display our album and songs when we visit the urls.
Once we have our seed data, type in the terminal:
rails db:seed
Now lets go to the view files, we will start with views/albums/index, we have to iterate over albums so that it will display all of it.
I added some html tags to make it look neater. The link_to will let each name be clickable.
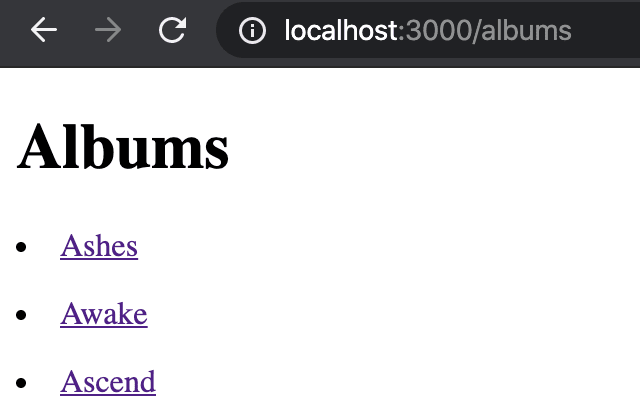
If we run rails s again, localhost:3000/albums will look like this:
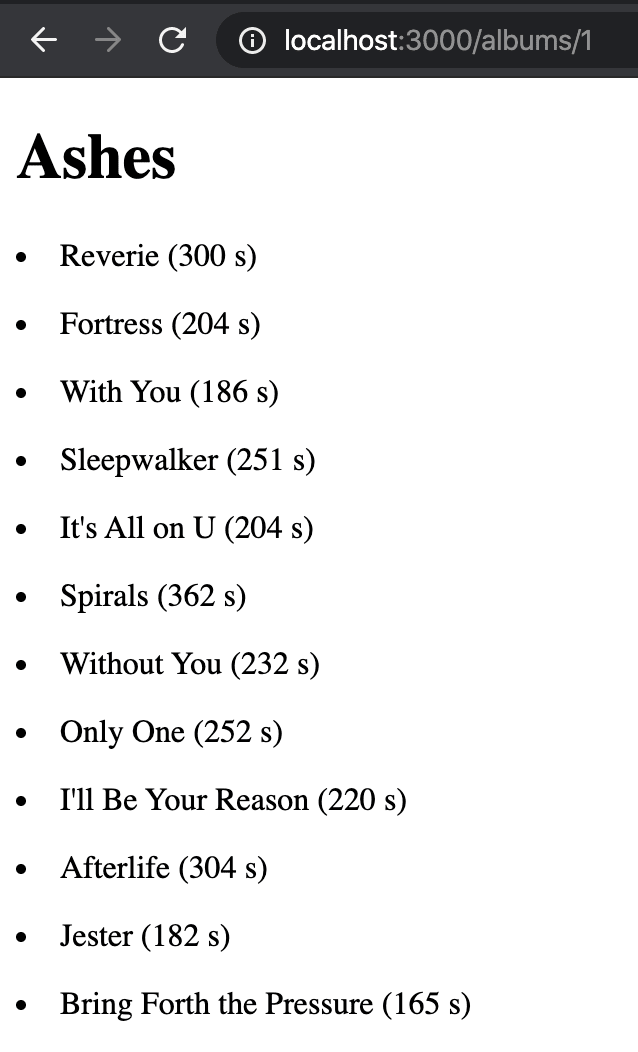
Next we edit views/albums/show to display all the songs each album has like so:
The good thing about rails is that we don't have to restart our app everytime we change something. It will automatically update for us everytime we save the file. When we click on one of the album names, it should bring us to the album's page, and the page should look like this:
Congratulations, you successfully built a simple MVC web app with rails. Next blog I will go into more detail on how to create, update, and deleting our data.
Here are some more resources:
https://guides.rubyonrails.org/v5.0/getting_started.html
http://www.restular.com/









Top comments (0)