
I have the chance to use MongoDB Cloud for my projects and it's very impressive. Because you can start with zero budget and it really enough for the new project. Below are the introduction text from MongoDB Atlas Landing Page
"MongoDB Atlas is the global cloud database service for modern applications. Deploy fully managed MongoDB across AWS, Azure, or GCP. Best-in-class automation and proven practices guarantee availability, scalability, and compliance with the most demanding data security and privacy standards. Use MongoDB's robust ecosystem of drivers, integrations, and tools to build faster and spend less time managing your database."
In this tutorial, I will show you how to create MongoDB Atlas Account and create your very first cluster for using in your application.
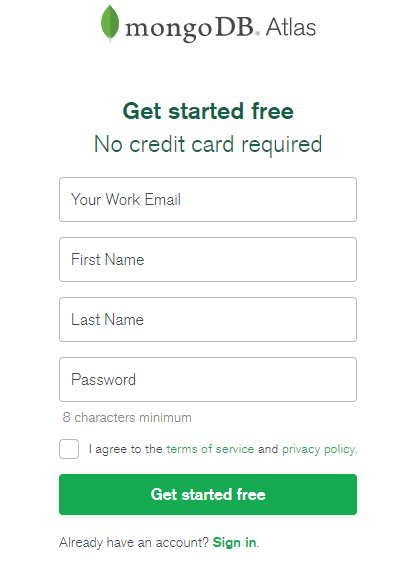
Step 1 : Register at MongoDB Atlas
First step you need to create your account at MongoDB Atlas. After create the account, you can start to using it right away.

Step 2 : Create Project
After register, we will be redirected to Project Management Page which we need to create at lease 1 project.
Click at New Project button to get started.

In this tutorial I will use My Project as project name, just for give an example.

If you would like to add another team member, put their emails here, then MongDB Atlas will sending invitation email to them.
But if you are the only one person on this project then better to skip it.
Then click on Create Project button. After create project successfully you will be redirected to Cluster Management Page

Step 3 : Create Cluster
Next, we have to create the cluster.
Cluster just like group of servers which MongoDB will create MongoDB instances as Replica Set. They working together when some of instance failed, another instances still working while that failed instance try to restart in the background. As you can see it has high availability.
Click on Build Cluster button to go to next step.

Select Shared Cluster which is the Free Plan. It has shared RAM and 512MB and it might has no advanced features like auto scaling, auto backup. But it really enough for starter project. You can upgrade it later if needed

Choosing provider, in this tutorial I selected Google Cloud Platform, then choosing Singapore as region. In this case select the proper region depends on your service location.
The other settings just keep it as default value. But you can navigate throught each section to see what you gonna get for this plan.
Then click on Create Cluster button at the bottom of page.

Waiting until the end then you are good to go!

Step 4 : Usage
On the cluster you are created you will see some buttons which we can use for:
- Connect Retrieve connection information for your client or application.
- Metric Monitoring clustor with nice reporting interface.
- Collections Manage collection throught here. You can add and delete collections. Insert/Update/Delete documents here as well. Anyway I suggest you to manage them throught MongoDB Compass instead and you can download it here
Let try to get connection string for our application by click on Connect button.

If we click on Connect Button first time it will asking for create first database user and adding IP Address Whitelist.
If you know exact IP Address for you application you can put it here, anyway for testing purpose I skip it for now.
Then put the first database user info by entering username and password, then click on Create MongoDB User button.
After that click on Choose a Connection Method

This is the final step, choosing connection method.
In this tutorial I selected Connect your application

Select driver and version, in this tutorial I select Java Driver and select version to 3.7 or later.
Then we can see the connection string and also get sample code on how to connect with MongoDB Driver in specified language as well.

Conclusion
MongoDB Atlas is MongoDB as a Service which we can start to use it for free and it enough for get started.
After I use it for my new projects it didn't have any issue and very easy to use. Comparing to the previously that I setup it all on my AWS EC2 Instance. I worked with the command line. Set the replica set, security, users, roles and etc. I use entire day for configuring.
But I can start to use MongoDB in just one hour after create account on MongoDB Atlas. That's so amazing! Why need to reinvent the wheel every projects while you just get started right away?
Nowsaday, we don't need to worry much about infrastructure. It's cheaper and cheaper. Just let provider manage them and we just focus on coding :)
Happy coding!

Top comments (0)