The MySQL database server can be administered using the command line, by running commands in the terminal. But it is more convenient and less tedious to use a graphical user interface (phpmyadmin) – most especially for those who are not comfortable with entering commands on a terminal.
phpMyAdmin is a free and open source GUI software tool written in PHP, intended to handle the administration of MySQL over the Web. phpMyAdmin supports a wide range of operations on MySQL and MariaDB.
Frequently used operations (managing databases, tables, columns, relations, indexes, users, permissions, etc) can be performed via the user interface, while you still have the ability to directly execute any SQL statement. And also perform exporting and importation of data in popular file formats (CSV, SQL, XML, PDF, Word, Excel, LaTeX and many others). phpMyAdmin is cross-platform and one of the most popular MySQL administration tool.
In this post, we’d be installing it on a Linux operating system. But before we begin ensure that you have Apache, MySQL and PHP install on your system. If not do it here.
Install phpMyAdmin.
Using the Ubuntu package manager apt (you can use other package managers for the respective Linux distributions), open th the terminal.
sudo apt-get install phpmyadmin
Then installation begins. When prompted, select “Apache2” from the “Configuring phpMyAdmin” dialogue box. When asked for MySQL username and password enter “root” for username and YOUR_MYSQL_PASSWORD for password.
After installation is complete, configure phpMyAdmin to be recognised by the local web server.
Open the apache configuration file in your favourite text editor;
sudo gedit /etc/apache2/apache2.conf
and add the following line at the bottom of the file (you can add it anywhere in the file, I just choose the bottom here so that you can easily access it for modification):
Include /etc/phpmyadmin/apache.conf
then restart the web server;
sudo service apache2 restart
Now enter the following url in your browser;
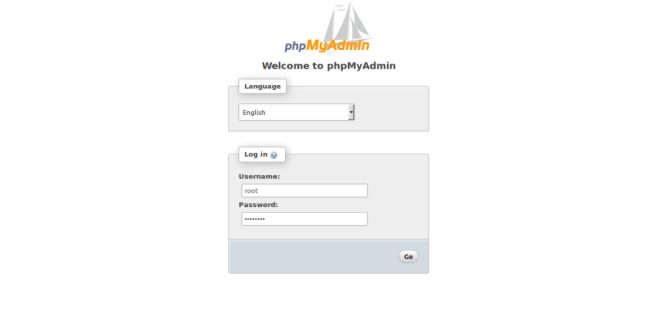
You should see a login page for you to enter your username and password, if you’ve not done so.
Username = root
password = YOUR_MYSQL_PASSWORD
IMAGE: FOSSNAIJA.COM
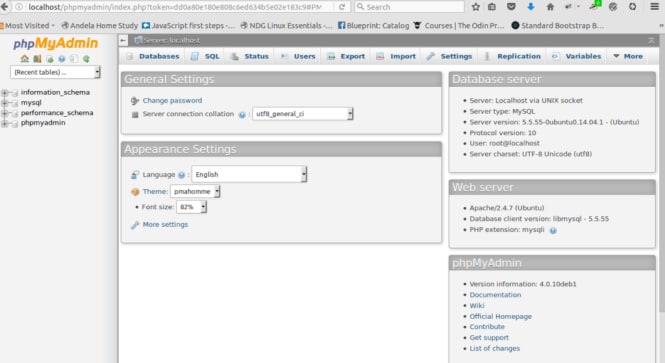
If successful the phpMyAdmin dashboard appears:
phpmyadmin web homepage.
Congrats!
_ Happy Linux’NG! _
The post How to install phpmyadmin on Linux (Ubuntu) appeared first on Foss Naija.


Top comments (0)