INTRO
YouTube ad sense is a big portion of it's profit stream. Soooooo we are going to stop that! Well not really. However, we can block all of their ad's from reaching us. A while back I set up a Pi Hole and I thought I'd explain my journey into the setup. Pi Hole is a DNS filtering tool that can be configured to block advertisements, trackers, malicious websites, and malware.
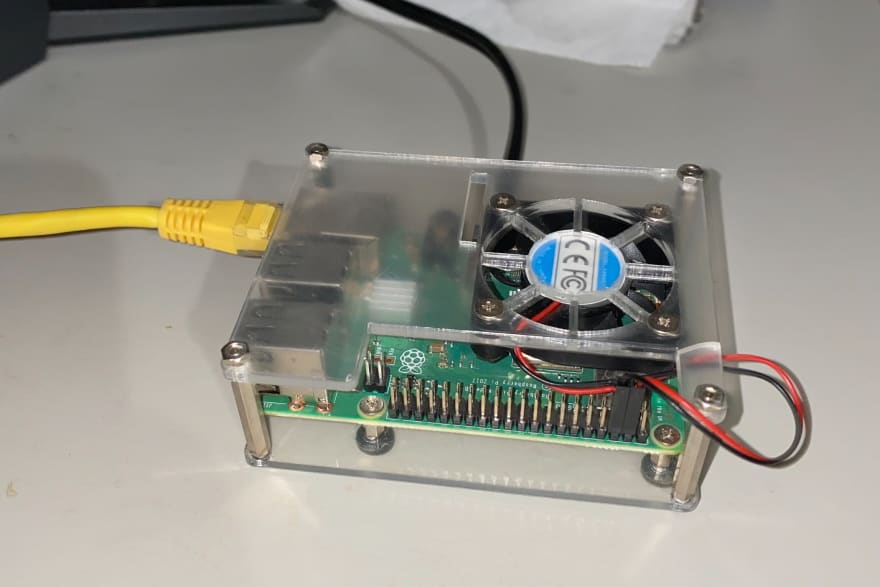
We are going to do this with the help of a Raspberry Pi.
WHY THOUGH!
Traditional ad blockers are set up on a web browser. They typically analyze the data that's coming from your visited web page and either replace or remove advertisements. This works great for that one browser. I ran into a problem where everyone in my house doesn't have this installed or even knows what an ad block extension is. Pi Hole is a great solution as it can block ad on all of the devices within my house (iphones, androids, and computers).
Basic Concept
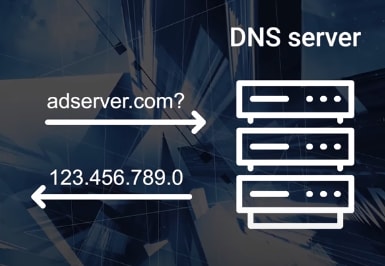
Let's say you launch a mobile game on your phone. As it's launching, all the assists are loading (texters, dialog, music, etc). At the same time, a request is being made by the game's url DNS server, which is managing the ads for that application. Your router then looks up that url and replies to your phone with a specific ip address that contains the ad. Instead of storing ads to application this method allows advertisers to dynamically serve individually tailored ads.
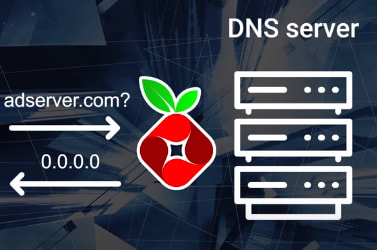
Pi Hole can block this process, or stand in between the DNS server and your device. Pi Hole will contain a blacklist of sites to block. If your device is attempting to retrieve information from a blacklisted site, then it would reply to your device with an unspecified address. Which would not show the ad on your device.
Setups
This involved the following steps
- Install Raspbian on a micro sd
- Change the default passwords
- Configure a static IP for my raspberry pi
- SSH into the pi (I didn't want to connect a monitor to my pi)
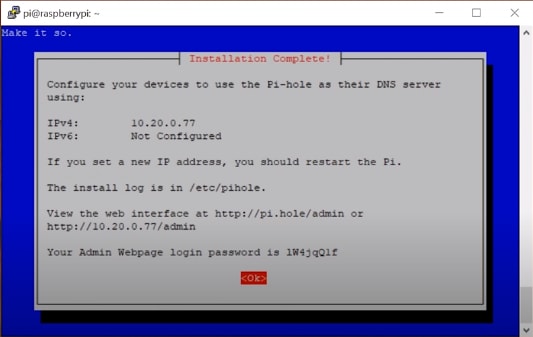
- Run the one line install command on the my raspberry pi terminal
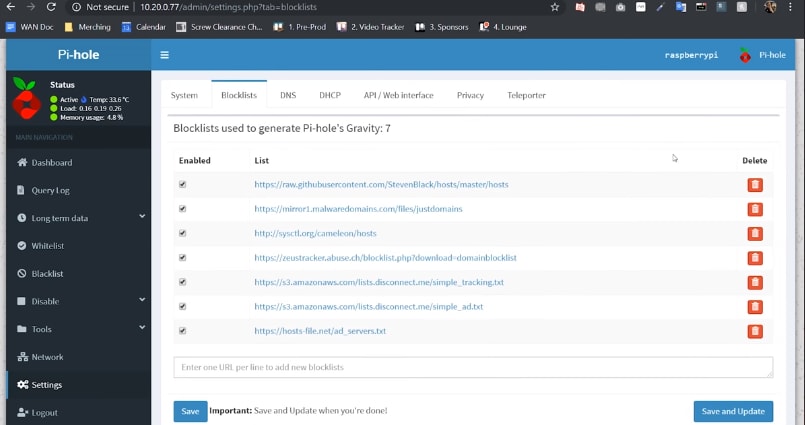
- Get to the networking selection and set up the default blacklists
Whats cool about these steps is that I was exposed to my terminal more than usual!.
All that's left if the connect the the ip address and we are in!
Finished Product
At the end of it, you get this dashboard where you can manage your blacklist whitelist, devices, and certain statistics :
Overall all, this is a dandy project. If you are interested in in getting your hands dirty and want to setup your own pi hole here is the link Pihole



Top comments (0)